homage style

when your home is your canvas

schedule a design consult
  • blog
  • services
    • styling & decorating
    • home staging
    • virtual home staging
  • featured
  • about
  • workshops
  • contact
  • subscribe

little things :: the hand edition

23 November 2015 by Andrea Leave a Comment

image1-768x1024b

Recently I had the opportunity to finish a little project that’s been curing for a while. If I’d known it would be so quick and easy I would have completed it ages ago!

I bought this awesome cast iron hand to hold jewelry in my bathroom from one of my favorite shops in Columbus, Elm and Iron (they have a shop in Cincinnati too)…

image4-768x1024a

And while the cast iron look is great, it was not the look I was going for in my bathroom. So I broke out some leftover champagne metallic spray paint and gave it a spritz.

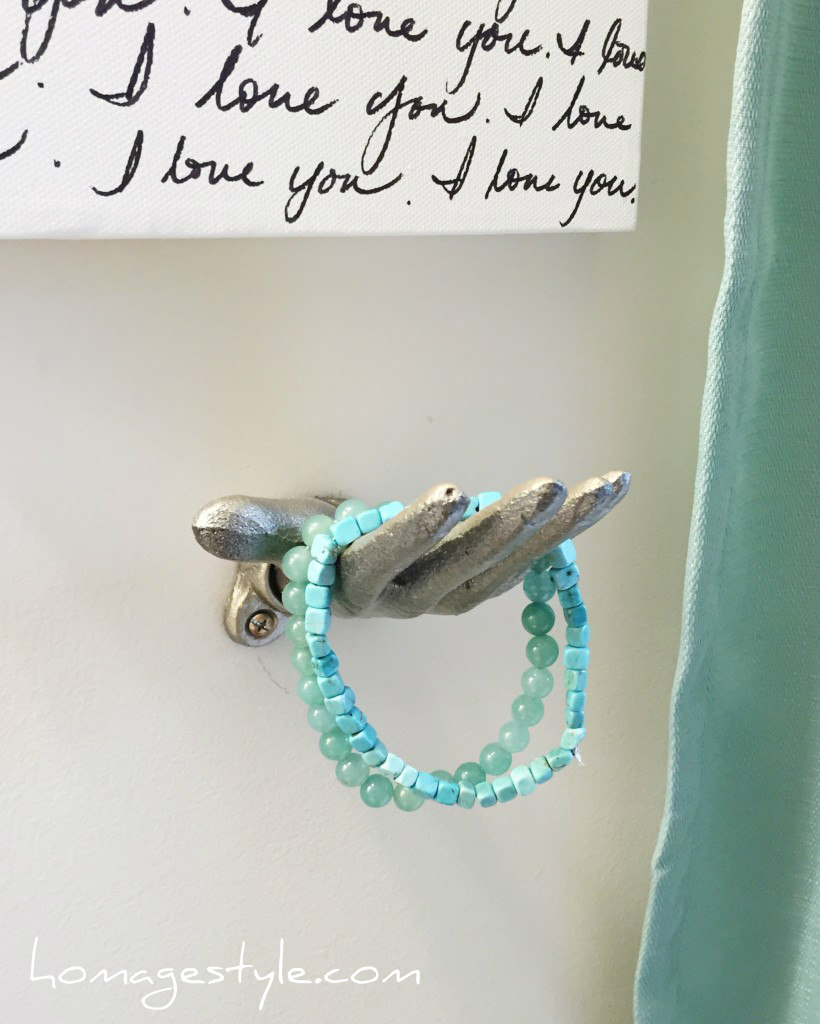
After a mere two quick coats, it looks like this…

image5-1024x819a

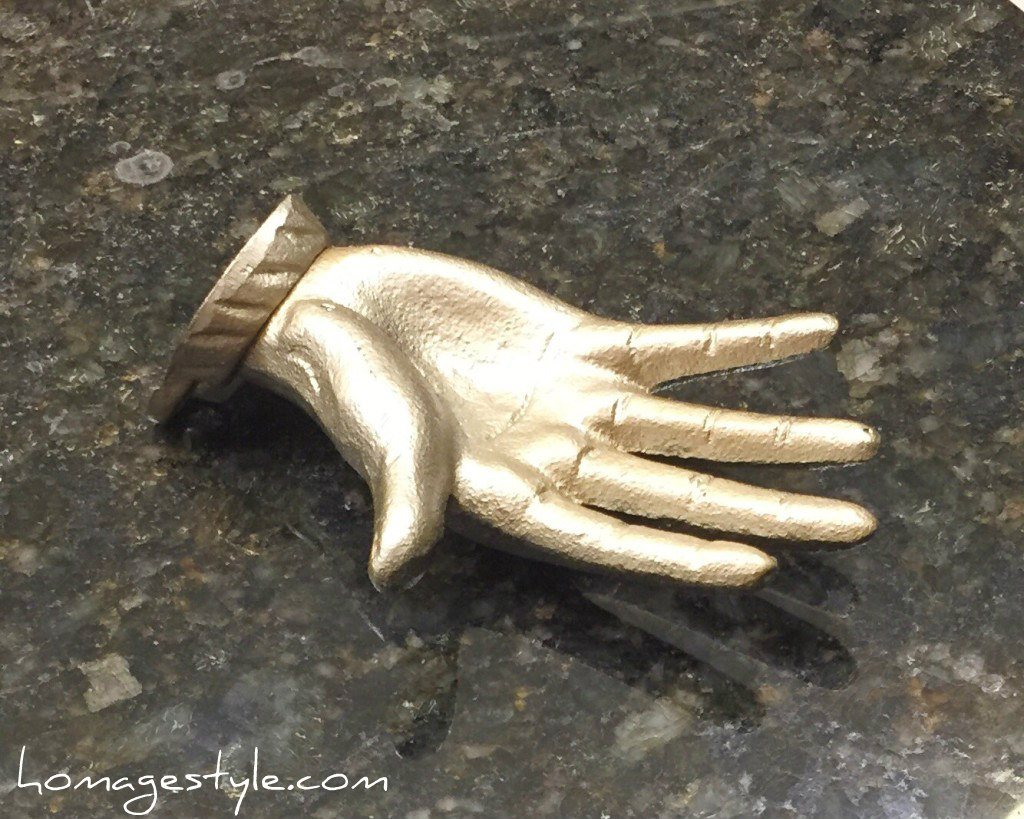
Exactly the look I was going for.

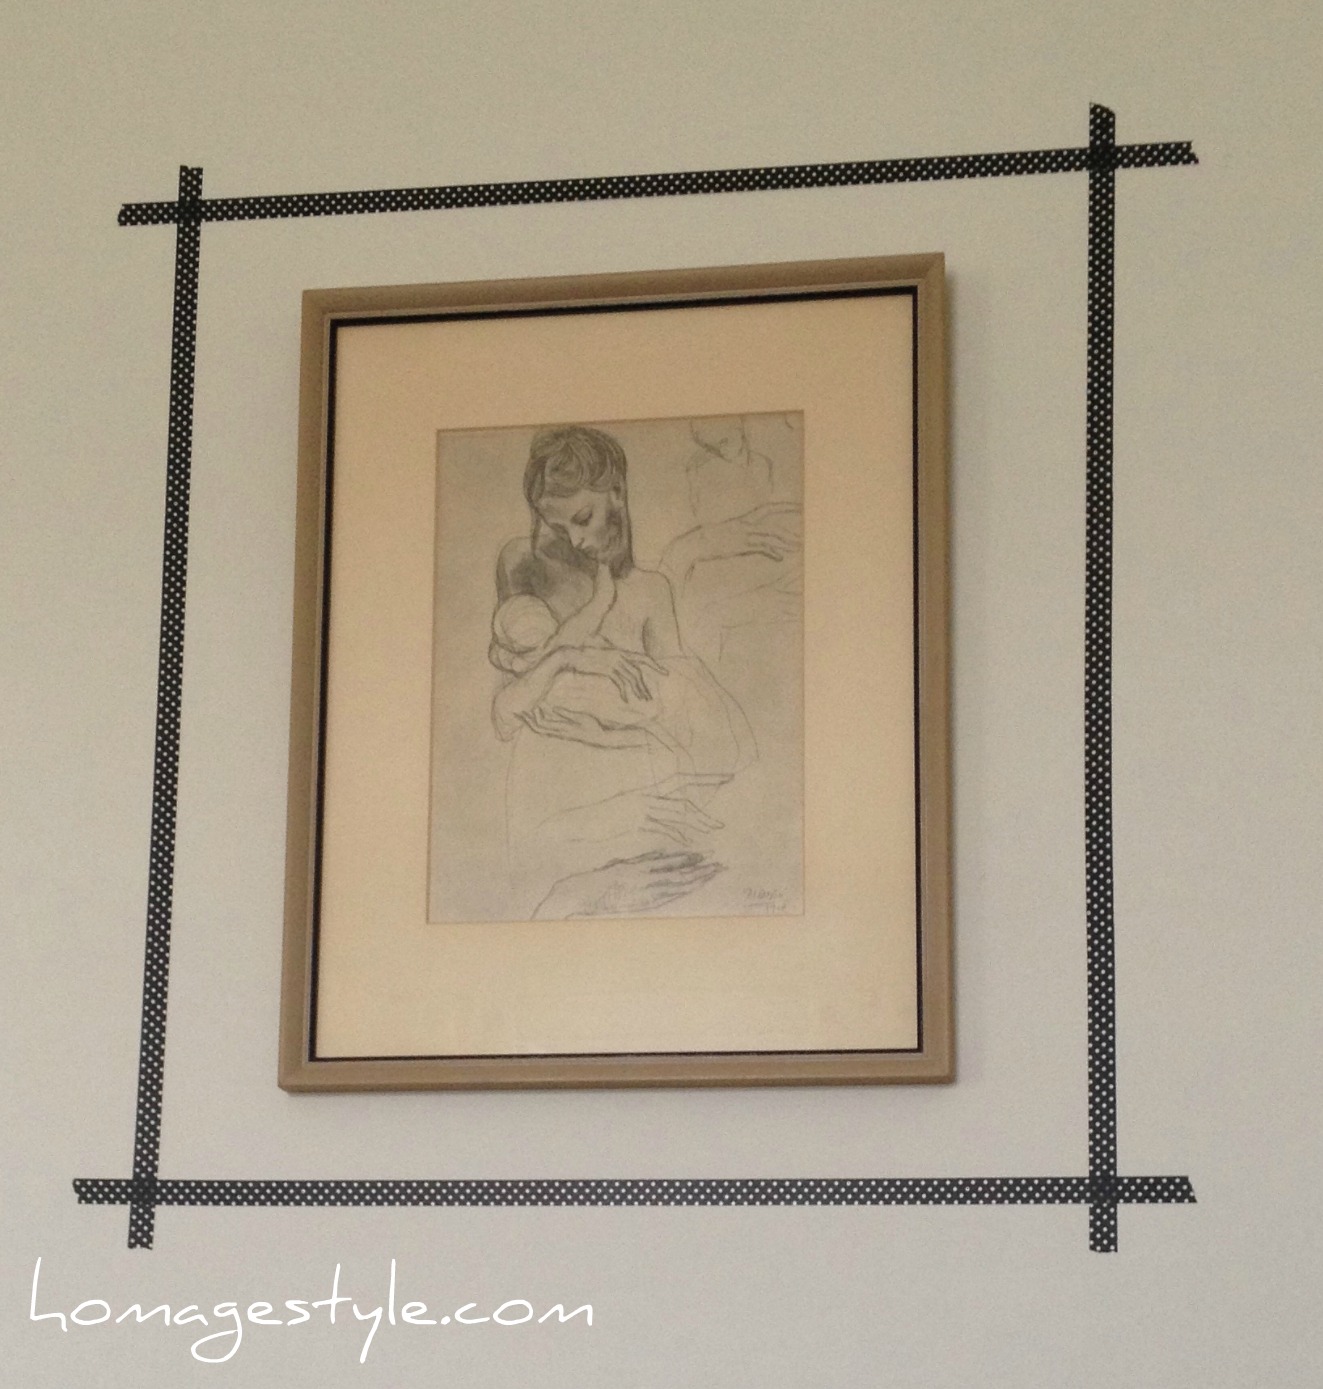
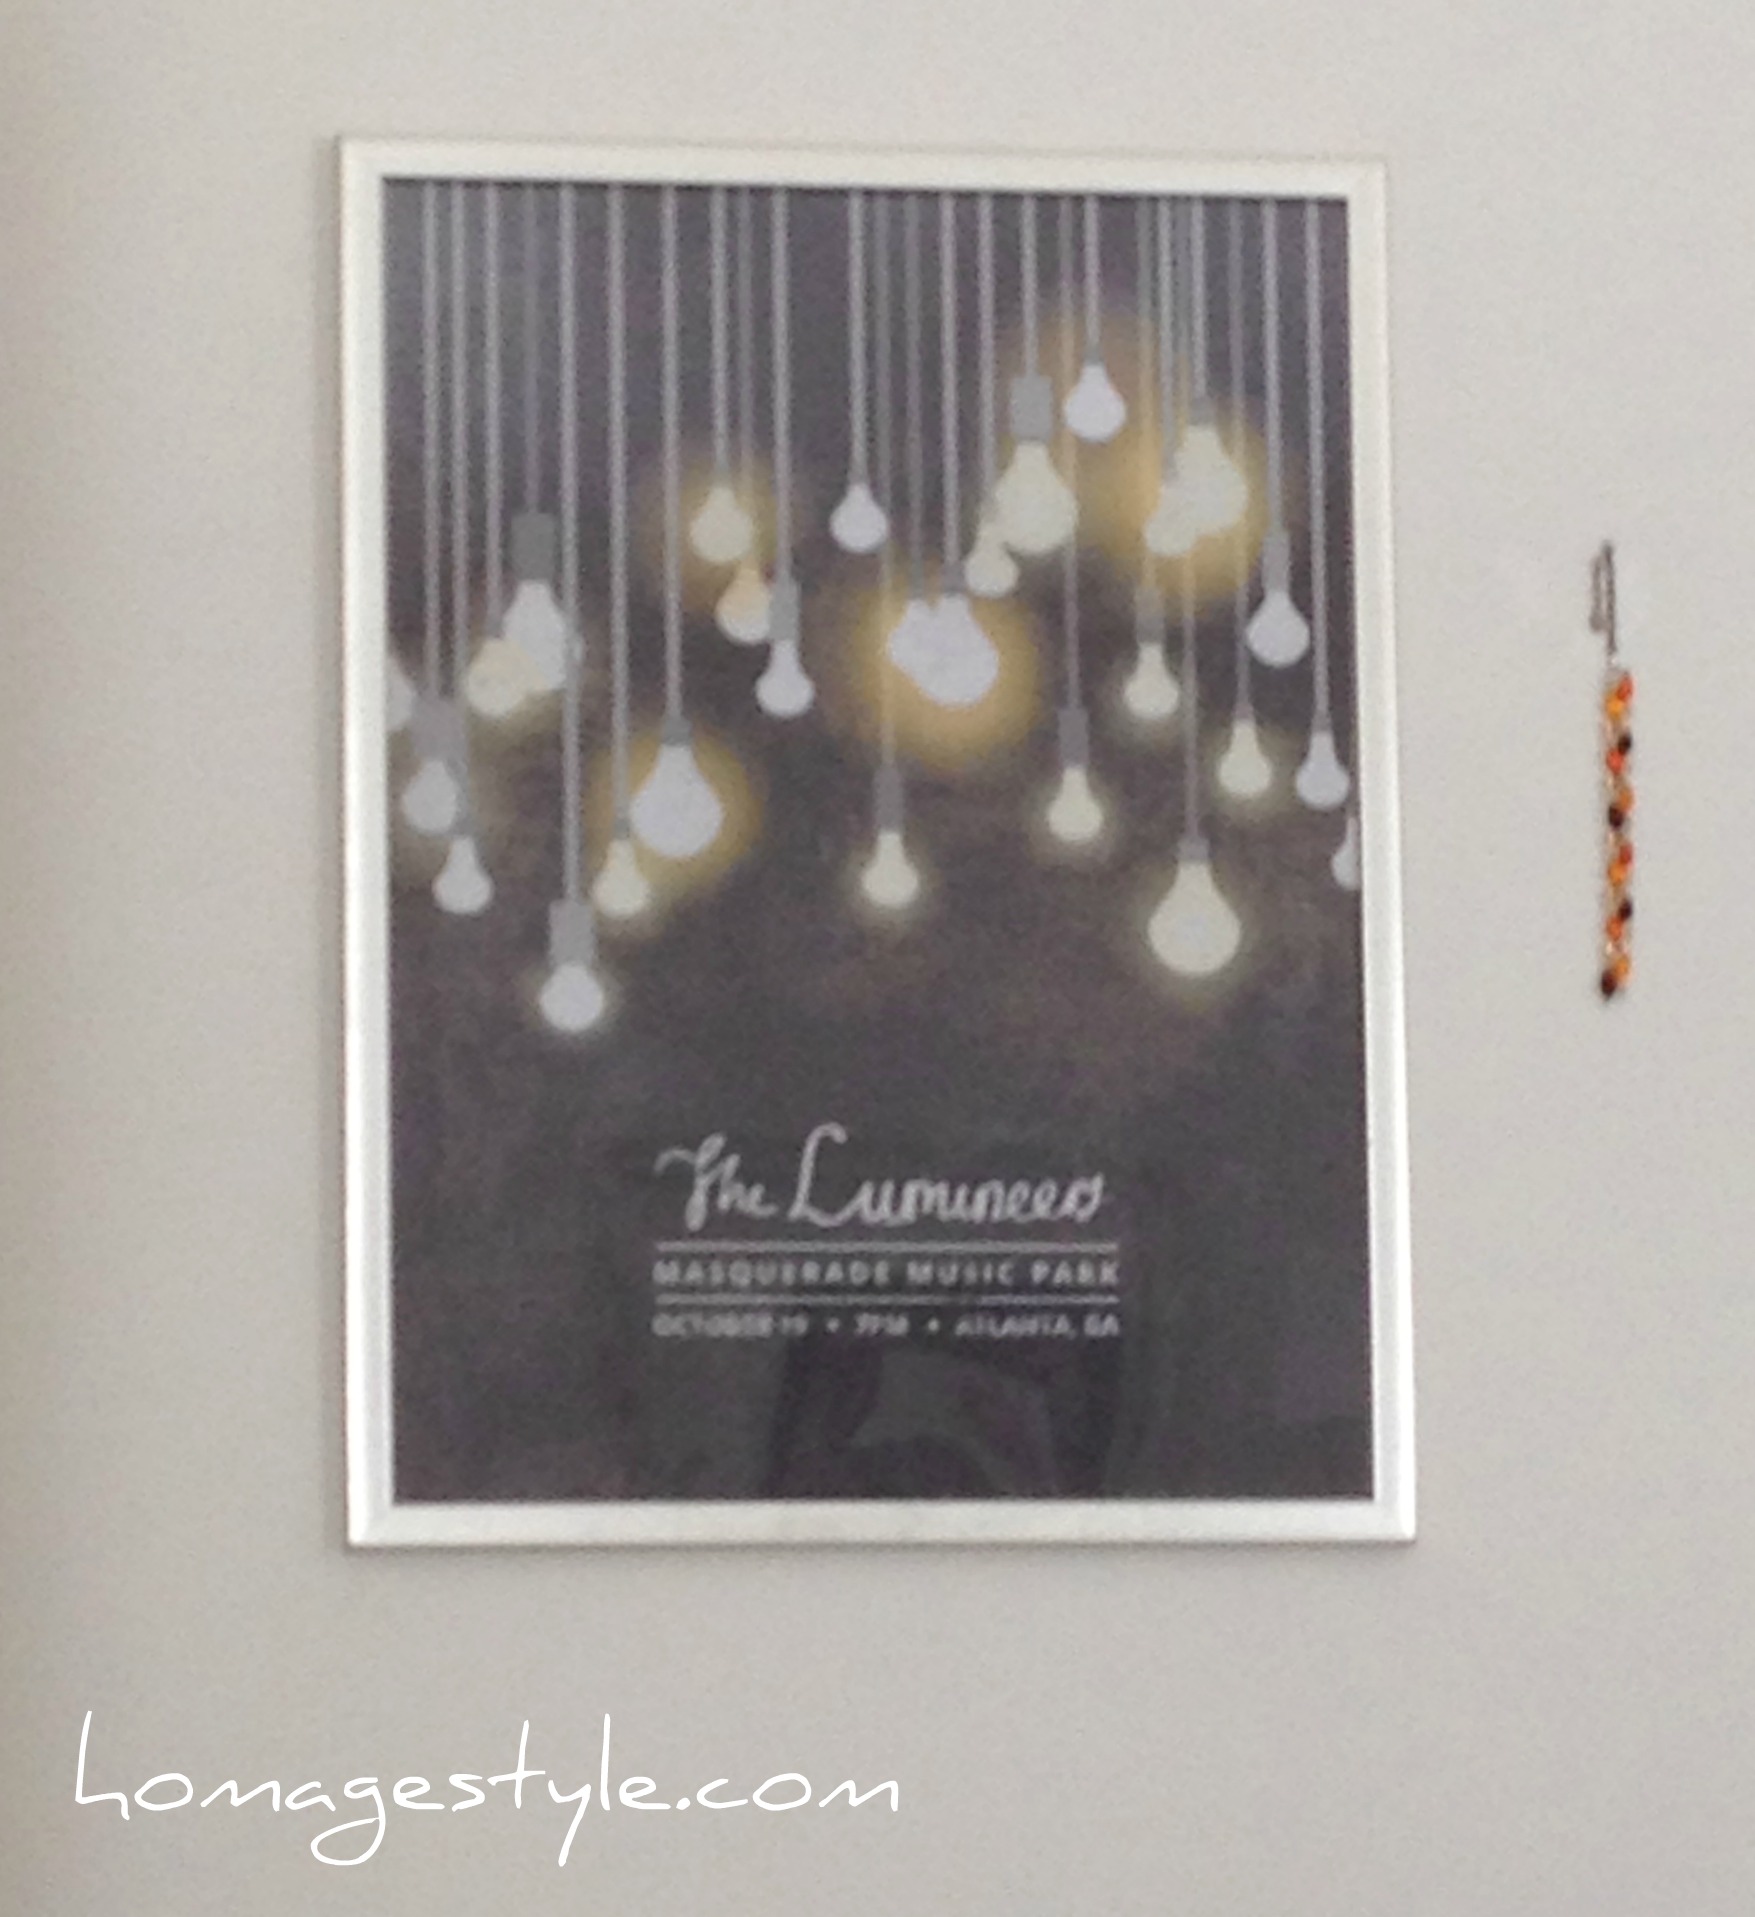
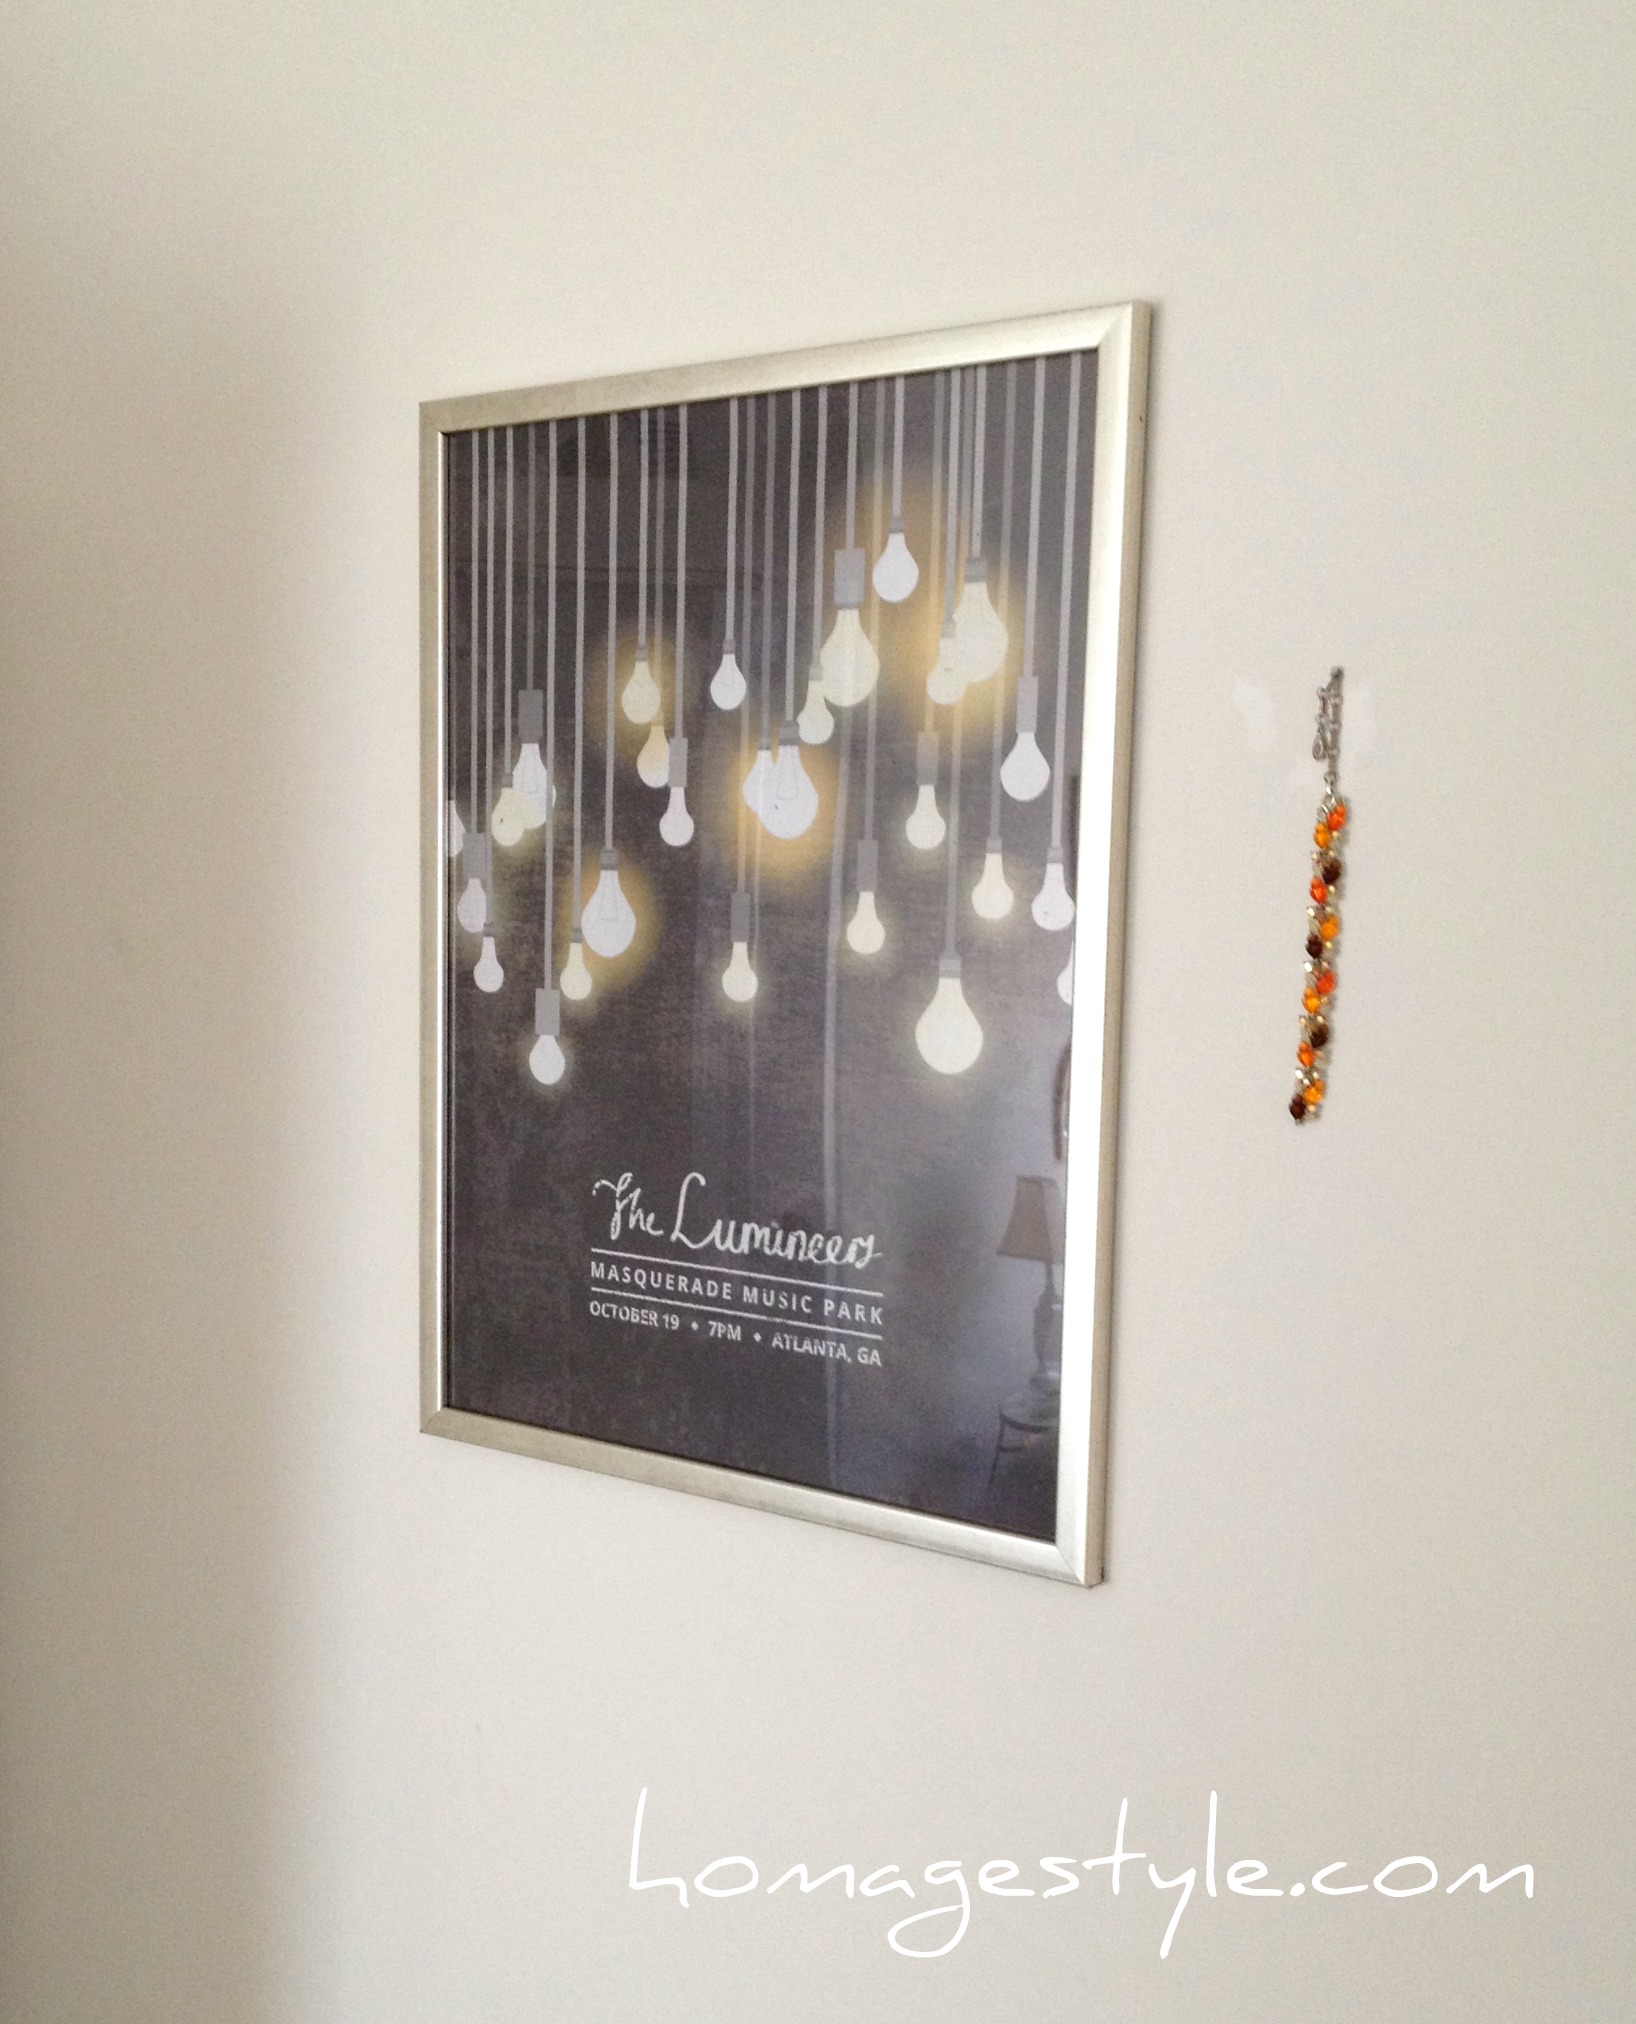
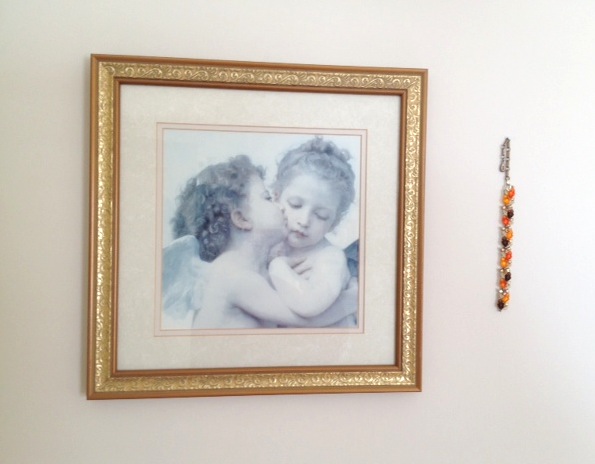
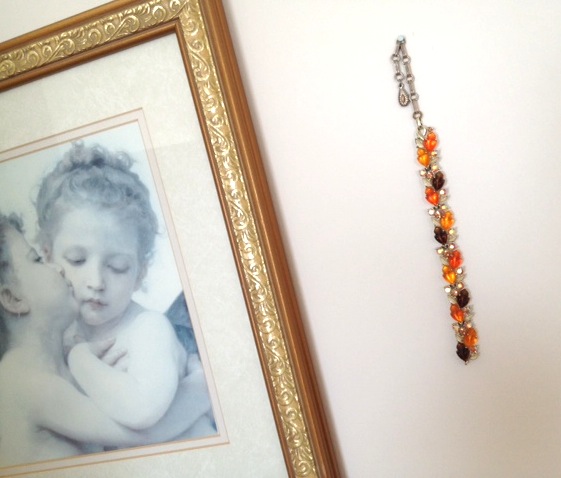
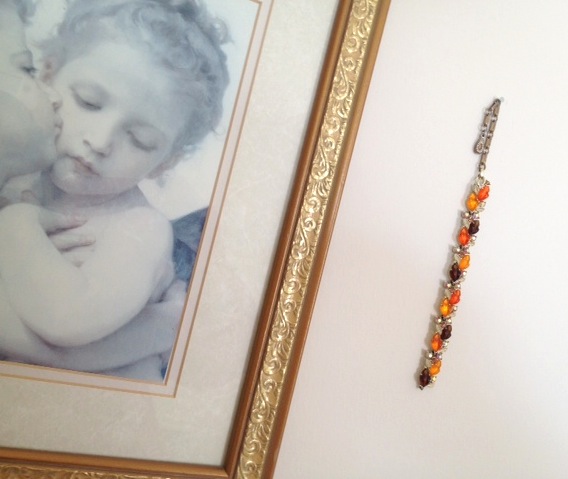
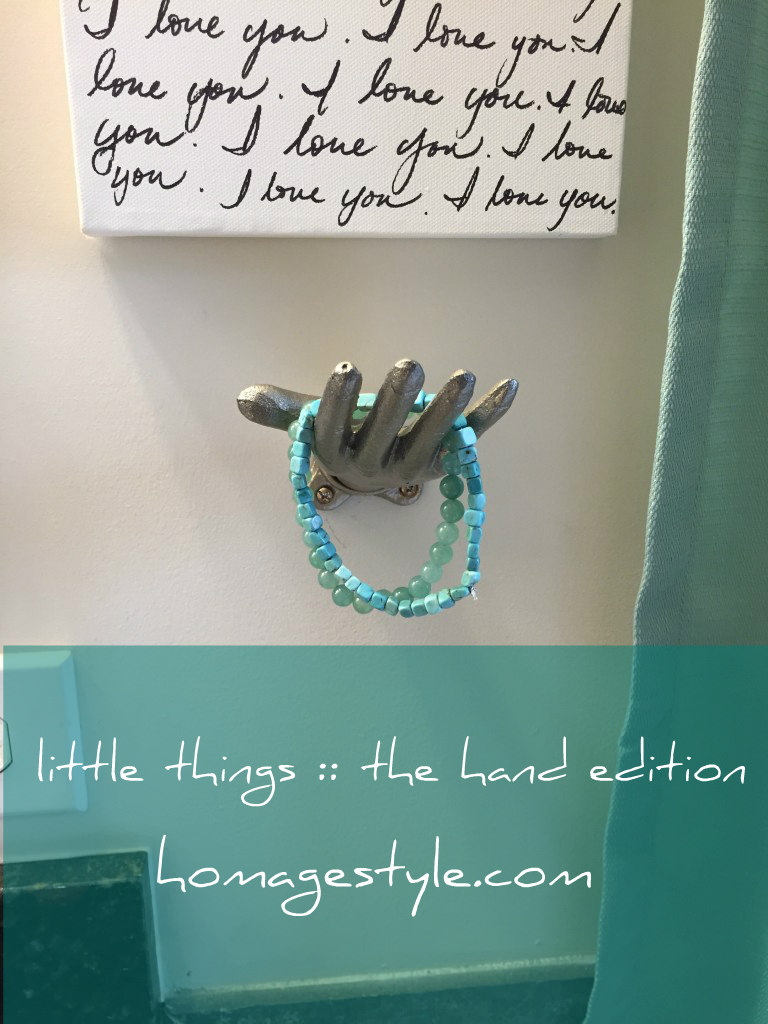
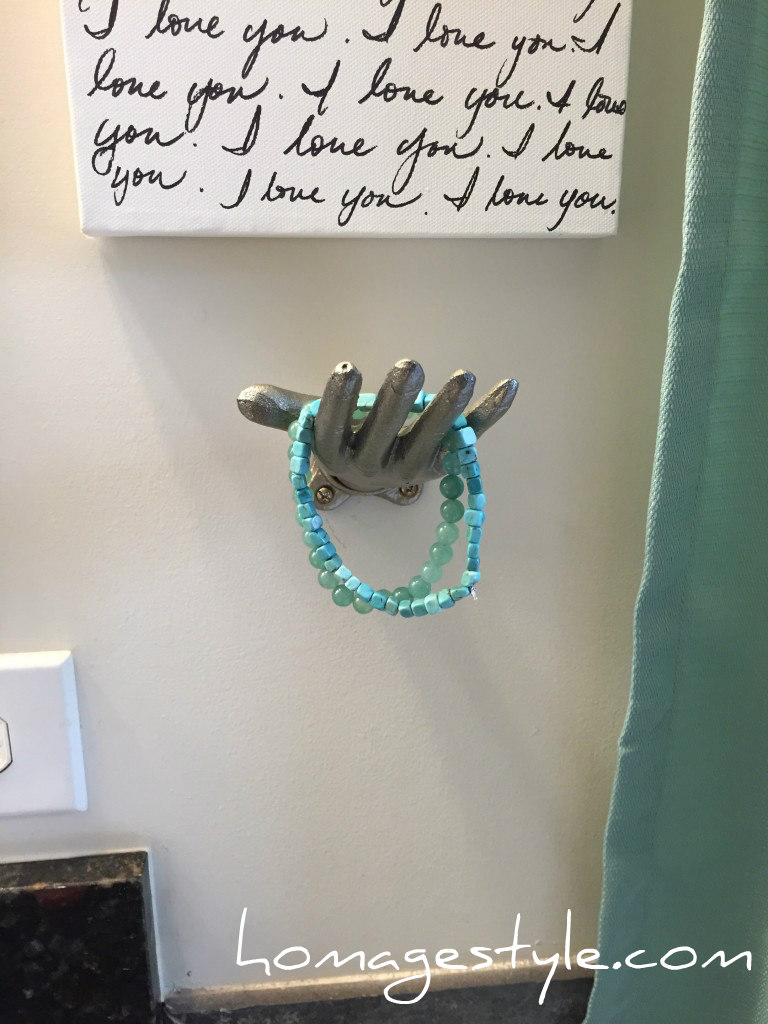
So I hung it below my affirmation art…

image6-768x1024a

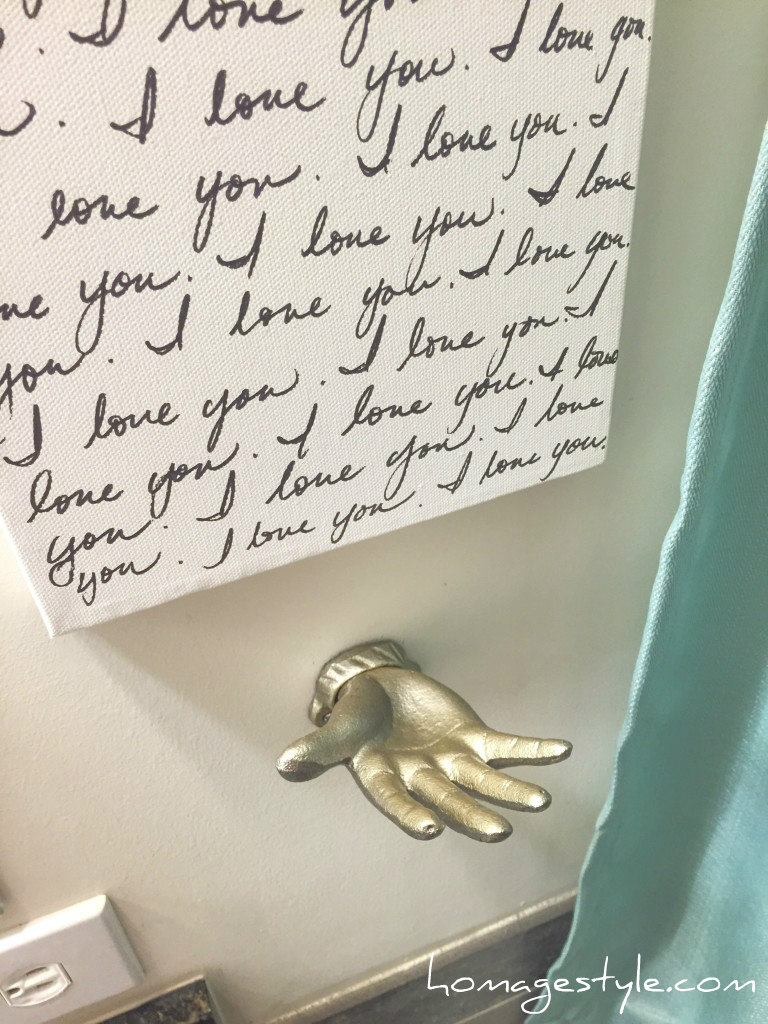
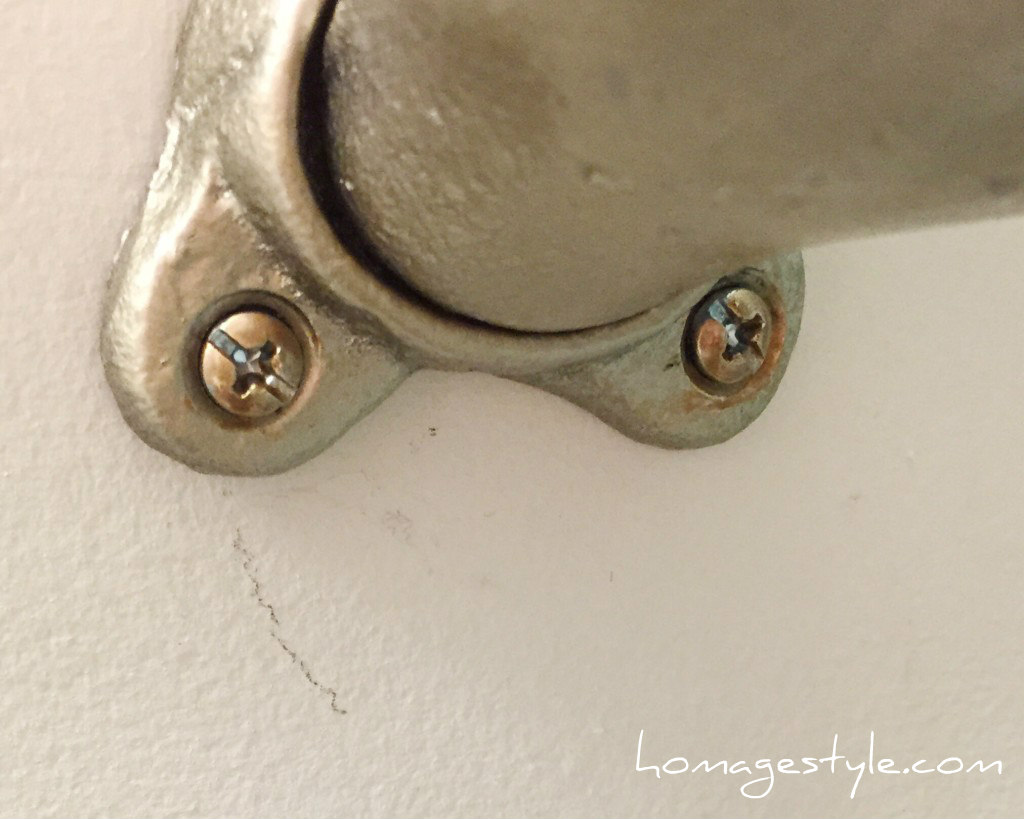
…and added a little gold paint pen to the screw heads so they didn’t stick out like a sore thumb. (Get it? Sore thumb?)

image8-1024x819a

Add jewelry and voila! A stylish piece with a practical application!


image1-768x1024a


image3-820x1024a


image7-768x1024a


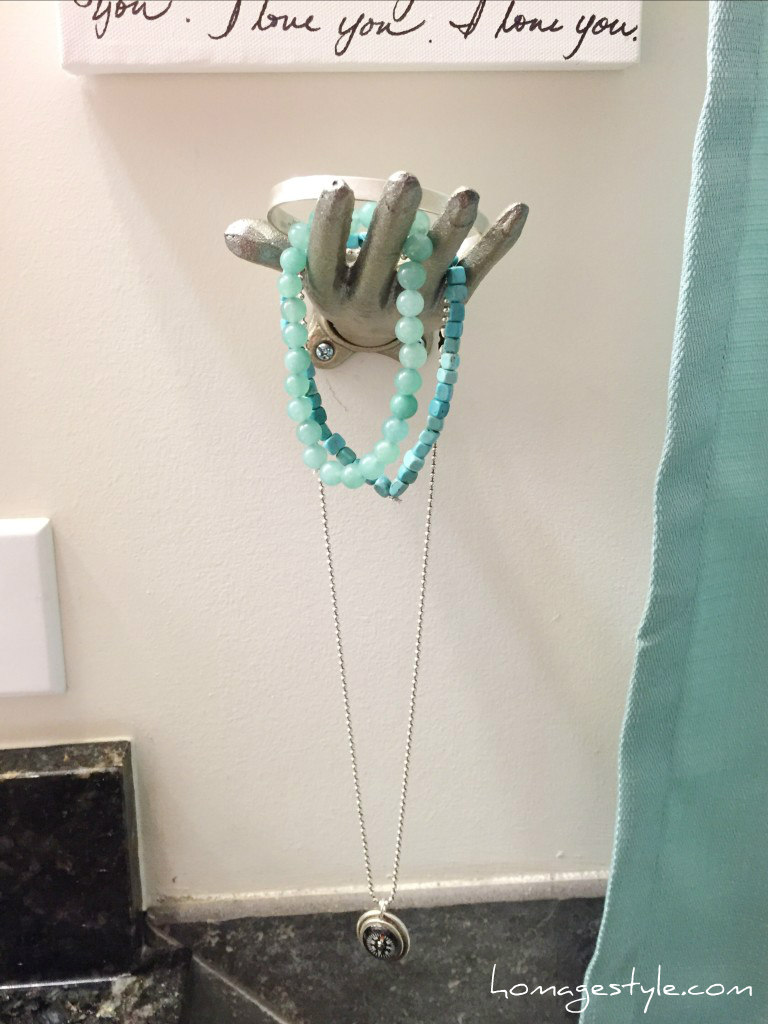
Hands down, a super fun project!

(OK, I’ll stop with the puns now.)

the design studio is now open

7 September 2015 by Andrea Leave a Comment

pink doorThe Homage Style design studio is reopening…so come on in!

I will now be accepting local clients for home styling and decorating, as well as home staging. This is very exciting for me as I’ve been yearning to get back into a more creative life and I love helping people make their homes a beautiful and peaceful respite.

If you’re in the Columbus, Ohio area and want some design help, give me a call! I’m thrilled to have my design studio doors open again, so let’s add some style to your home!

Or, if your home is for sale or you’re planning to put it on the market, home staging will help you sell quickly and for top dollar! So give me a call!

If you’re not local, no worries, because I will also be doing virtual design consults, where we’ll work together over the phone to get your home styled up! Or if you’re selling your home, I’ll be doing virtual home staging for those outside the Columbus, Ohio area.

So whether your home needs a little sprucing up or you’re getting ready to unload the place, give me a buzz, and together we can work some magic!

Call Andrea at 6 1 4 . 2 8 2 . 5 1 4 1 today to set an appointment! I can’t wait to help make your dreams of home come alive!


when things get boring in the bedroom

11 September 2014 by Andrea Leave a Comment

when things get boring in the bedroom

Sometimes things get boring in the bedroom. Stale. Just the same old thing, day after day, week after week, month after month. A sense of ennui sets in and all you can think about is how something has to change. You just can’t continue the way things are.

No, I don’t mean that has gotten boring! I mean your decor has. Geez, you people always have your minds in the gutter!

Well, when things have gotten dull, spice it up! Consider it a marriage encounter for your decor!

Recently I was feeling bored (with my decor) and so I decided to spruce things up a bit. As always, I’m on a tight budget, so it included a combination of rearranging some of what I already have, using some things that have been curing for years, and adding a little bit of new to the mix.

In general, I’m moving from a more traditional look to a more eclectic look – vintage and shabby chic marry mod. OK, so that’s more of a threesome than a traditional marriage, but when we’re decorating we don’t always need to follow societal norms!

Let’s start with the armoire. Here’s the before pic, with fake plants that look just fine, but no doubt more in the traditional vein…

Armoire beforeGoodbye fake plants, hello gold dress form trussed in faerie lights!

Armoire after with lightsThe faerie lights were $11.99 plus shipping. Well worth the expense. They’re battery operated, so there are no pesky wires running over the side of the armoire. Plus they run on a timer, so I can turn them on and six hours later they go off automatically. Perfect for when you need to spice things up with some ambiance!

Here’s how it looks during the day with the lights off…

Armoire after in daylightYou will notice that the dress form is off center, and there’s a lot of empty, open space on the top of the armoire. I’m really trying to get OK with imperfection. That includes getting comfortable with negative space and off-center presentation. I’ve actually grown to love the oddness of it all…it really highlights the dress form as the featured element.

Speaking of the dress form, this beauty has been curing for years! I purchased her for $1.25 at a local high school rummage sale. Been waiting to find the perfect place for her. Think I’ve found it!

Moving on…

Let’s take a look at one of my favorite possessions. A Picasso print of A Mother and Child and Four Studies of Her Right Hand. This was my grandmother’s print and I always loved it in her home from the time I was a kid. I’ve had it in my bedroom since I got it, but thought it needed to be featured a little more prominently, so I added some black and white polka dotted washi tape to frame it out…

Picasso print 1I just eyeballed the tape placement, because that’s what I do, but you could always be more precise and measure it out like a normal human.

(If you’re wondering why I have such weird angles with the wall hangings, it’s because I get a lot of light in this room so the angle is the only way to avoid glare in the pic. Carry on…)

Another angle…

Picasso printI love, love, love how this looks! It really brings out the tiny, black rim on the frame, as well as the black in the sketch. Plus the washi tape was a steal – I got 3 rolls for $2.99 at Michaels. More to come later with one of the other rolls of tape.

By the way, polka dots are my fave. Especially black and white polka dots. So this just makes me happy every single day when I see it! Here’s a close-up so you can better see the polka dots (as well as the aforementioned glare)…

Picasso print 2Enough about that. On to the one splurge.

Before the splurge, there was an angel print, accompanied by a broken vintage bracelet…

Angel print with braceletThe splurge was spending $40 on a custom-printed Lumineers poster on Etsy…

Lumineers 2I love the Lumineers and I superlove the poster art! The perfect mod piece to start the sexy love affair with vintage and shabby chic.

Sadly, I won’t be sharing the artist info here, because it took over a month and opening a case on Etsy to finally get the seller to ship, despite having paid. But at least I finally received it and I’m in love!

I tossed it into a basic poster frame and voila! Here it is from another wacky angle…

Lumineers 1And you can see the vintage bracelet remained.

To the left of my bed I tightened up the placement of the pieces that were already hanging on that wall, to give them more of a vignette feel…

frame artAnd on the right side of my bed I added a gorgeous mermaid print I bought a while back on Etsy from artist Amy Huddleston. (You know the drill…it was curing for a while.) I placed it in a mod white frame, which really brought an eclectic feel to the grouping. Talk about mod and vintage and shabby chic!

eclectic art grouping 3The blues and aquas and in mermaid print bring out the blue in the Girl with a Pearl Earring by Vermeer. Which, by the way, I found on the back of a Reader’s Digest magazine and decoupaged to a piece of painted wood.

But the white frame seemed too stark. Something was still missing…know what I mean?

eclectic art grouping 2Oh yeah. Washi tape, part deux.

eclectic art group with washi tapeI added some black and white chevron washi tape – part of my $2.99 three-pack – and it did the trick! Toned down the starkness of the white and tied it to the black in the other two pieces. Here’s a close-up…

eclectic art with washi tapeTaping perfection. Just eyeballed this as well. You could do the same, or maybe even be more precise and measure.

Although those are all awesome, we’re still not finished.

Previously, I had this angel art all lined up in a row…

Angel art beforeVery pristine and orderly, but where’s the flair?

I’ll tell you where the flair is…right here…

angel art groupingI mixed those bad boys up for a touch of the unexpected! We can’t be angelic and perfect all the time, especially when things have gotten boring in the bedroom!

Here’s where they are in the room…

angel artAnd finally, I dug deep into the world of curing and found these vintage mailbox doors that I purchased on eBay approximately 10 years ago.

mailboxes as artI figured that it was time to take the focus off the alarm system and the light switch – boring! – and add something interesting to this spot!

Now mind you, I did slice my finger open adding picture hanging wire to the back of these and heavily debated whether I needed a tetanus shot – I didn’t end up getting one and fortunately lockjaw has not set in – but they were certainly worth the effort!

mailboxes as art 2They just look so cool all lined up and are another metallic element, adding to the mixed metals in the room, accents of silver and gold and bronze.

A  whole new fun, updated bedroom for less than $100. Cheaper than sexy lingerie and a night out on the town! Who’s bored now?

Take my advice…don’t be afraid to mix it up in the bedroom!

design vacation :: angsty teen boy’s room

21 October 2013 by Andrea Leave a Comment

room 3

My little boy is not so little anymore.

In fact, he’s a teenager. Guess that means it’s high time for an angsty teen room.

When we last saw the boy’s room, it was a vintage cowboy room…

102_1140a

Not so cool for a teenager. So sadly it had to go.

Then it needed to cure for the requisite length of time. Here at Homage Style, we don’t just jump into projects. We think them through, allowing the creative juices to flow. Some call this procrastination. I call it the creative spirit!

Well, this past week, my son went to Washington, DC with his 8th grade class, so I decided to take some time off from my day job and revamp the boy’s room. So off I went on yet another design vacation.

My son picked his own paint color and it was deep cobalt blue from Behr. I felt that it might be a little dark and overpowering, but then again, I’m just the mom…what the hell do I know? So I let him have his paint color. Ultimately it was the perfect color to set the tone for a dark and angsty teen room.

Let’s take a look around the room, before the angsty teen boy gets home and kicks us out! Here’s the finished product…

room 2

With two windows, the room gets plenty of light, plus the black and white striped curtains from Ikea help to keep things light and fun.

At the foot of the bed are two grey beanbag chairs…

chairs 1

For the record, I don’t advocate TVs in kid’s rooms, but the boy scavenged this one, and a little dumpster diving never hurt anyone, so I let him keep it. Plus there’s no cable, so he can only play video games on it. Aren’t those beanbag chairs perfect for gaming?

In the corner above the TV is a globe lamp that I made myself from a discarded globe my sister the school teacher gave me…

globe 4

Globe lamp how-to blog post coming soon. Bet my sister’s sorry she gave up that little treasure!

On the wall next to the TV is an old laminate bookcase that I spray painted ages ago for kid #1 and it’s still going strong. Above it is a manly French memo board that I created from a wooden retail display shelf…

memo 3Ohio State fans, don’t mind the Michigan hat…he only wears it on crazy hat day!

How-to blog post for the French memo board will be coming soon too.

The memo board is my pride and joy of the entire room! I’ve been percolating on this idea for quite some time now and was thrilled with how it turned out!

memo 9

A closer look…

memo 12

The wall opposite the window has some great features as well, like the floor-to-ceiling bulletin board made of 12″x 12″ cork tiles…

bulletin board 2

Isn’t that fun? Right now there’s a synthesizer in front of it, but I’m sure it won’t be long before it’s covered with all sorts of memorabilia.

bulletin board 1

Notice the You Are Awesome poster that I made last year at a letterpress printing class I took with some girlfriends. Plus there’s the lava lamp…isn’t that a requirement for every angsty teen room?

lava lamp 1

And the black and white striped canvas balances out the black and white curtains on the other side of the room and breaks up all that blue. It was super easy and cheap to make…just painted the canvas white, then taped off for the black stripes, painted the black stripes, and voila!

bulletin board 3

We’ve all heard the saying, the best things in life are free. Well, this is especially true for free art! It’s the best!

I was lucky enough to score some advertising art posters from work and was thrilled that they were the perfect colors and style for the boy’s room. And by score, I mean co-opt them after someone left the company and left these bad boys behind. The first is a cool clown placed to the left of the window…

clown 1

And the other is a giant robot towering above the headboard…

bed 1

To the left of the robot poster is a Serbian ethnic instrument, a tambura, which the boy occasionally tries his hand at. It, along with the wooden French memo board and the cork board, as well as the natural wood on the furniture and the wooden box on the nightstand add an earthier touch to what could otherwise be a too cold blue room. All the beautiful wood tones warm up the room while giving it a very masculine touch.

I was really happy with the way the room turned out, but was especially thrilled when the boy came home and said he LOVED his new room! I’d call that a successful design vacation!

room 1

making it my own

20 January 2013 by Andrea Leave a Comment

After living in my current house for 6 1/2 years, I finally opened that one last box. You know, the one that lingers and may actually move from house to house without ever being opened. Well, I figured it had cured quite long enough.

It contained some family photos. In our old house we had lots of places for tchotchkes and framed pics, whereas not so much in the new house. The reason I finally opened it is because I’m working on a picture wall, a project that is currently on hold due a surprising worldwide shortage of small black frames.

Anyway, also in the box were some other pics in frames that I decided to place in what was my ex-husband’s office and is now just an unused room that I’ve been having a bit of trouble making feel like part of my space. Guess it’s the old juju and the manly wood built-in desk and all. But it seems that the addition of the pics and their whimsical frames has finally tipped the scales toward making the room feel more inviting.

The fun blue frame was a handpainted gift from a dear artist friend when my daughter was born and it filled in this space perfectly and added a more funky, personal touch…

office 1

Perfect eclectic frame to capture a photo of such a spirited child…


office 2

And I love these photo booth shots of my cousin Joan, a fabulous jewelry designer, and I from years ago!

office 3

And by sprinkling the whimsical, light-colored frames throughout the wood shelves, it adds the warmth needed to pull all of the other fun elements together…

office 4

…like the snow globes and the rubber ducky collection…

office 6

A pic of my boy when he was a baby amongst all of my favorite books…

office 7

And one of my baby girl who’s not such a baby anymore…

office 9

More whimsy…

office 8

An ostrich created by my late uncle who was an iron worker by trade, and clearly an artist by avocation…

office 10

And a print by artist Janice Taylor over at Our Lady of Weight Loss…

office 11

And finally a vintage pic of me, mostly because I like the frame, but to remind me of who I was when I was a kid, a free and easy creative spirit…

office 5

Now the room is finally beginning to feel like it’s a reflection of the new me.


Showing off at Funky Junk Interiors.

no cost project

15 January 2013 by Andrea 2 Comments

Who have I been kidding?

I’ve said that I haven’t been doing any projects because I’ve been, um, short on funds (ie, broke), but seriously that’s no excuse. Because it doesn’t cost anything to clean. And boy does my office/studio/loft need a good cleaning.

I should really be embarrassed to post a pic of it here, but since I have no shame (in addition to no money), here goes…

Messy office

OK, this is an old pic, so it’s not quite this bad. But bad enough.

So I decided that until I can scrape up some cashiola for my next project, I will begin the massive undertaking of cleaning my office/studio/loft space.

I started at the entrance of the loft space with Megan’s desk.

Megan’s desk is so named because it was a desk that I trash picked from my former neighbor Megan’s house when I lived in California. Now almost 7 years later, we still call it Megan’s desk. Kind of an endearing name for a desk.

Here is Megan’s desk, in all of her cleaned up glory…

Megan's desk

Isn’t she loverly? (The chair I picked up from Target a couple of years back.)

If I recall correctly, the desk was Ethan Allen that Megan dared to paint a creamy white. Also if I remember the story correctly, Megan may have had to revive her mother when she found out that she had painted classic furniture. Of course I adored Megan for that and many other reasons!

At some point, Megan was ready for said desk to move on, and she was living across the street from a trash picker at the time. The rest was history.

Until last weekend, Megan’s desk was loaded up with crap, basically a repository for things that needed to be moved, stored, donated, or thrown. So I cleared it out and here she is.

In fact, now that she’s all available again, I may have plans for her elsewhere in the house in the future. But first things first. I still need to finish cleaning the rest of this space, even if it takes all winter.

And at the rate I’m going it might. But I’ll share the embarrassing pictures every step of the way!

little things – bracelet edition

6 January 2013 by Andrea 2 Comments

This is a broken vintage bracelet…

bracelet1

This is a broken vintage bracelet used as art…

bracelet2

Pretty clever, huh?

As much as I would love to wear this bracelet, there was no fixing it, because the metal wasn’t strong enough to repair. But I still love the vibrant colors and beautiful design, so on the wall it went.

bracelet3

Works perfectly next to my print of First Kiss by Bouguereau, which I bought at Target a number of years back for $3.78. Can’t remember what I ate for breakfast today, but can remember how much I paid for something clearance 10 years ago! Go figure.

bracelet4

Yeah, it’s the little things, people…

Showing off this project at Funky Junk Interiors.

road trip!

12 September 2012 by Andrea 1 Comment

We’re going on a Road Trip!

Road Trip! is when I leave my humble abode and take it on the road to someone else’s place to share their decorating savvy.

So let’s Road Trip! to my friend Brandi’s home.

This is Brandi…she’s lots of fun!

Brandi & the Most Interesting Man in the World (I’m sure she’s going to love that I used this pic!)

About a year and a half ago, Brandi bought her first home – an awesome 70s condo. I’ve been sharing unsolicited decorating ideas ever since!

Last winter, Brandi and I were lamenting about her really long living room wall.

I asked Brandi if she’d consider a stencil. Brandi liked the idea and before you know it, the stencil was ordered and work started (Brandi’s a real doer…once she decides on an idea, she moves on it. No curing for her. I like that in a person. Except for me.) There was even a Sunday evening visit from me to help with this awesome project.

Taping the stencil…

The first section complete!

So far, so good!

I’m not going to show the whole project…let’s cut to the finished product…

Doesn’t it look fabulous? I love it! I especially love how it honors the era in which the condo was built. The rug adds a perfect pop of Brandi’s accent colors. And don’t you love the TV stand? Brandi’s dad made it with a pattern from Ana White.

Another angle…

The stenciled pattern really gave definition to what was otherwise a boring wall. Good work, Brandi!

A couple of vignettes by the TV…

Brandi loves all things beachy, and it’s a subtle theme throughout her home, like these shells in a vase…

Let’s travel upstairs to take a sneak peak at Brandi’s bedroom. But first check out this terrific 70s light fixture…

Thankfully Brandi agreed that the 70s light needs to stay. Super mod! The art is by Brandi’s teenage daughter, Madison.

Brandi’s bedroom is still a work in progress, but I couldn’t resist sharing some unique features, like this print, which totally makes me smile…

…framed in this awesome gaudy gold frame…

Then there’s her new shabby chic mermaid lamp on her newly repainted nightstand…

With some fabulous tchotckes from her recent vacation to Florida, like this lobster matchbox…

..and a clock…

…that has a compass on the back…

What a unique piece!

And finally, some art photos that Brandi recently added…

…displaying the calming colors of the sea that Brandi loves…

That’s the end of our Road Trip! today, but I’m sure there will be another trip to Brandi’s, especially after all of the great projects we chatting about today! More to come…

little things :: recorder edition

5 September 2012 by Andrea Leave a Comment

If you have kids or ever were a kid, I’m betting that you have an old recorder lying around. Didn’t everyone play recorder in school? I know I did, my sister did, and both of my kids did.

And I’m guessing that you also have some weird little strip of wall that is too small for just about anything decorative. Well, guess again, people!

Dig up that old recorder make it sing again!

No, you don’t have to play Lightly Row…just find an awkward spot and hang that recorder up, just like this…

It’s just a tiny little speck of wall between two door frames. Perfect for a recorder! Don’t you think?

How much did it cost? $0, since I had not one but two recorders hanging around. And if you want to get all funky and colorful, you could spend about $5 and get one of these…

Now go play Lightly Row while you’re looking for a place to hang your recorder!

how much did it cost? family room edition

28 August 2012 by Andrea Leave a Comment

Recently I freshened up our family room.

It looks great, but how much did it cost?

Let me give you the facts and figures…

  • Zebra ottoman – trash picked the ottoman, pre-owned spray paint, zebra print fabric – $12
  • Pier 1 zebra print throws – 2 x $29.99 – $59.98
  • Fab tulip decorative pillow cover from The Cottage Cupboard – $45.95 + $6 shipping – $51.95*
  • Upcycled vintage sheet turned RELAX pillow cover from Olive Handmade – $29 + $2.75 shipping – $31.75*
  • Number 5 pillow, a recycled sail pillow from Reiter8 – $48 + $9 shipping – $57*
  • 2 green & yellow candles from Pier 1 – 2 x $4.18 – $8.36
  • 1 yellow candle & 1 orange candle – 2 x $7.99 – $15.98

GRAND TOTAL – $237.02

While $237 is no small chunk of change, especially to the broke among us, it’s not such a terrible price to pay to give a complete facelift to my old, boring family room. And best of all, it looks awesome!

*I will note that I spent more on the pillow covers and number 5 pillow than I usually spend. Typically I’m more of a clearance shopper. These were not small purchases. But I decided that I wanted unique, durable accessories and that I want to begin to support artisans, crafters, and artists with my dollars when I can.


Next Page »
  • Email
  • Facebook
  • Instagram
  • Pinterest
  • Twitter

subscribe, baby!

Homage Style on Twitter
Homage Style on Facebook
Pin me! Homage Style on Pinterest

archives

WORK IN PROGRESS...

work in progress :: rose painting

FAVORITE PROJECTS...

the tornado lounge

another glorious chalkboard project

freshening up the family room

industrial chic curtains

angsty teen boy's room

almost instant art

vintage cowboy room

Copyright © 2025 · Beautiful Pro Theme on Genesis Framework · WordPress · Log in