homage style

when your home is your canvas

schedule a design consult
  • blog
  • services
    • styling & decorating
    • home staging
    • virtual home staging
  • featured
  • about
  • workshops
  • contact
  • subscribe

design vacation :: project break :: shabby chic meets mod lamps

23 February 2012 by Andrea 1 Comment

I’m on vacation this week, and spending some time cleaning and freshening up a couple of rooms.  I’ve been hacking away at my master bedroom, slowly but surely.

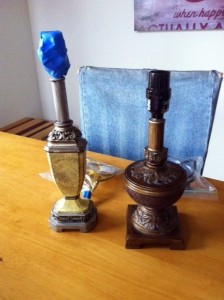
The look that I’m going for in my master bedroom is shabby chic meets mod. I’ve already got the shabby chic going on, and a couple of mod elements, but felt that these lamps were a little too ornate for the look I’m after…

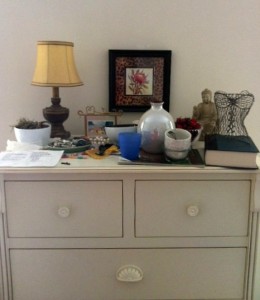
The one on the right can be seen here in these keeping it real pics from the master bedroom…

Sorry, no before pic of the other lamp.

I decided to spray paint both lamps a glossy white.  Simple enough.  I figured it should be a quick and easy sprucing up. Maybe an hour max. Of course even thinking that was the kiss of death that guaranteed I’d have some sort of problem! Guess I forgot the basic physics formula of any DIY project…project time and difficulty is inversely proportionate to the number of times DIYer says or thinks it will be a quick and easy slam dunk!

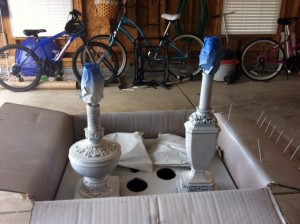
Here are they lamps after the first coat or so…

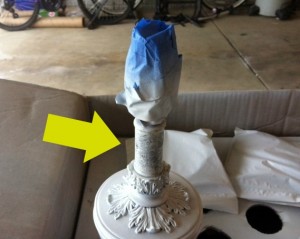
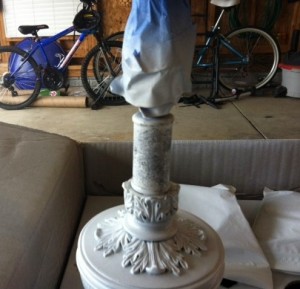
I happened to notice that the lamp on the left was having a little bit of an adhesion issue…

The paint just wasn’t sticking on the neck of the lamp.  What the heck? So I continued spraying. I would conquer this lamp with cheap spray paint.

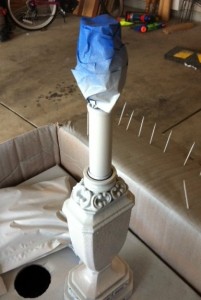
No improvement. Maybe it was the cheap spray paint.  Maybe it was because I didn’t wait long enough between coats. Or maybe there was some sort of texture or oil base or who knows what.  The other lamp, however, was shaping up quite nicely.

I had a can of Krylon Fusion for Plastic in white, so I decided to give that a try, since it’s supposed to stick to just about anything.  That began to work.

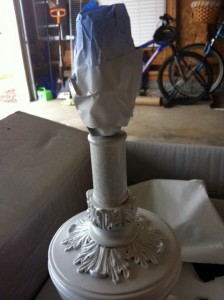
After I got the neck of the lamp fixed up with the Krylon, I sprayed the entire lamp with a couple more coats of glossy white. Finally, success!

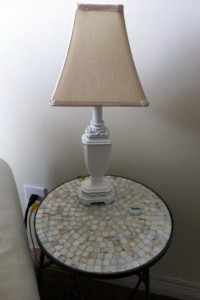
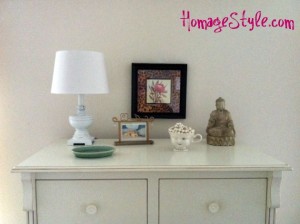
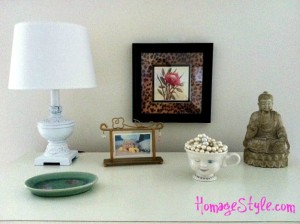
Here’s the lamp that didn’t give me too much trouble, on a terrific inlaid shell table that I scored a couple years back at the end of summer for $20…

And here’s the problem child, that turned out great in the end…

Perhaps you’re wondering, why white? It’s all going toward my evil plan of eventually painting the walls a rich gray.  Just imagine how beautifully the furniture and accessories will pop against a deep gray backdrop.  Can’t wait to get to the painting phase of the journey.

A fun, eclectic collection of goodies that makes my shabby chic meets mod dream come alive.

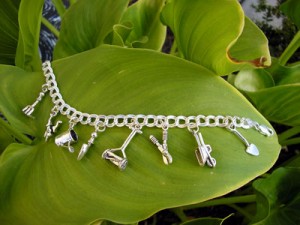
And don’t forget to enter the Spring Cleaning Giveaway for a chance to win this adorable sterling silver charm bracelet!

Click here for contest entry details.

Showing off at these link parties…

Remodelaholic

lights + birdcage = birdcage lamp

21 November 2010 by Andrea 11 Comments

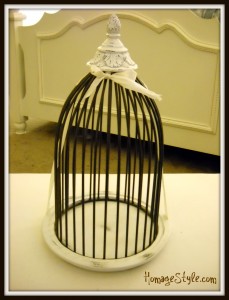
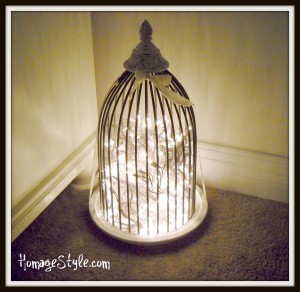
I have a little birdcage that I decided to fill with mini-lights.  Mine is a decorative birdcage, but you could use a real birdcage as well.  However, the bird should probably not be still living in the cage.  And it’s just a recommendation, but if you’re using a real birdcage, you might want to remove the newspapers, bird seed, and of course the bird poop.  But you knew that!

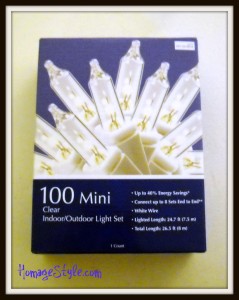
So, I bought 2 boxes of white mini-lights – 100 lights per strand, for $2.49 each…

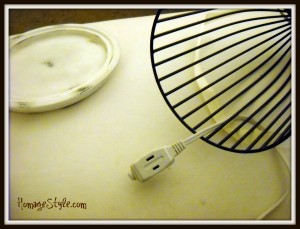
Because the plug on the mini-lights was too large to fit through the bars on the birdcage, I fed an extension cord through the bars.

To give the mini-lights a little height, I placed a glass jar (upside down) in the base of the birdcage, then messily placed the 2 connected strands of mini-lights into the cage around the jar and on top of the jar.  An alternative to using the jar would be to use an additional strand of mini-lights.

I put the cage back together and voila!

\

A quick and easy birdcage lamp!

Now for a couple of tips…

First, although you may be tempted to try LED mini-lights since they use less energy, I recommend using the traditional mini-lights.  The LED lights are super-bright, and not in a good way.  More like in a migraine-maker kind of way.  Ask me how I know…yup, I tried them, and the glare and color of the lights was way too harsh, then had to go back to the mini-lights.

Also, I have the birdcage lamp plugged into an outlet that turns on with a light switch on the wall, which is convenient, so I don’t have to be plugging in the lights.  Just flip the switch and the birdcage lamp is on.

If you don’t have the luxury of a plug controlled by a light switch, you can use an extension cord that has a foot switch.  No need to bend and plug!

Showing off this lamp at the White link party at Funky Junk Interiors.

  • Email
  • Facebook
  • Instagram
  • Pinterest
  • Twitter

subscribe, baby!

Homage Style on Twitter
Homage Style on Facebook
Pin me! Homage Style on Pinterest

archives

WORK IN PROGRESS...

work in progress :: rose painting

FAVORITE PROJECTS...

the tornado lounge

another glorious chalkboard project

freshening up the family room

industrial chic curtains

angsty teen boy's room

almost instant art

vintage cowboy room

Copyright © 2025 · Beautiful Pro Theme on Genesis Framework · WordPress · Log in