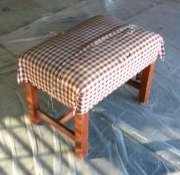
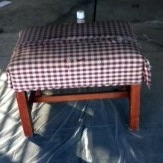
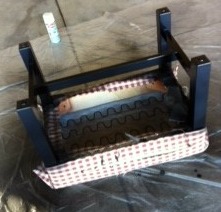
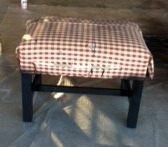
About a year ago, I found this ottoman in my neighbor’s trash…
It was in pretty bad shape, but sturdy nonetheless…
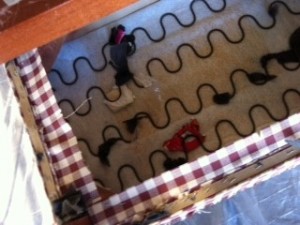
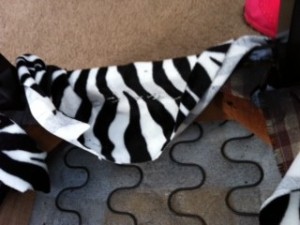
Obviously trash picked, since there was even garbage in the springs…
Gross, but salvagable!
So, I let it cure in my garage for a year.
Eventually I picked up some zebra faux fur, which I bought from Joann, using a 50% off coupon from the Joann app on my iPhone. I bought a yard and a half, which cost me around $12 with the coupon.
This weekend the moment of inspiration finally struck!
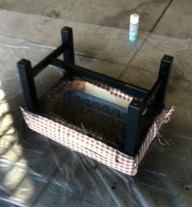
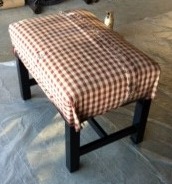
I already had high gloss black spray paint, so I cleaned up the ottoman and spray painted the legs.
I didn’t worry a whole lot about getting paint on the original fabric, since the faux fur is thick enough to cover any discoloration.
The legs weren’t looking too bad…
It’s amazing how much of a difference just the black paint makes.
And now for the faux fur…
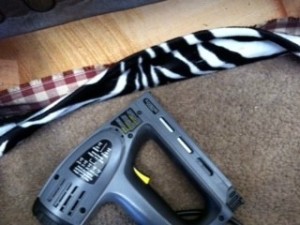
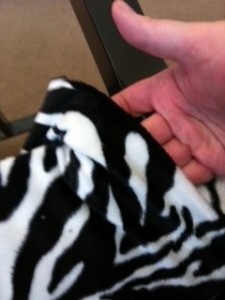
I began by stapling the prewashed fabric in the middle of the wider side of the ottoman.
As an aside, if you’re in the market for a staple gun, let me recommend that you consider an electric staple gun. They’re just a couple bucks more than a manual one, and totally worth it, because the electric one won’t kill your hands the way a manual one does. It’s still a workout and you’ll still break a sweat, because you need to press firmly to release the safety and you’ll need to pull the fabric taut as well. But overall, it’s much easier to use.
After stapling several places in the middle, I stretched the fabric taut and stapled similarly on the opposite side.
I stapled my way out from the middle, and then did the same on the shorter sides of the ottoman, working my way to the corners.
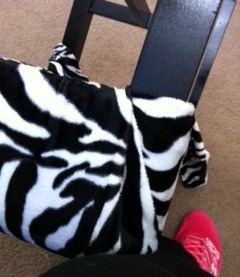
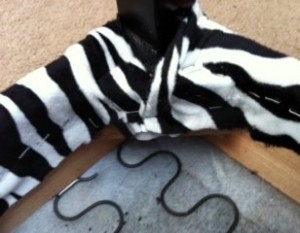
When I got to the corners, I folded them like I was wrapping a present, tucking them in and under as flat and tight as possible.
So that it looked like this on the side after stapling…
And like this underneath…
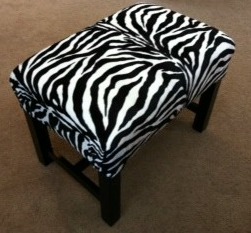
I wasn’t terribly concerned about how things looked underneath, just as long as it looked good on the visible surface. And I think it turned out looking pretty darn good!
Isn’t it adorable? I love it!
Best of all, it was a super inexpensive project. Only cost me $12 for the fabric, plus the spray paint I already had on hand (approx. $4), and my time an effort. Can’t beat that!
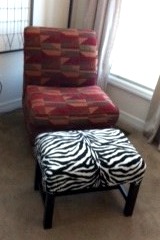
I’m not sure if I’ll keep the ottoman with the red and orange chair, since they’re both pretty bold, but the combination is growing on me, and boy do I love the zebra faux fur ottoman!
Would you keep the chair and the ottoman together?
Showing off my new ottoman at Funky Junk Interiors and Kammy’s Korner. And jumping into the contest over here…

