I do, mostly because my kitchen table and chairs remind me of the 90s on a daily basis…
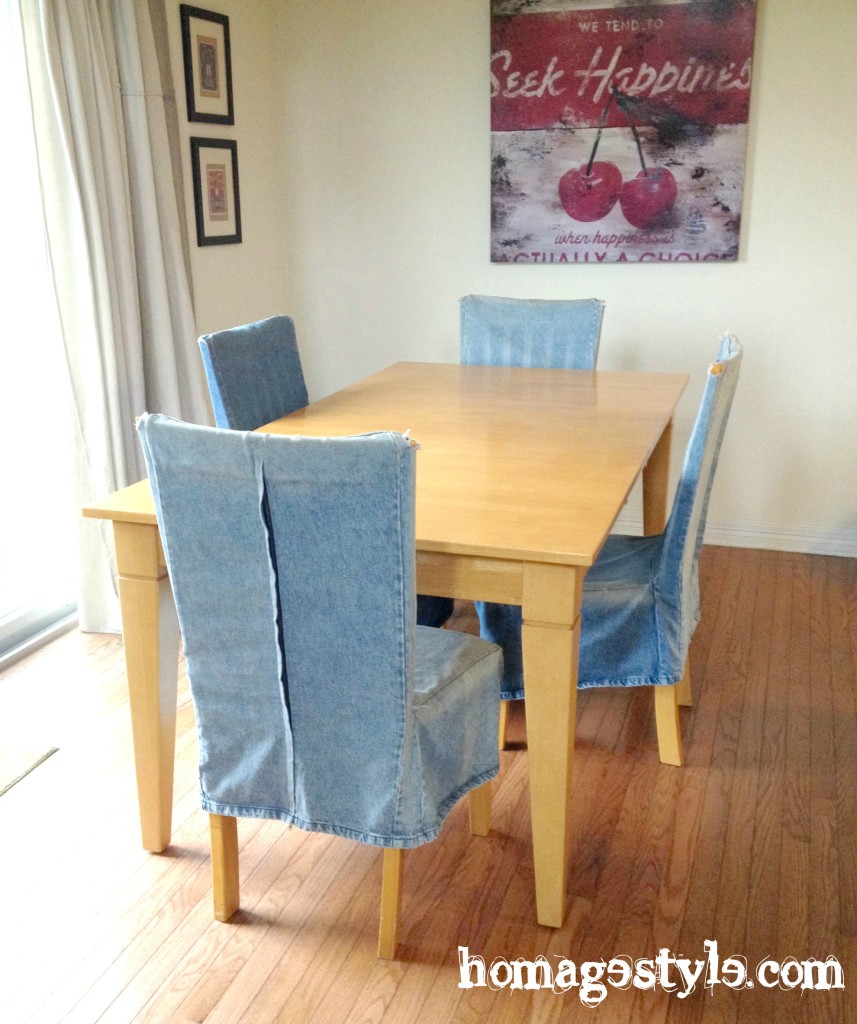 With the table legs being a full-on tribute to the 90s…
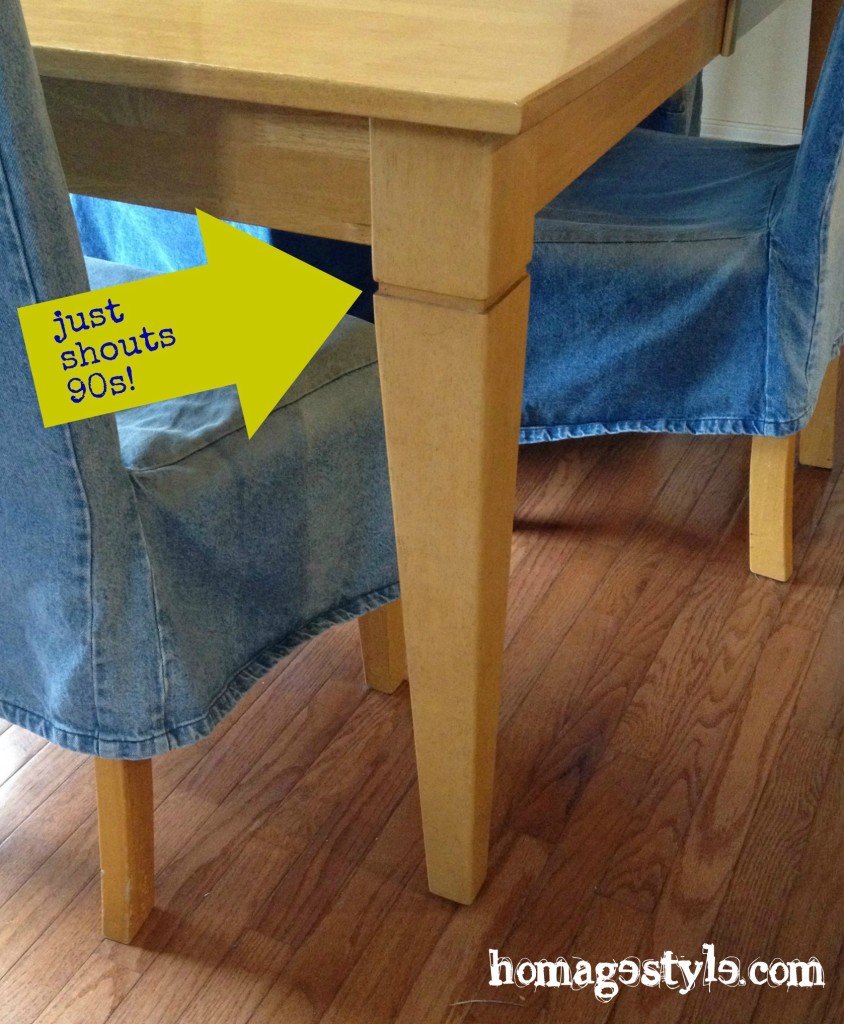
But the 90s table is all I have and nowhere in my mostly non-existent budget is there a line item for a new kitchen table, so I had to get creative.
You know how I love chalkboard paint, right? It’s already kind of a theme in my kitchen, since I painted my kitchen cabinets with chalkboard paint and did a section of the wall in chalkboard too. Why stop there?
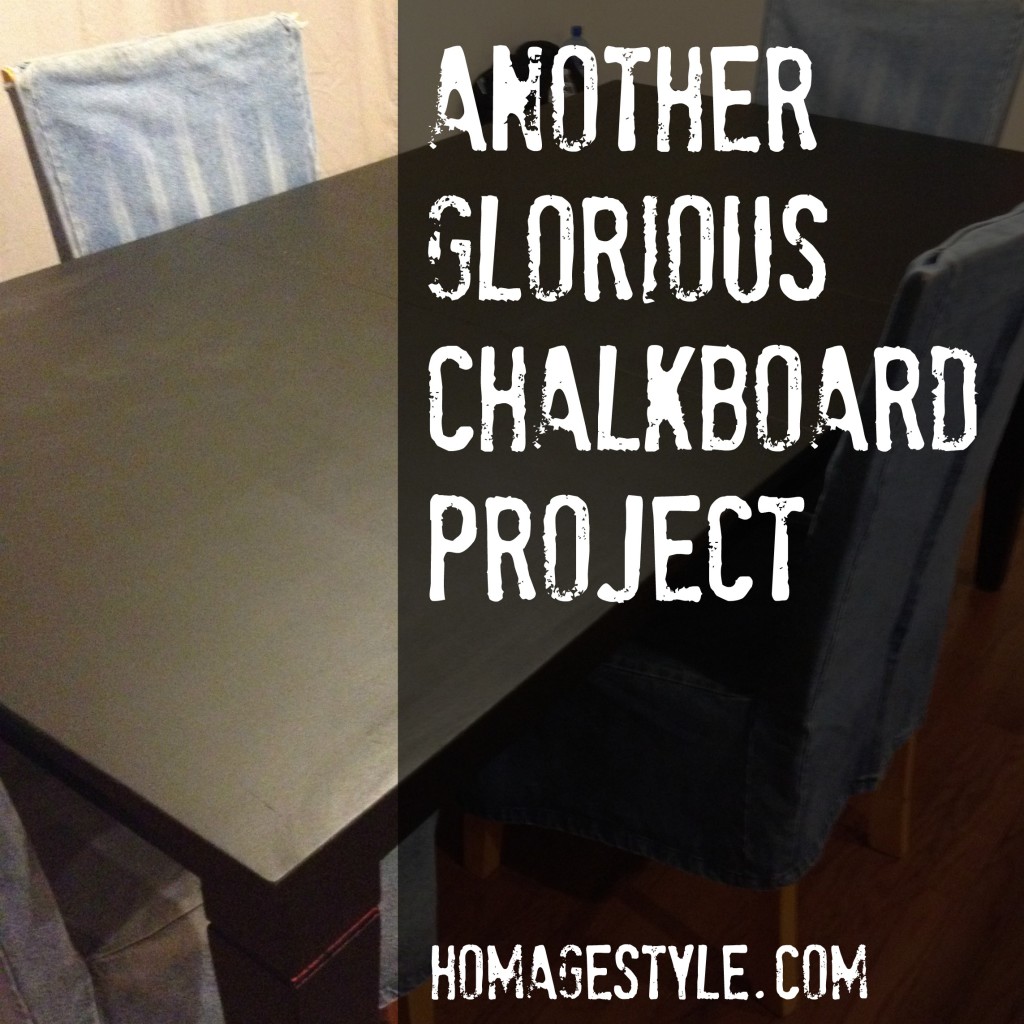
I decided to paint my kitchen table in chalkboard paint.
Of course the peanut gallery (ie, my kids) thought it was a terrible idea. And of course I could care less about their opinion on such matters because I had a vision! So I set about painting it with chalkboard paint.
I started out with the legs and underside. I used an angled brush to get into the corners, nooks, and crannies, but mostly used a small foam roller designed for painting cabinets to get the smoothest application.
After just the first coat things were looking a little scary. Like maybe my kids were right and I had made a GIANT mistake…
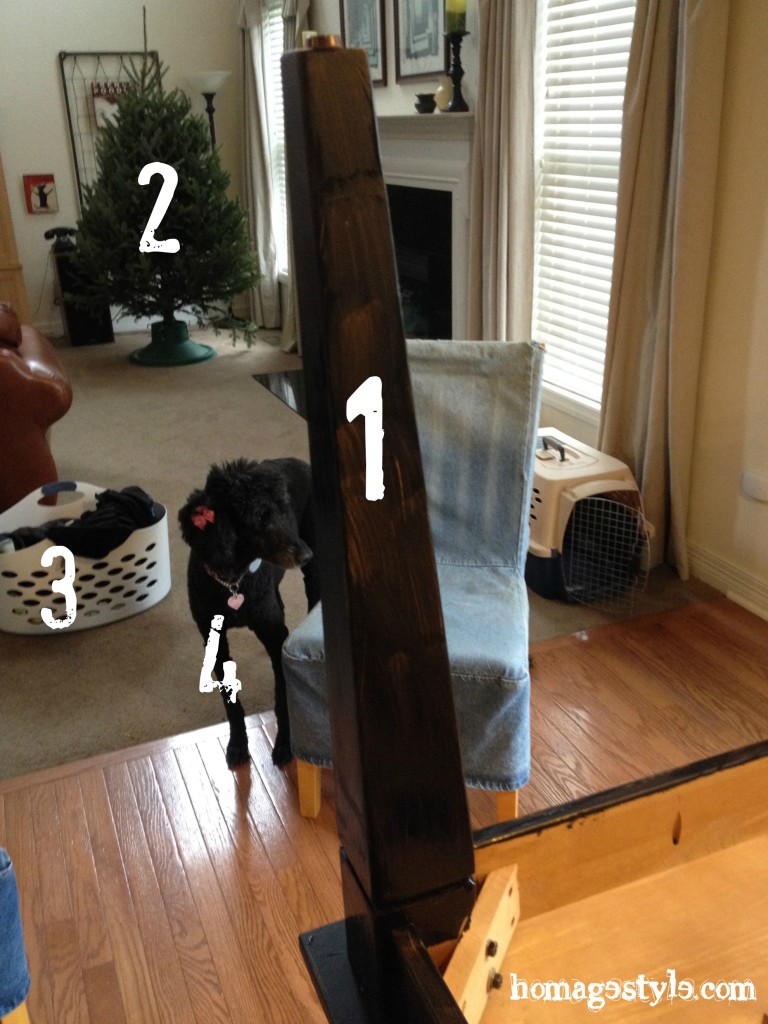
- Chalkboard paint not looking like it’s going to cover or stick to the surface. (No I didn’t prime or sand…this is me we’re talking about!)
- Christmas tree not yet decorated, despite it being 3 weekends before Christmas. Yes, in fact, I was procrastinating on my decorating by painting my kitchen table. What of it?
- My son’s laundry. Just keeping it real, people.
- Dog photobombing my picture like it’s her job. And yes, she does have bows in her hair.
With regard to #1, what could I do, other than press onward. So I did…
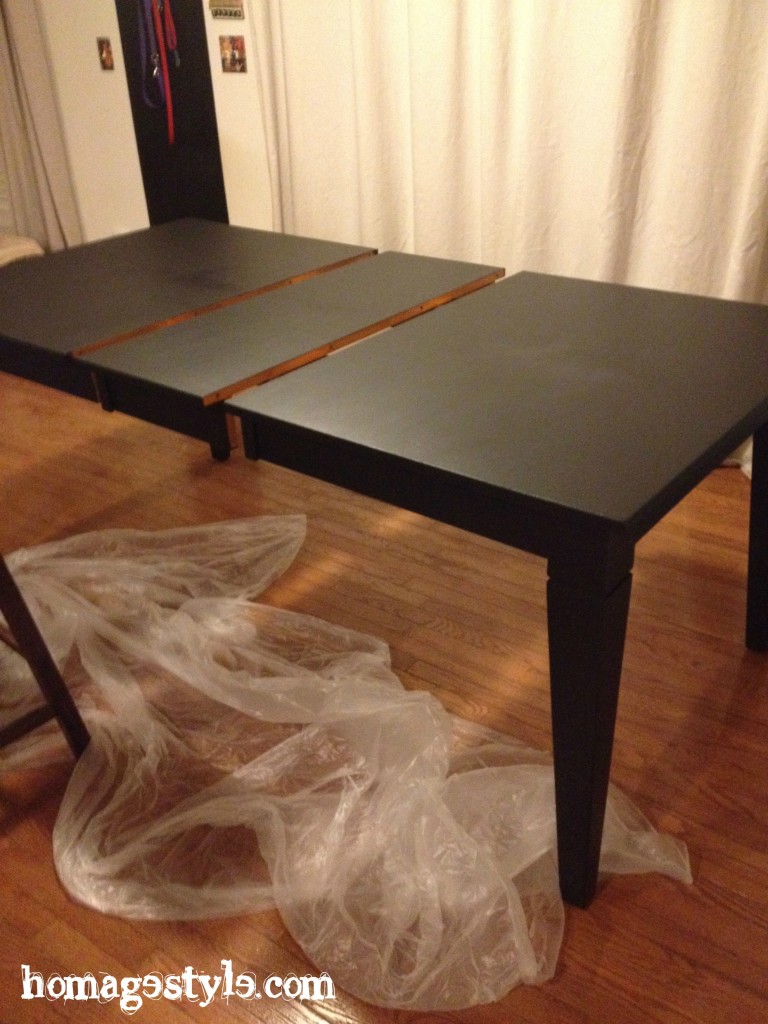
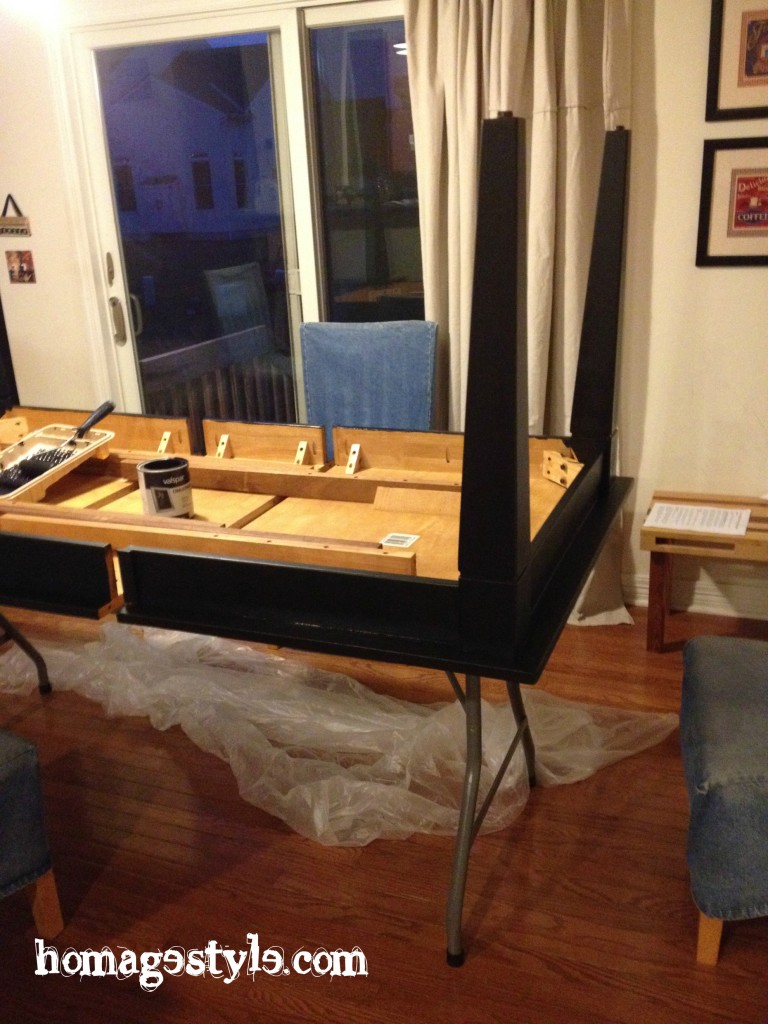 I painted 5 coats on the legs and sides of the table. Not too bad – only took a couple of hours. Then I let it dry and flipped the table over to paint the top. The top got 6 coats. Sounds like a lot of time and effort, but since it was such a small area (not a complete wall or room), the actual painting time didn’t take long. And while each coat was drying, I just went on about my business. You know, avoiding decorating for Christmas and whatnot. I started the project at 2pm and put the last coat on around 11pm.
Here it is, beginning to come together and not looking so scary…
The most awesome finished product…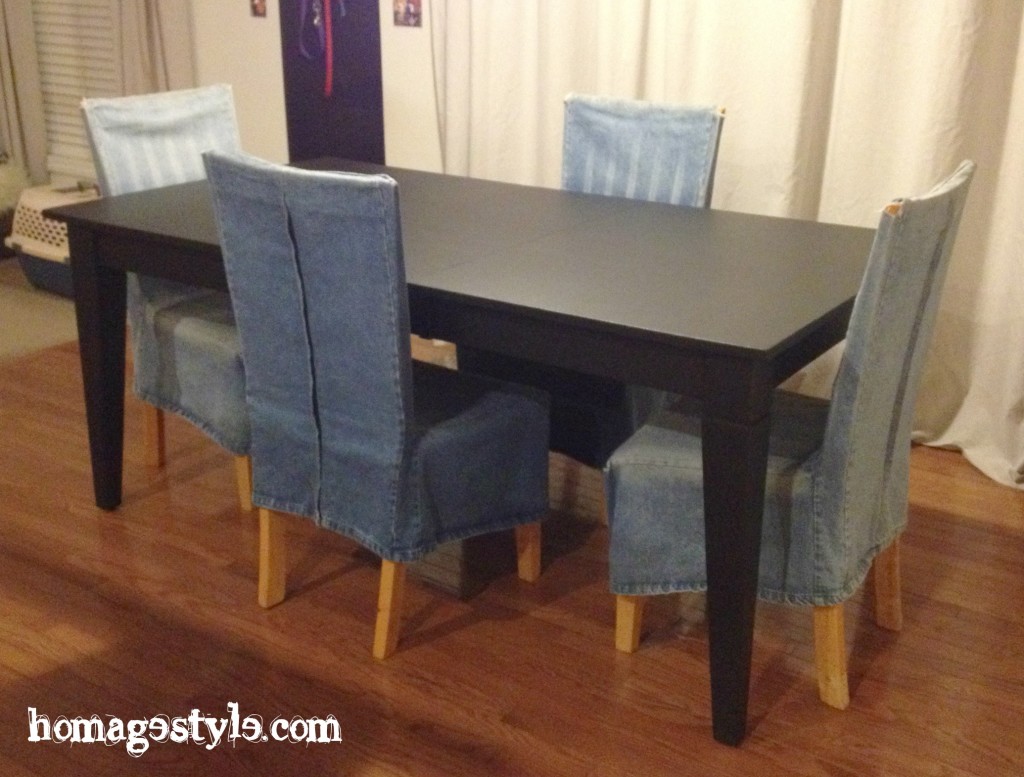 Not only does it look fabulous, but I’m thinking it looks a kind of Pottery Barn. All for the price of a can of chalkboard paint, which was about 10 bucks! Can’t beat that!
Plus the formerly 90s table legs got a new lease on life, with a line of chalk drawn in the inset…
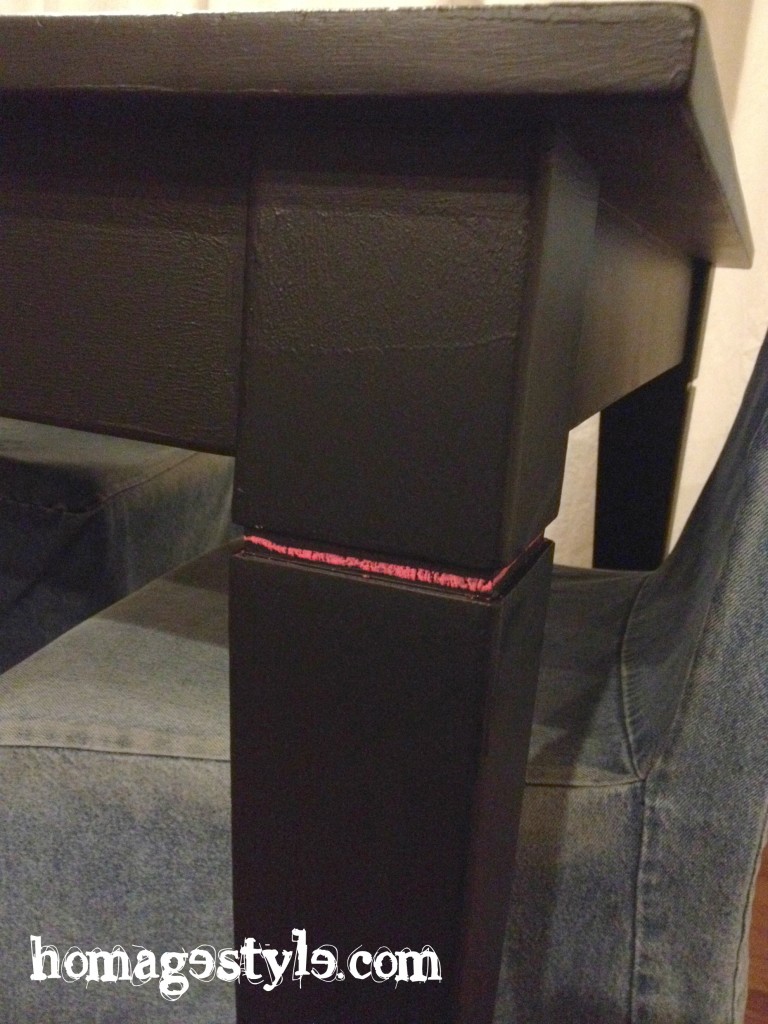 I had thought about maybe doing gold leaf in the inset, but then realized that a chalk line would be the perfect casual addition to the table! Plus I can change the colors when I feel like it or erase it completely, depending on my mood.
Here’s my first scribbling on the new table…
 Now if you think that’s the end of the story, you clearly haven’t been reading here for too long.
It was only moments before I realized that with a 14-year-old and a 21-year-old, I probably made a very grave mistake in painting anything chalkboard. Let’s just say they added some “commentary” to my otherwise glorious chalkboard project…
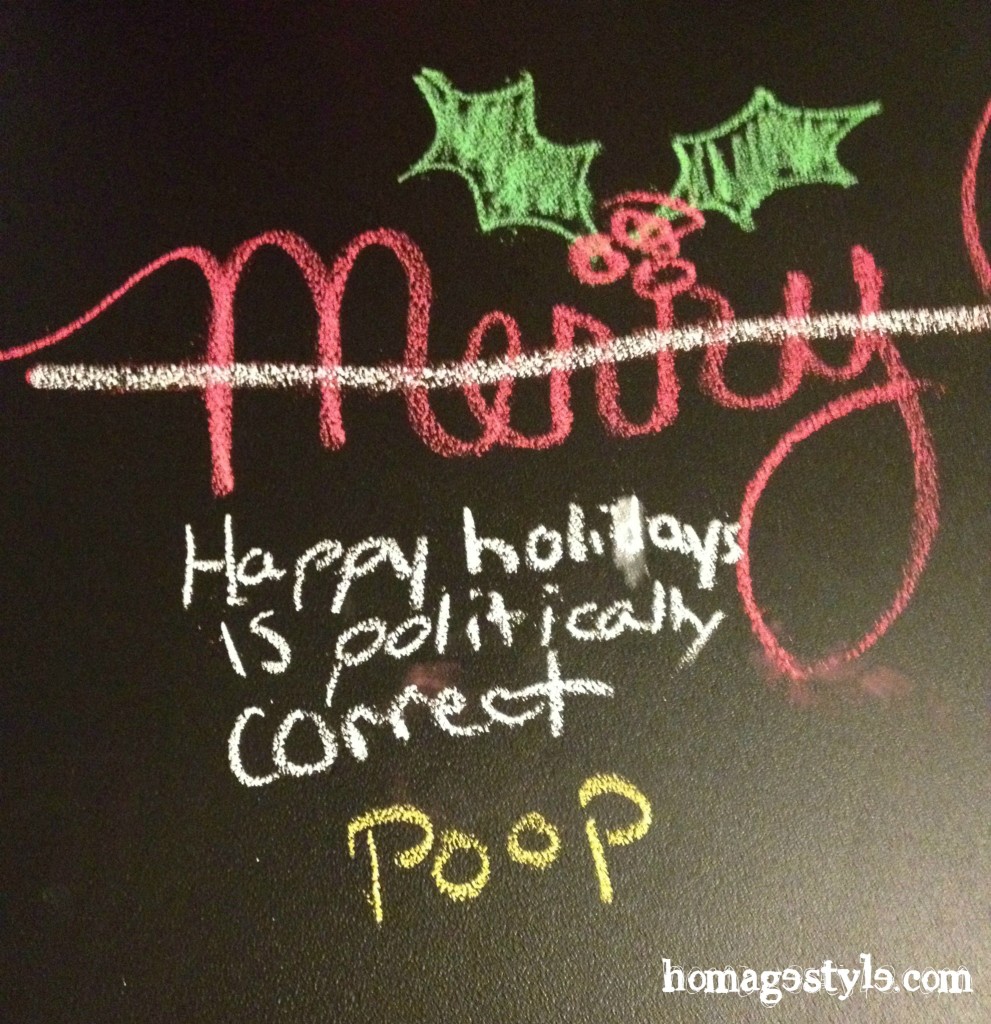 Sigh. And it only got worse from there. Most of it wouldn’t even be considered PG-13, so I won’t elaborate. But I’m sure you can use your imagination. At least the table looks great.
PROJECT UPDATE
And by project update, I mean project FAIL!
So this happened…
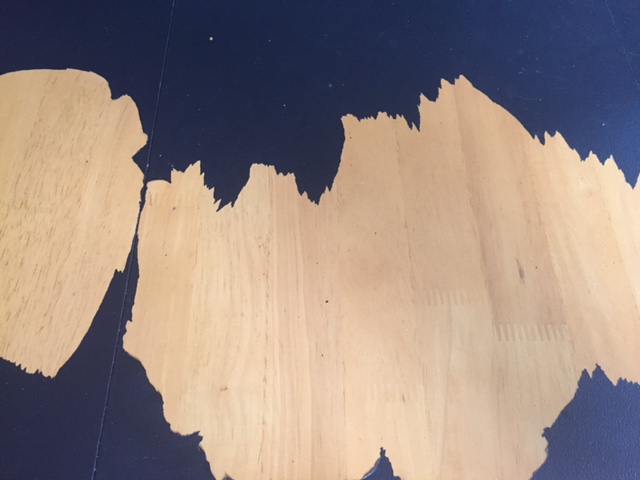 It started out with a couple of scratches in the paint, then a couple of areas that bubbled, followed by the kids and I having a paint peeling party one day at dinner.
Lesson learned: USE PRIMER!
So we continue to peel away portions. It’s far more rewarding than sanding. And I guess I will either a) leave it as it once it’s fully peeled, or b) eventually repaint, this time using a primer.
Why can’t anything ever be easy? Hahahaha! And that, my friends, is the true nature of DIY!
If you enjoyed this blog post, please share…
