homage style

when your home is your canvas

schedule a design consult
  • blog
  • services
    • styling & decorating
    • home staging
    • virtual home staging
  • featured
  • about
  • workshops
  • contact
  • subscribe

work in progress :: rose painting

4 October 2014 by Andrea 2 Comments

WIP rose paintingSo, I’ve had a project on my mind for a while, curing. It’s to take this pic that I received as a thank you…

Thank you rose

…and paint it on a large canvas.

Oh, you didn’t know that I could paint? Neither did I, until I took an oil painting class about 10 years ago. In fact, the teacher was visibly irritated with me because she thought that I had certainly painted before, which I had not. Which is weird, because shouldn’t one be happy to discover someone with talent? Well, whatever. She has since passed away, so I’ll not speak ill of the dead, lest they haunt me or something.

So anyway, I discovered that I can take a picture of something, like this orange rose, and paint it. If I’d been born in another place and time, I probably could have made a fortune as a forger, but with science and all, that’s just another dashed hope.

But I digress…back to my work in progress.

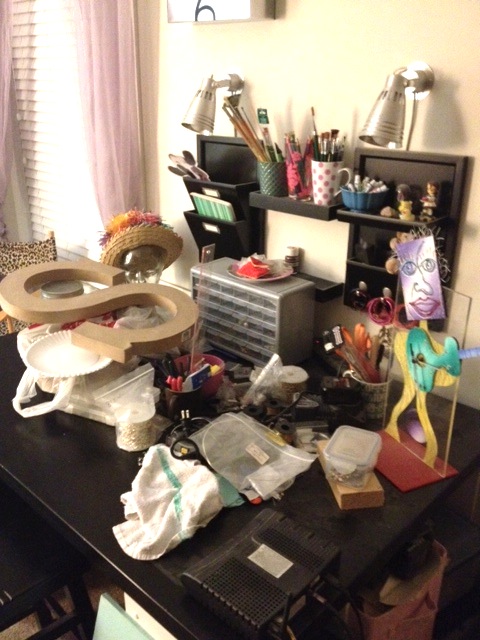
After caffeinating excessively in an attempt to inspire myself to do yardwork – a successful venture, I might add – I decided that it was high time to begin this painting project. I had already purchased a large canvas (36″ x 36″) several months ago in anticipation of curing for a while and eventually beginning this project.

First step was to add some picture hanging wire to the back. This time there were no injuries, like last time when I was contemplating a tetanus shot.

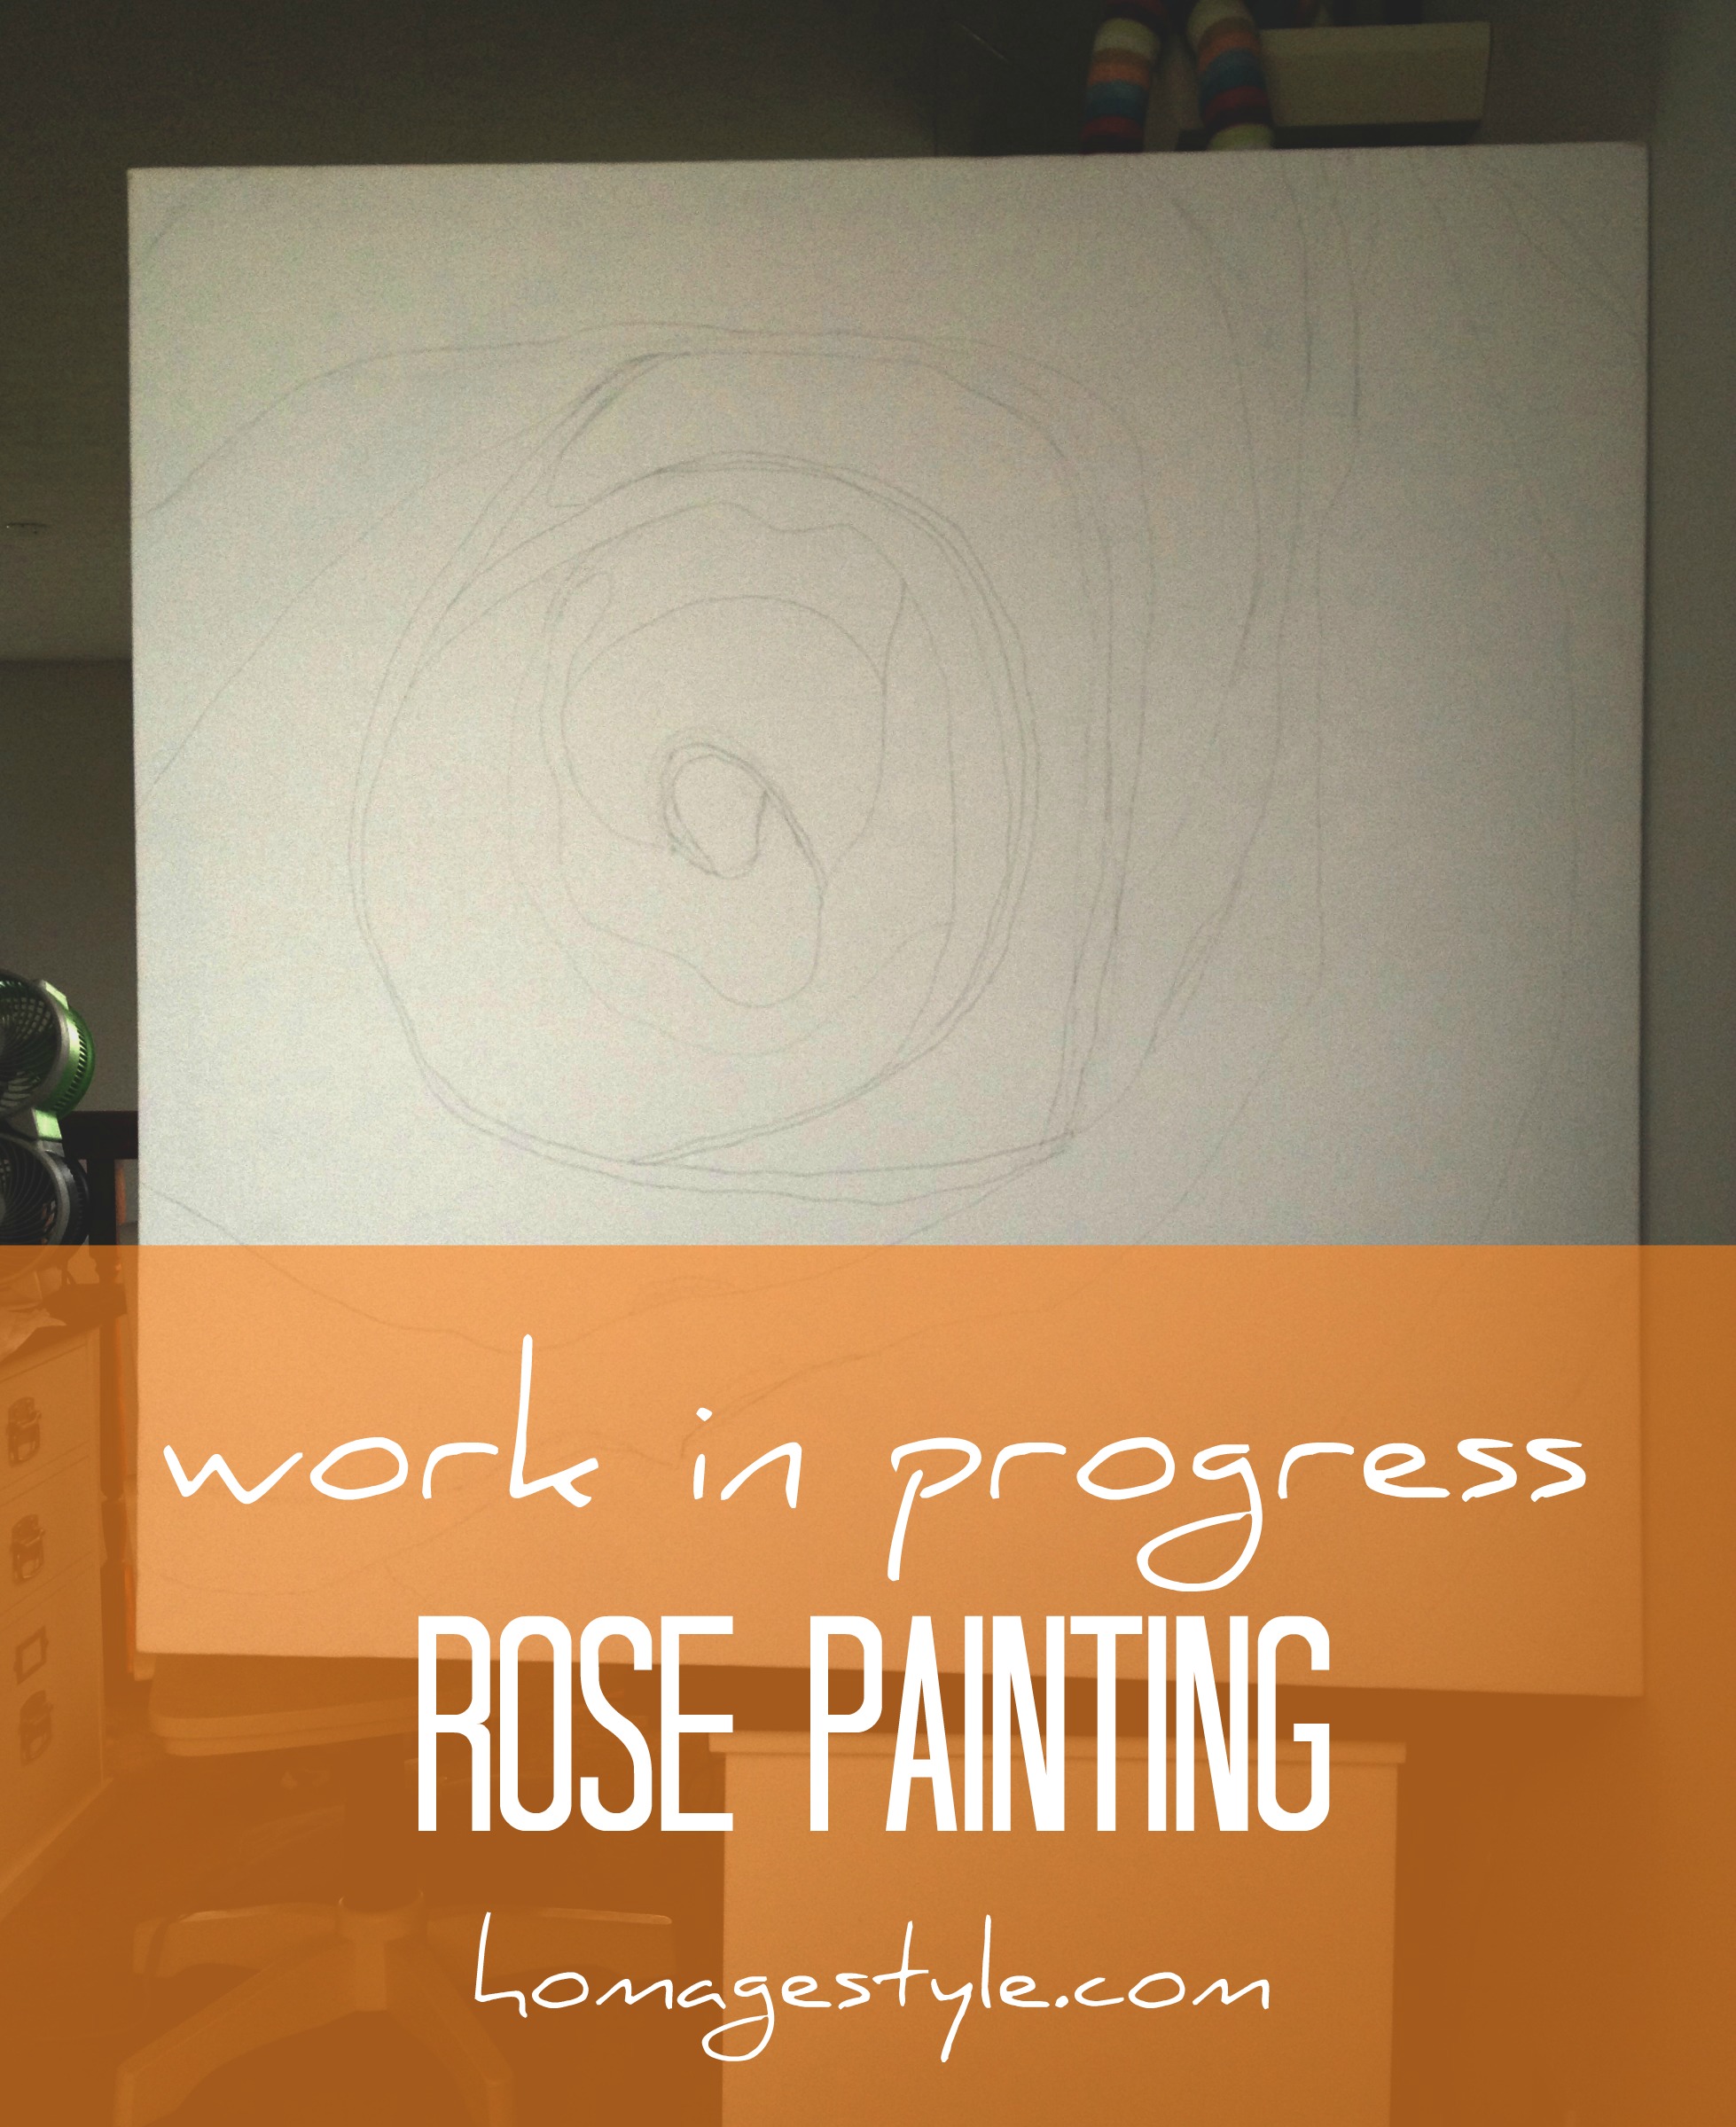
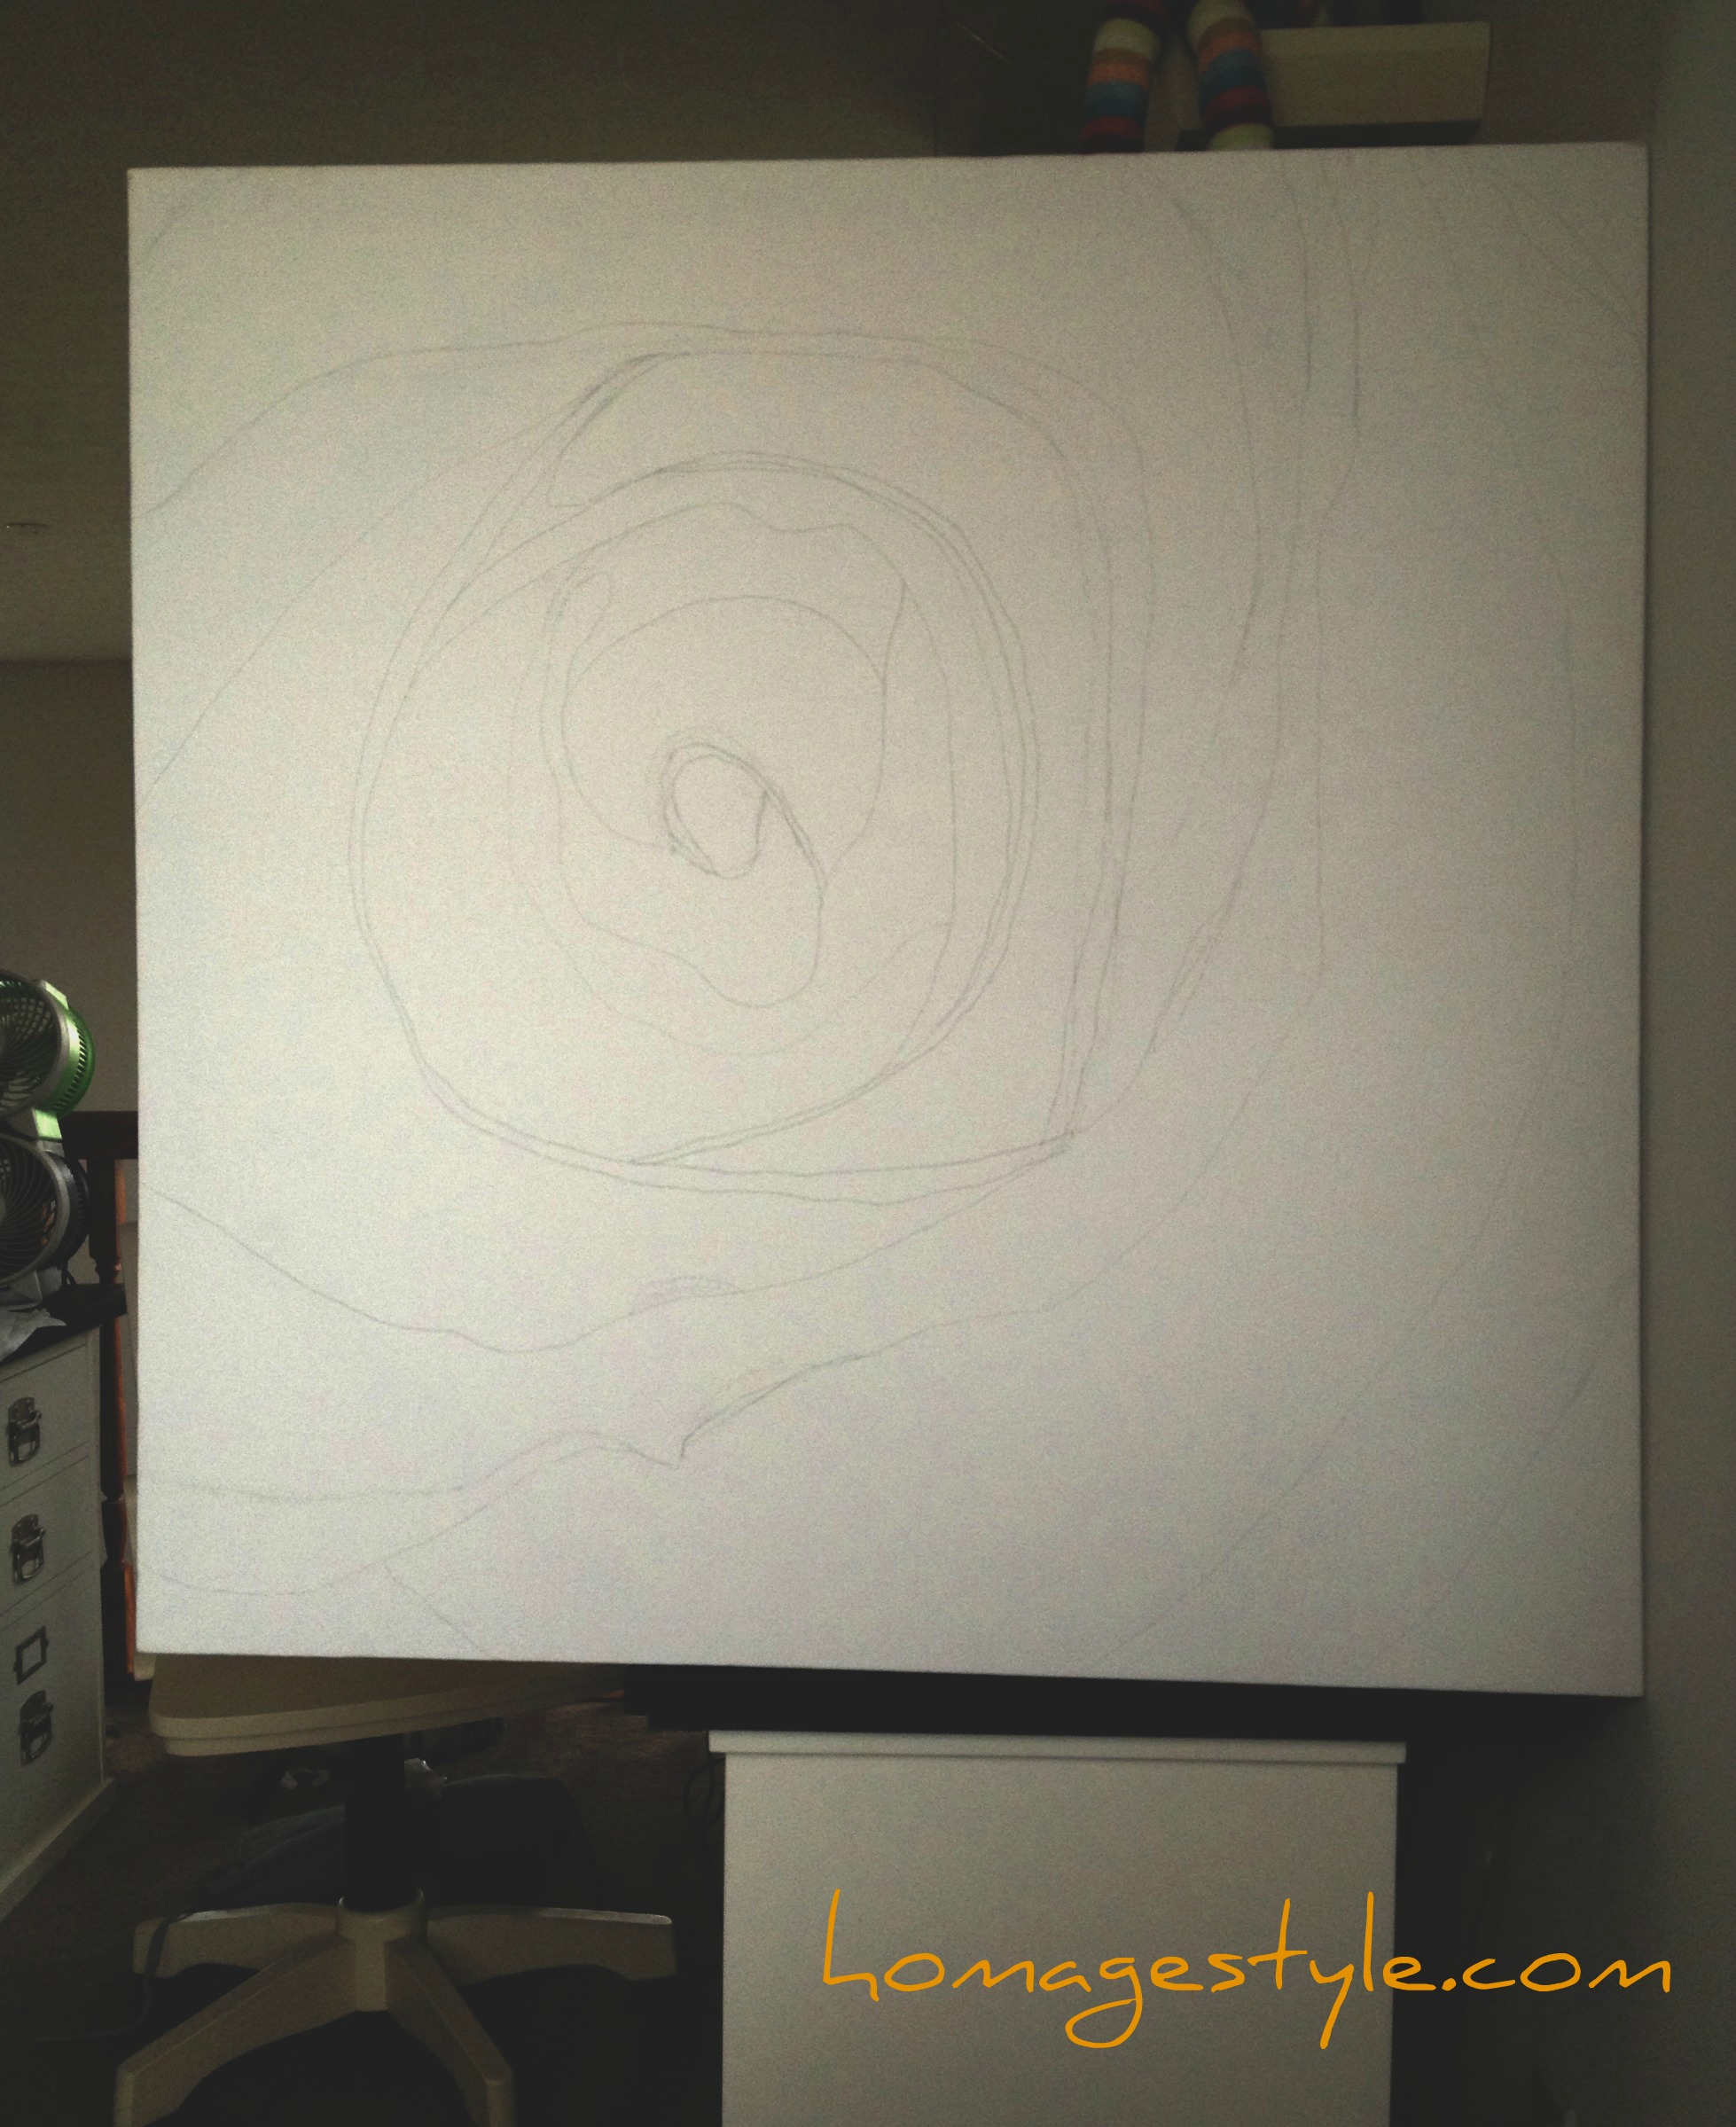
Next step was to do some sketching, which you can sort of see here…

Work in progress rose paintingThe painting will hang on my giant one and a half story stair wall, as you can see it hanging here as a work in progress…

Stair wall
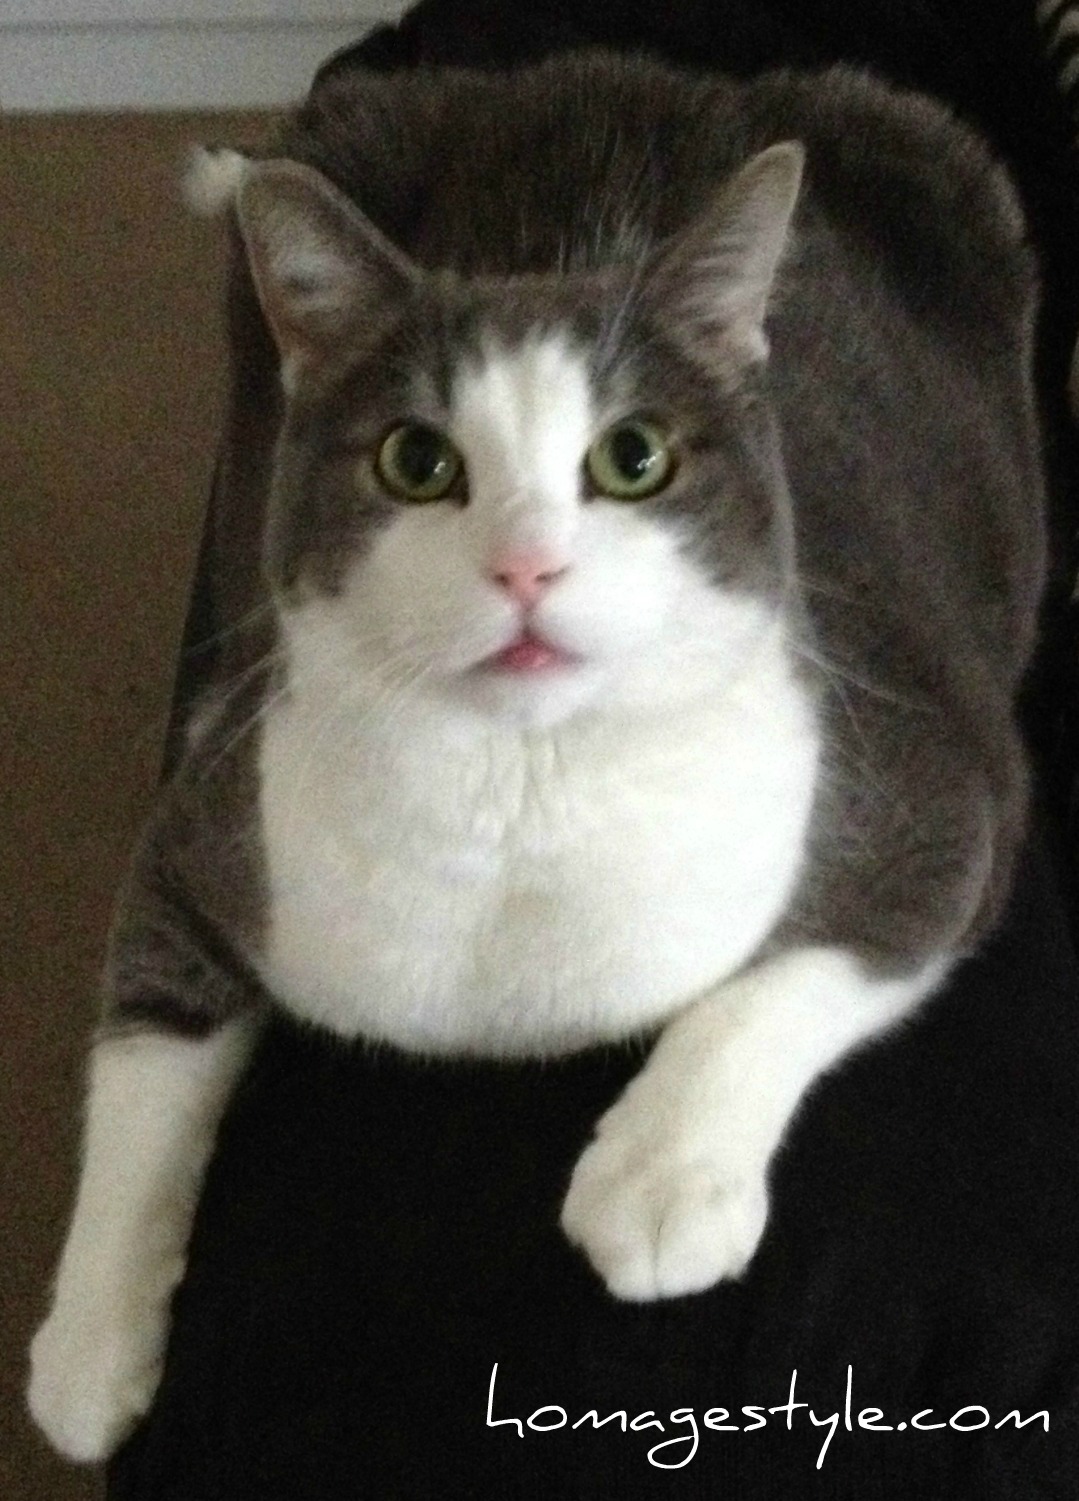
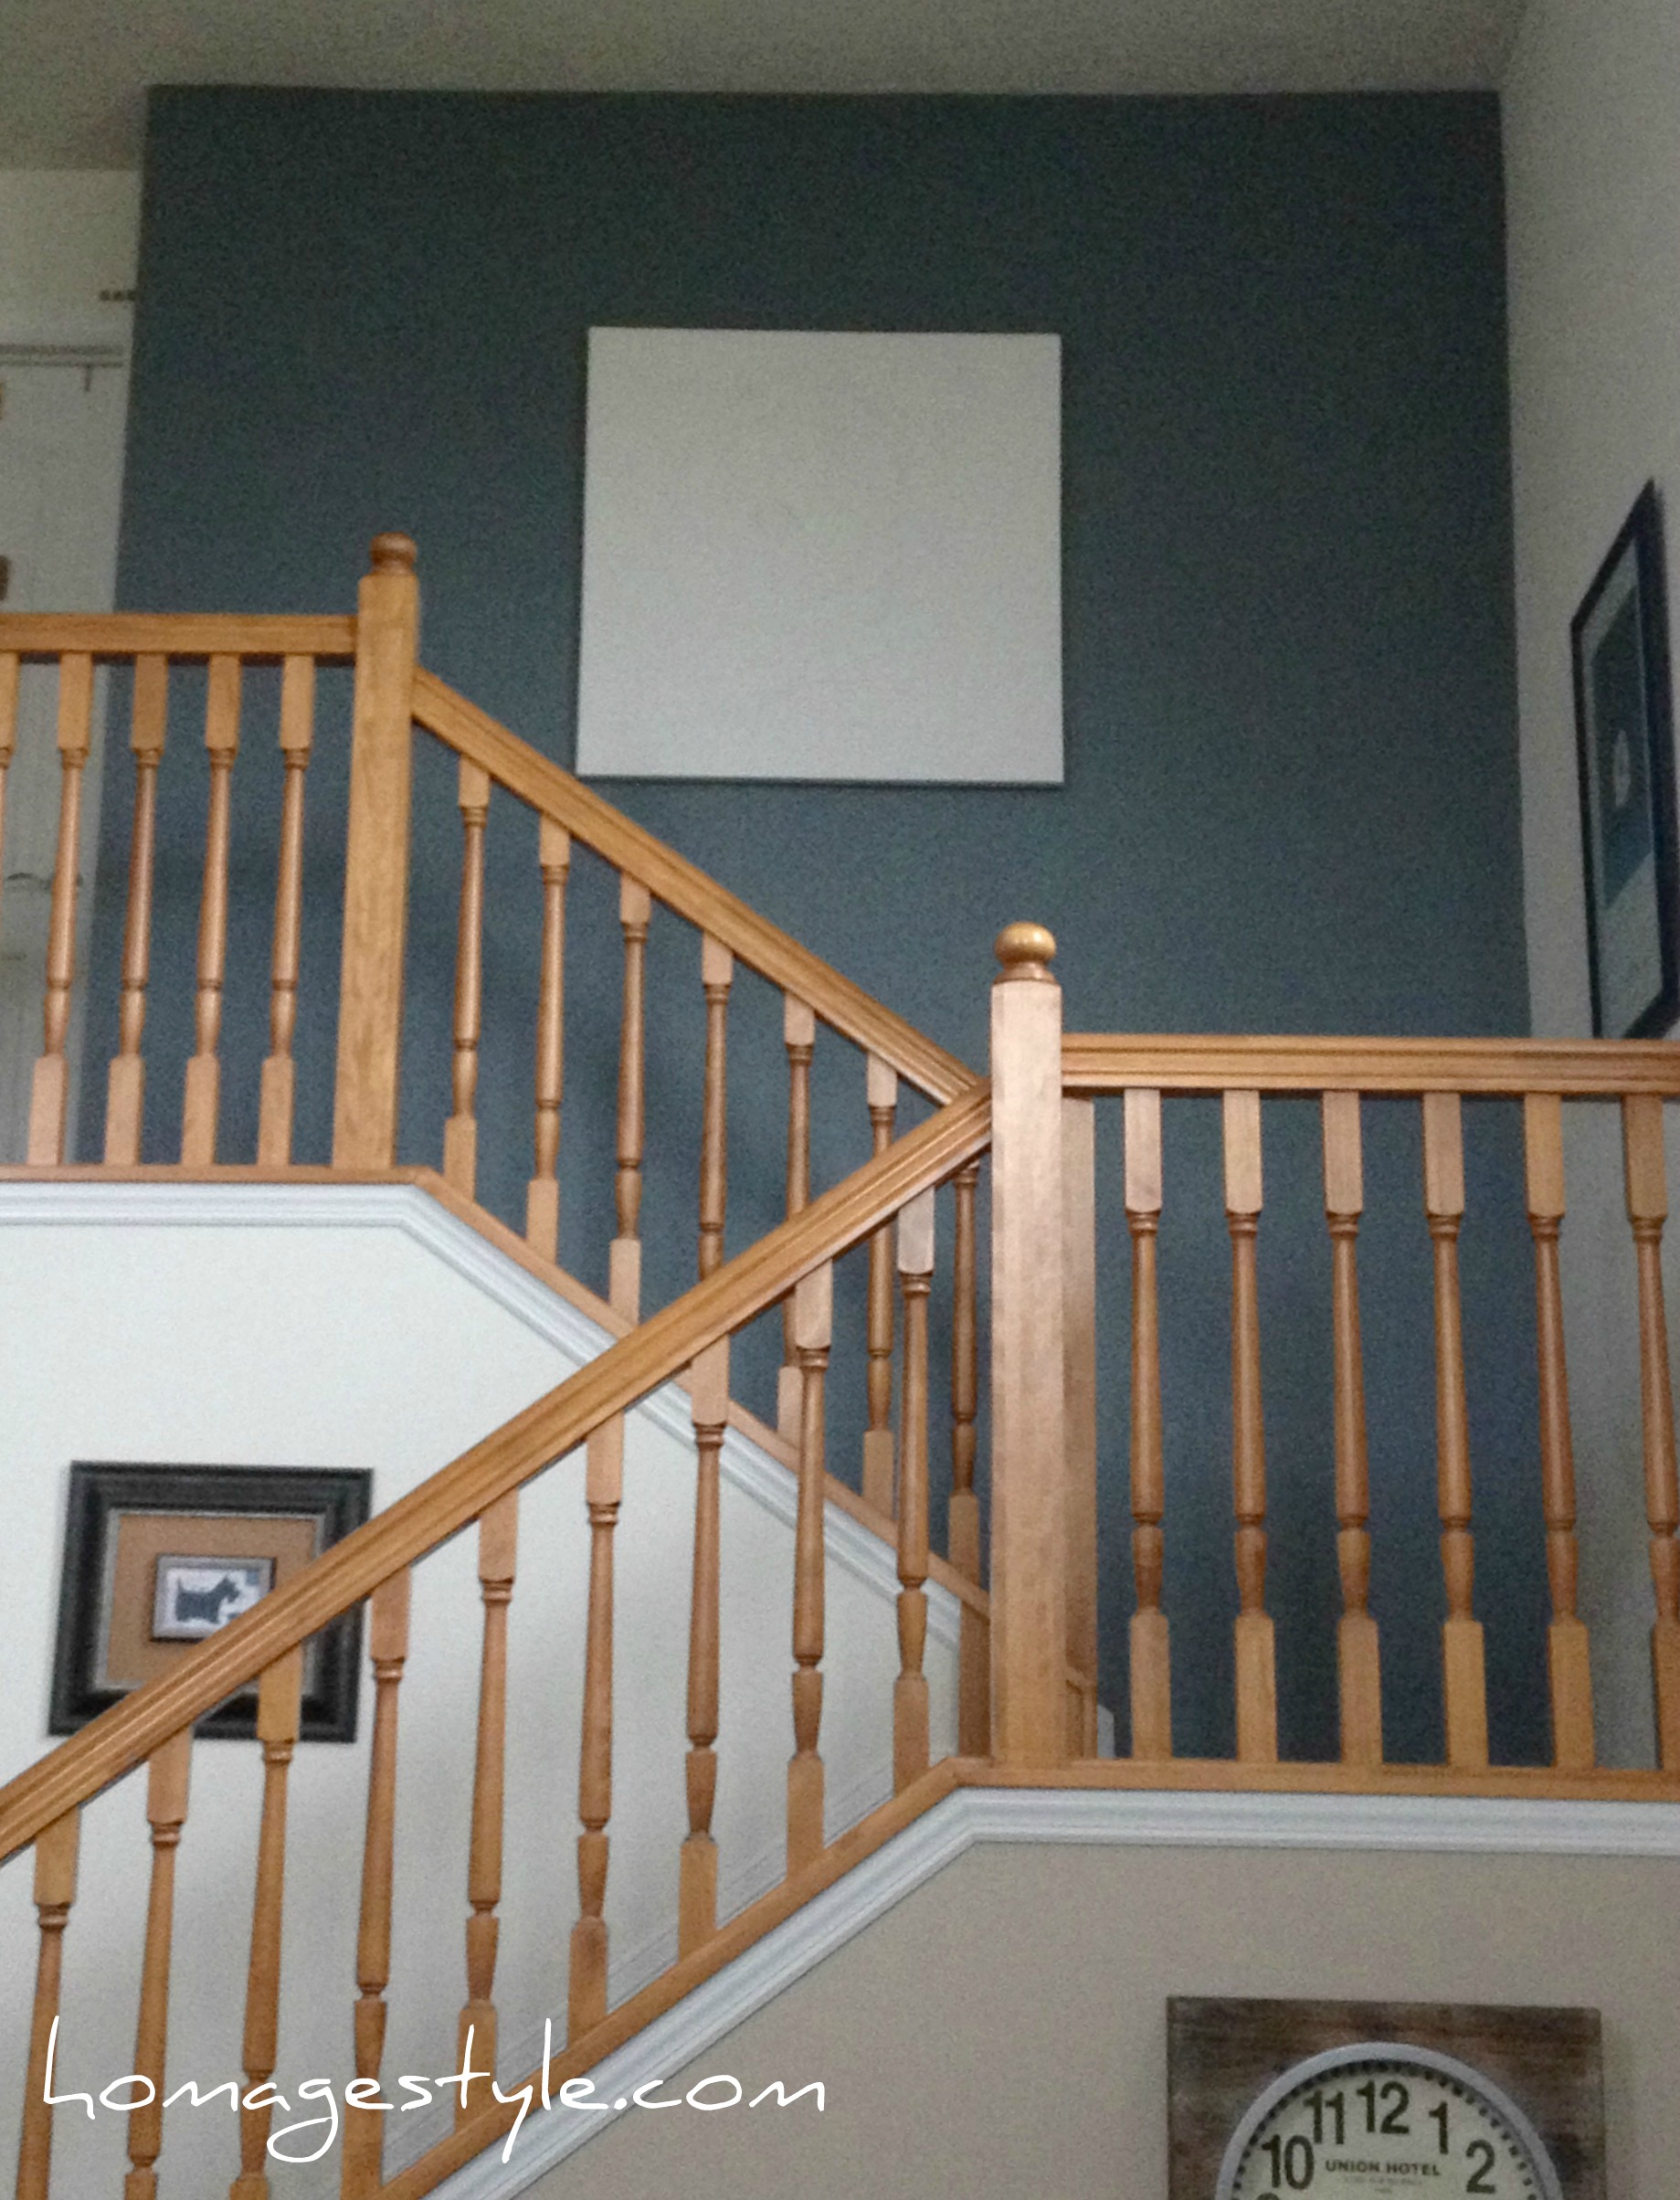
It will have to hang there to dry as well, since a) I don’t have a big, giant easel, and b) I have a cat who will walk on my painting and ruin my life…

My cat who will walk on drying paintHopefully having a blank painting on a main wall in my house will inspire me to do more painting and less curing!

I will post updates throughout the painting process, so you can see my work in progress.


keeping it real

16 January 2013 by Andrea Leave a Comment

So where do I begin with the massive undertaking of cleaning up my office/loft/art studio?

The art table?

photo

The front desk?

photo 1

Or maybe the back desk?

photo 3

I think we’ve found a winner, folks. The back desk seems to be the least offensive, so I think I’ll begin there.

Just keeping it real, people.


design vacation – keeping it real in the master bedroom

20 February 2012 by Andrea 5 Comments

Sounds kind of scandalous!  But when you see this, you’ll realize how completely scandalous it really is…

Messy-licious! And there’s more…

Nothing like watching an episode of Hoarders to jump start the spring cleaning bug.

And that, my friends, is my bedroom.  Let’s just say it’s gotten out of hand. So I started with a big cleanup. Which took a surprisingly long time. I’m sure that had nothing to do with treating myself to occasional trips to Pinterest.

While it’s not quite ready for the full reveal, here’s a little something…

Nothing wrong with this vignette, but I’ve been trying to add a touch of mod around the house, so I want to mix it up a bit.

I found a terrific iridescent vase at Target, and it looks pretty good…

…but it could use a little more height.  Something along these lines…

These are pieces of wood that my son broke when he was in tae kwon do. But the raw wood looks too, well, raw, so I painted it with a gray craft paint, not worrying about priming or if the woodgrain showed through the paint.  Call it character and texture.

There, that’s better. The painted wood adds height and texture.  Plus the wood pieces have special meaning to me, and now I’m using them instead of having them stuck in a cabinet.  My son even wrote his name on one pieces, making it extra special.

Plus it looks great, don’t you think?

Don’t forget to enter the Spring Cleaning Giveaway!

Showing off at these link parties…

Remodelaholic

finish what you started – lampshade edition

28 January 2012 by Andrea 4 Comments

Now that I’ve kicked off Finish What You Started, I better put my money where my mouth is. So here’s the first project…Finish What You Started – Lampshade Edition!

(It’s like you can hear all of the clean freaks of the world breathing a sigh of relief and saying “Finally!”)

This is the half-complete project – a hand-beaded lampshade…

Of course there’s a story behind it.

It used to be this lamp…

…about 5 years ago, when we first moved into our current house. My nephew, who is now in kindergarten, was a toddler, toddling around my family room, when he stumbled and fell, creating a chain reaction that ended with this lamp falling to the ground, and the adorable striped paper shade tearing in several places, unable to be repaired.

After banishing my nephew from my family room and yelling at my sister (HA! JUST KIDDING! I was mature and acted like everything was OK), I rushed out to Pier 1 Imports, where I purchased the original lamp and they had only one left.  Score!  Plus it was clearance priced at $14.99! (While I may not be able to remember what I ate for breakfast this morning, I can remember sale prices from decades ago!)

In the meantime, since the original lamp was still in working order, I decided to rework the lampshade by hand stringing it with glass beads. I got about this far when I lost interest…

Stringing the beads was labor intensive and time consuming. But not exactly 5 years time consuming!  It sat on my craft table curing for a good long time, staring at my procrastinating self every time I passed, daring me to finish.

Well finally I’ve finished what I started…

Doesn’t it look great?!

I used jewelry wire and several packs of bulk glass beads, which you can find at your craft store if you’re interested in trying this yourself. However, I would choose a small lampshade, because if this one took 5 years to complete, imagine how long it would take to complete a larger one!

The best part is that not only is it an adorable lamp, but it feels so good to finish what I started so long ago!

Now I just need to finish the desk where I plan to use the lamp!

Showing off at Funky Junk Interiors and Tater Tots & Jello link parties.

finish what you started

28 January 2012 by Andrea 1 Comment

Hi. My name is Andrea and I’m a procrastinator.

Hi, Andrea.

I can have a brilliant project idea, and then I let it cure. And cure. And cure. Because some of us creative types forgot some of the basics we learned in kindergarten, like put your toys away!

Well, enough is enough, and it’s time to wrap up a lot of projects that have been hanging around for months or even years. So this year I’m kicking off a new feature – Finish What You Started!

Throughout the year I’ll be finishing up and sharing projects that have been sitting around curing for a while.  And I’d love to see what you’ve finished as well, so I might throw in a link party here and there, so we can all prove that we remember what we learned in kindergarten!

Let’s kick it off with Finish What You Started – Lampshade Edition!

  • Email
  • Facebook
  • Instagram
  • Pinterest
  • Twitter

subscribe, baby!

Homage Style on Twitter
Homage Style on Facebook
Pin me! Homage Style on Pinterest

archives

WORK IN PROGRESS...

work in progress :: rose painting

FAVORITE PROJECTS...

the tornado lounge

another glorious chalkboard project

freshening up the family room

industrial chic curtains

angsty teen boy's room

almost instant art

vintage cowboy room

Copyright © 2025 · Beautiful Pro Theme on Genesis Framework · WordPress · Log in