This past week I traveled to Indianapolis for work and had the opportunity to stay at the very cool and very mod Alexander Hotel. It was so hip, the moment I opened my hotel room door, rather than doing my usual paranoid routine of checking in the closet, shower, and under the bed for a murderer lying in wait, I started a photo shoot. The room was so awesome, I didn’t even remember to lock my door!
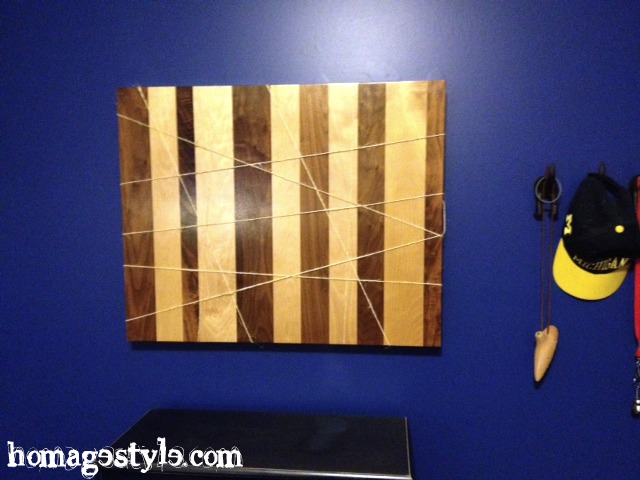
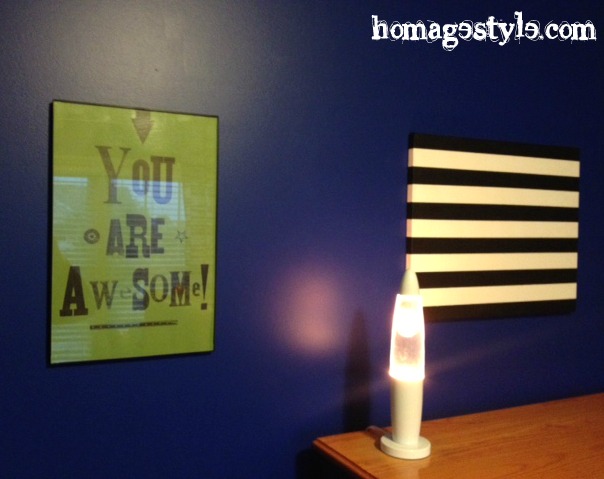
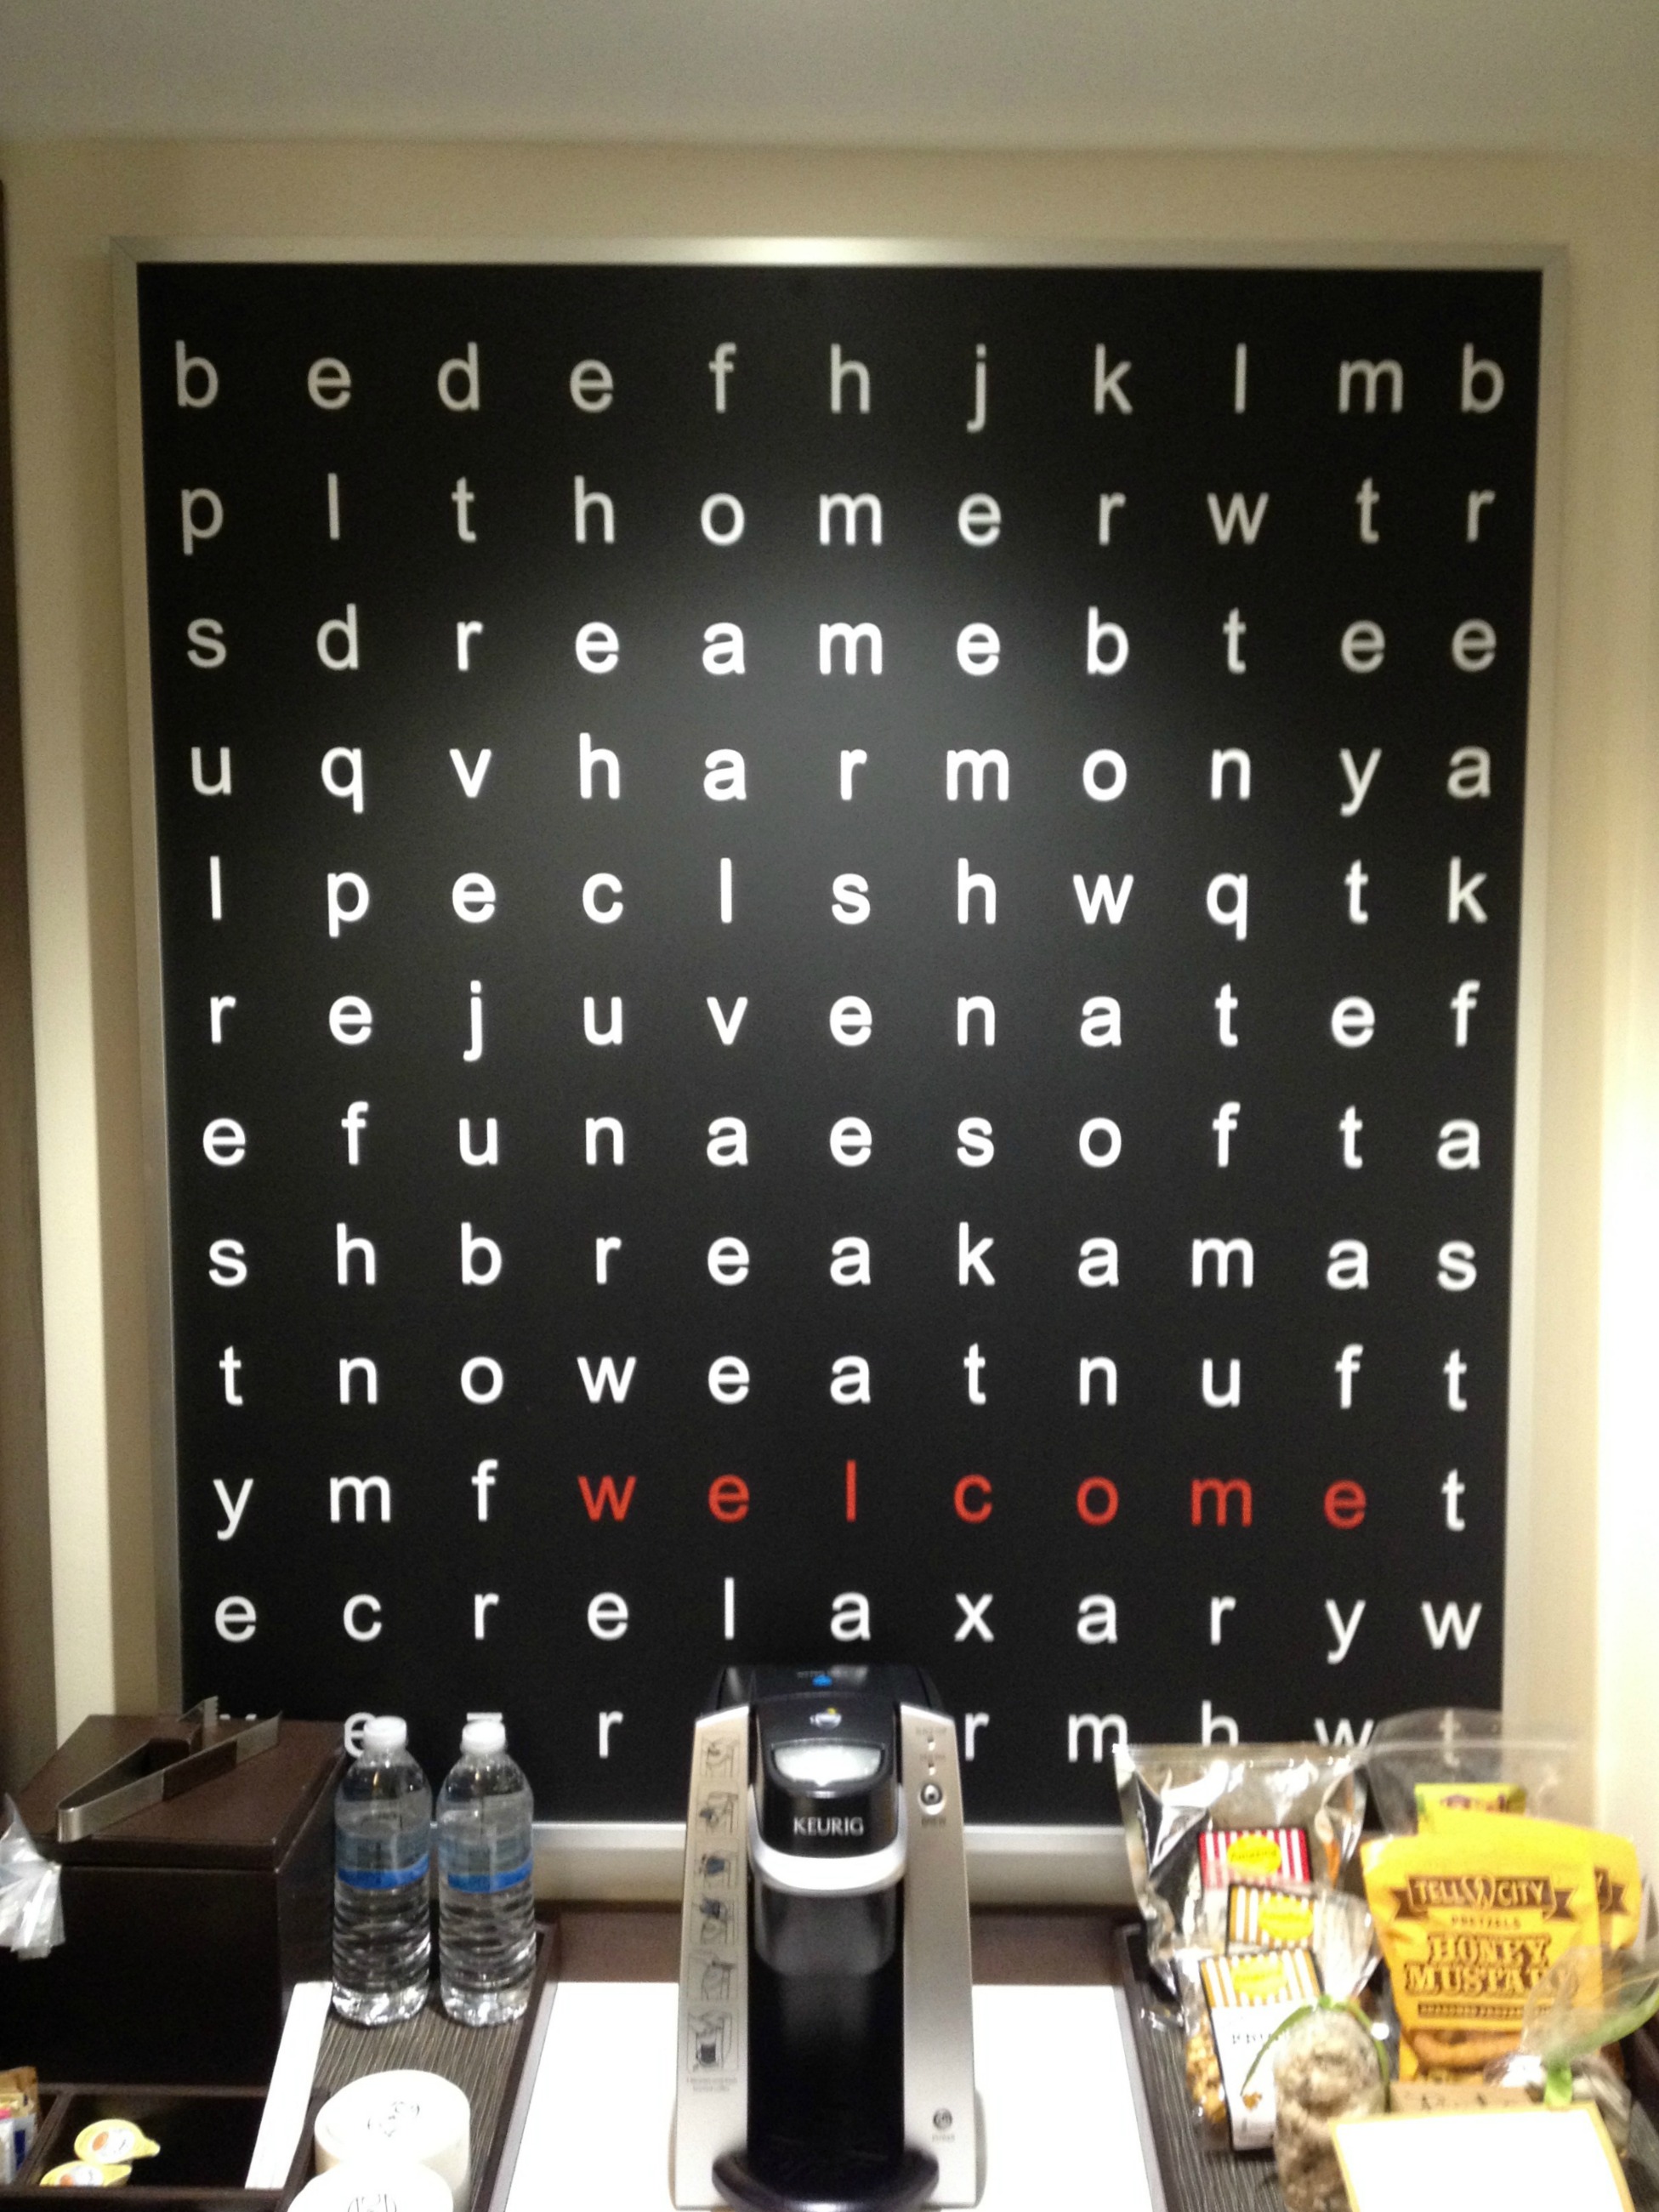
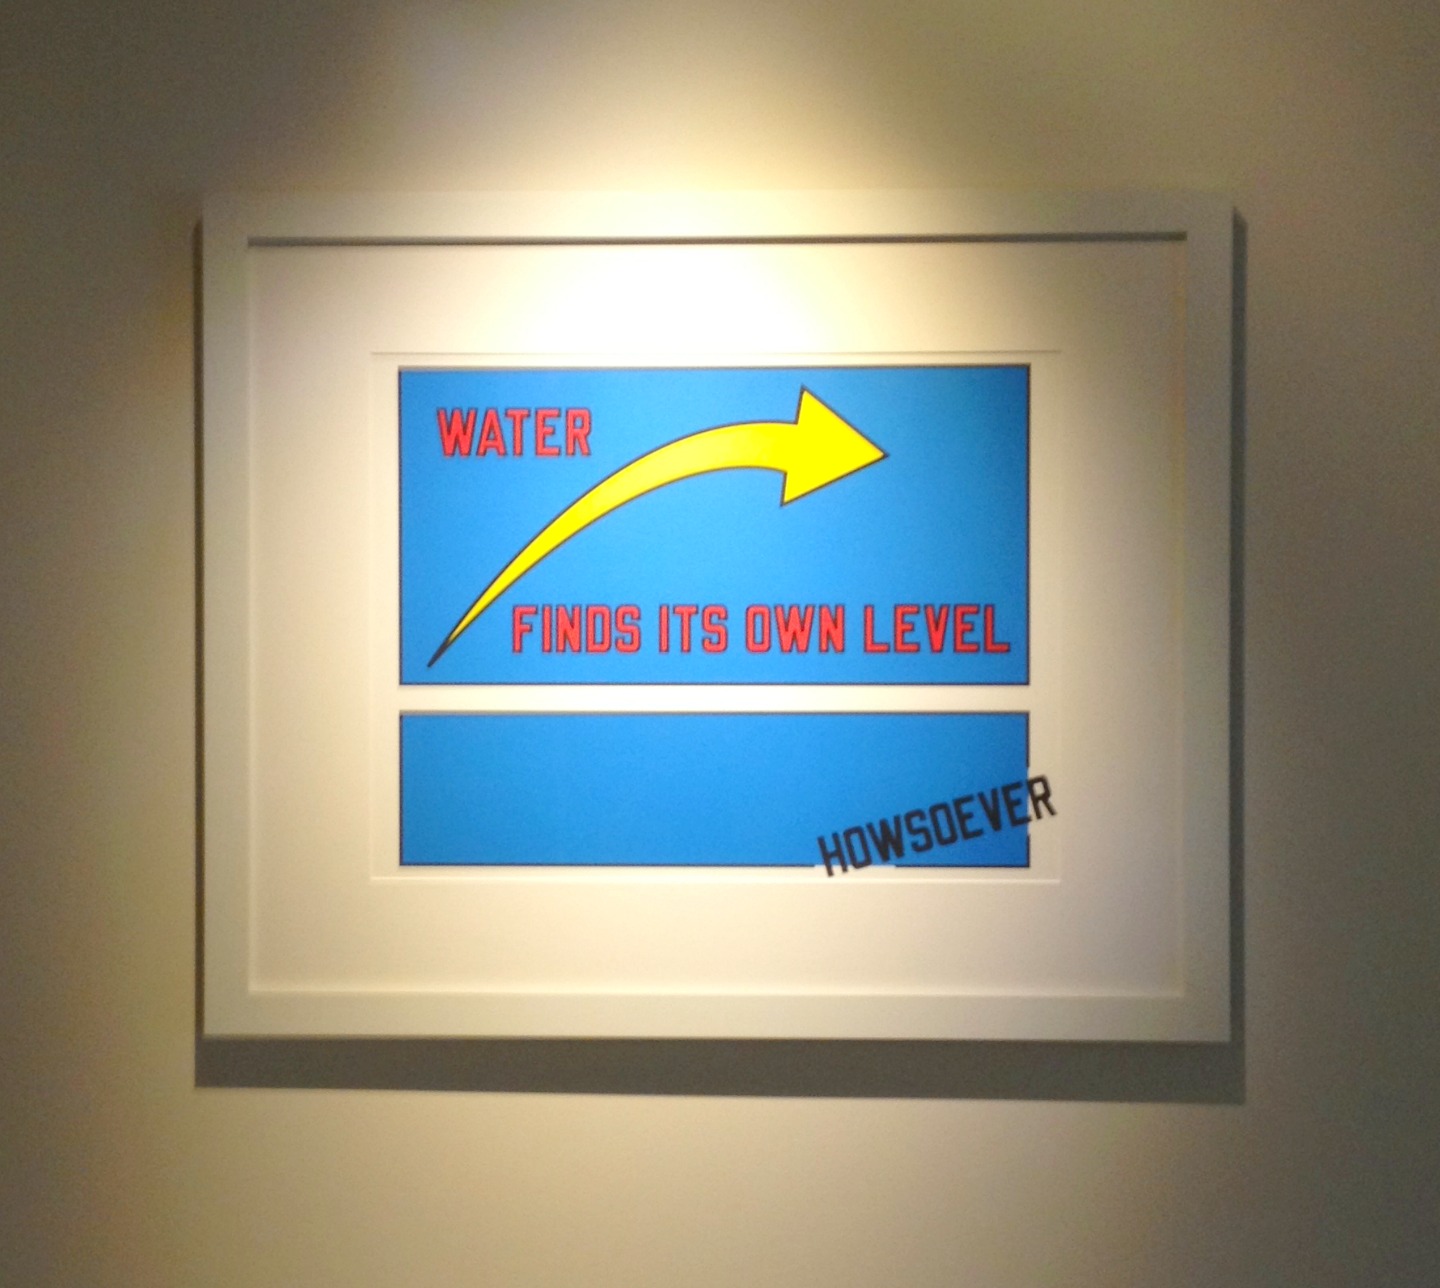
The very welcoming word search art…
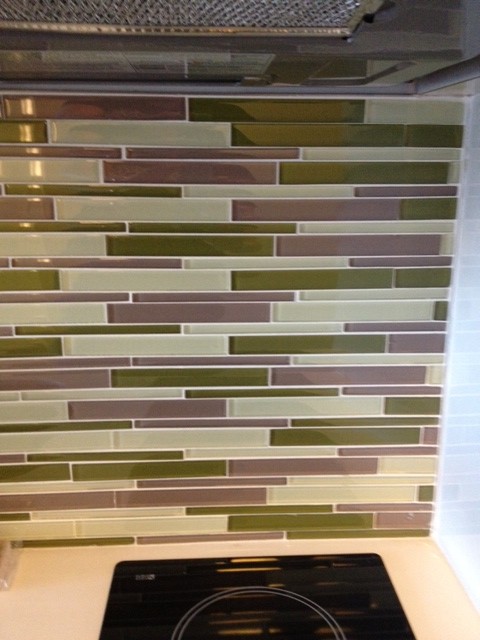
Drawing me in was this fabulous runner made with super colorful carpet tiles…
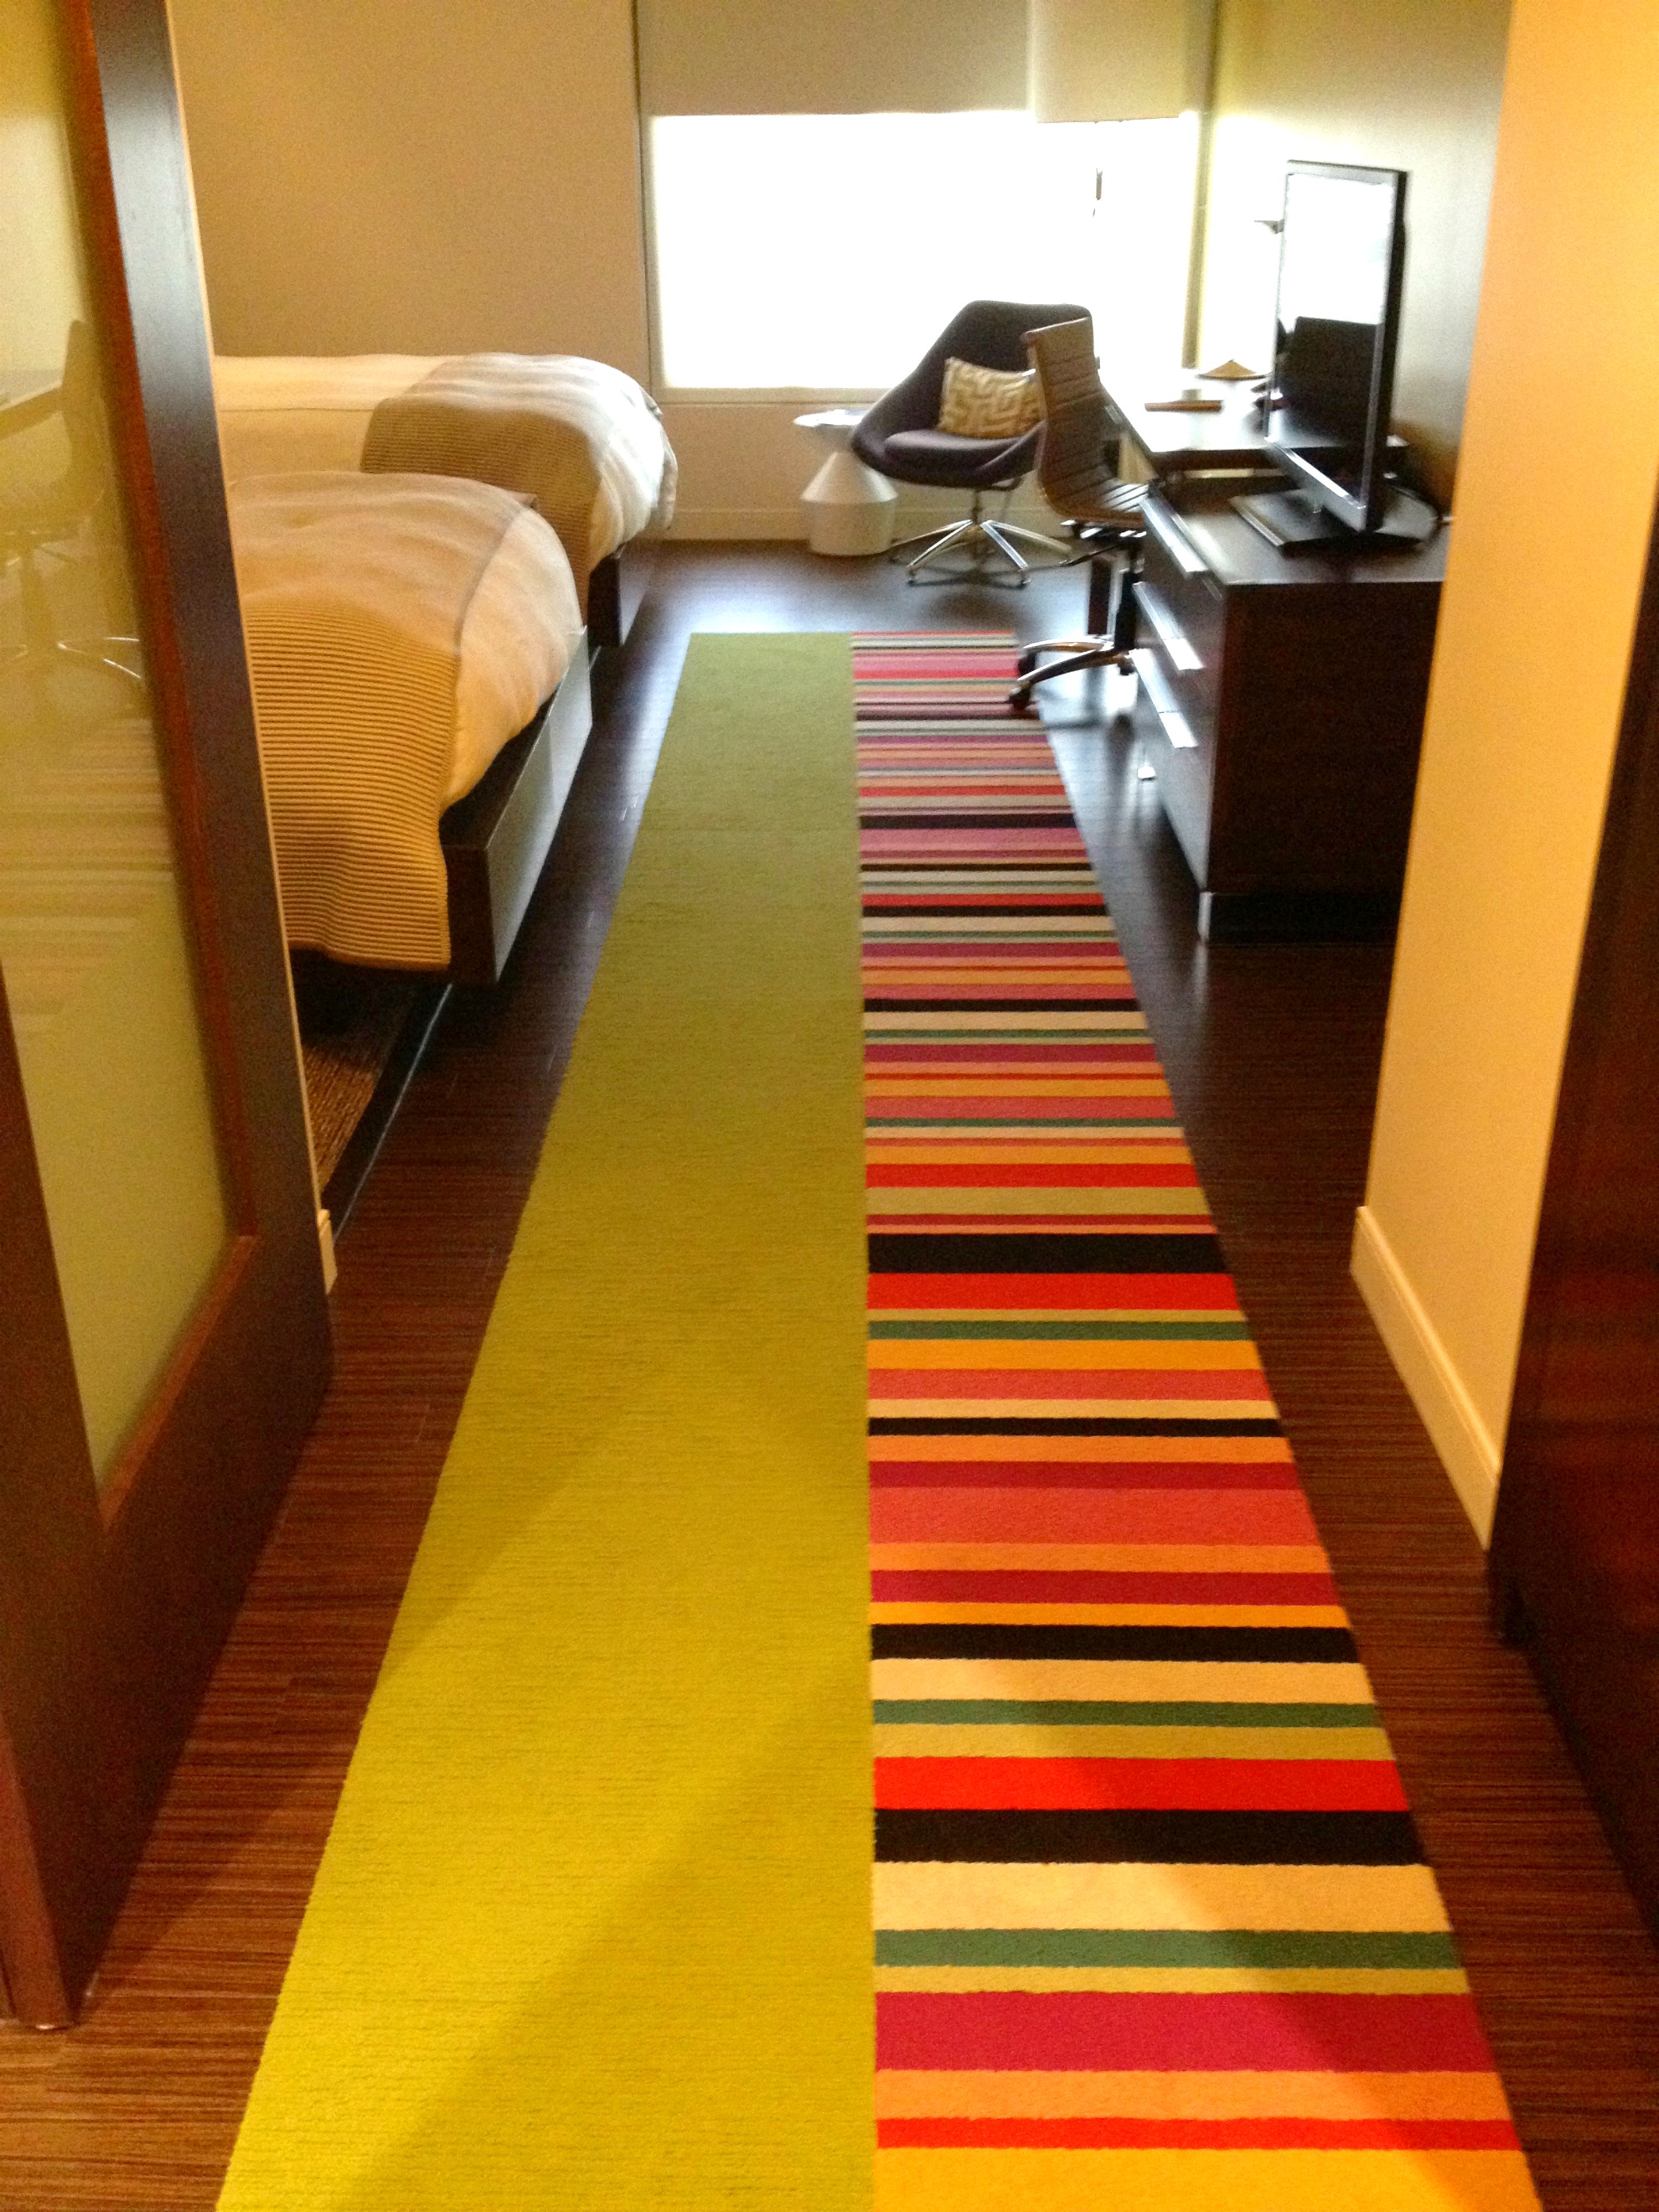 Seriously, any one of us could make one of these at home with Flor carpet tiles.
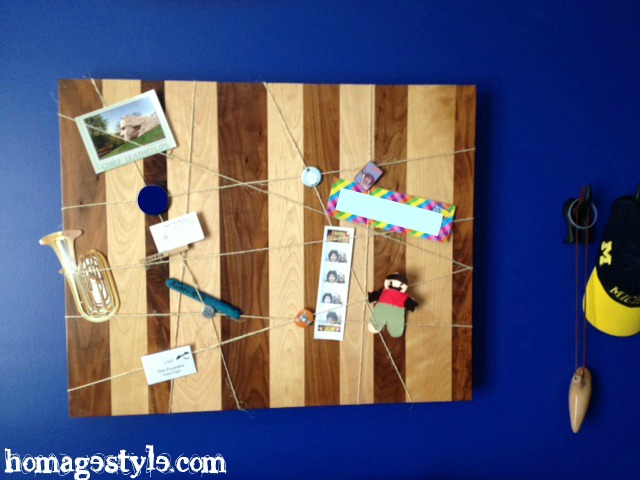
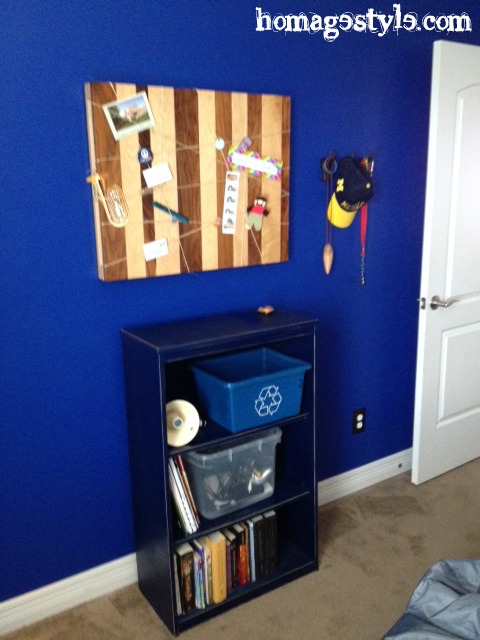
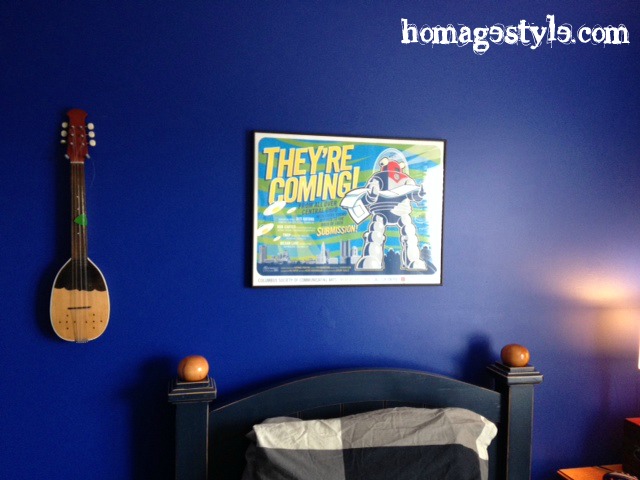
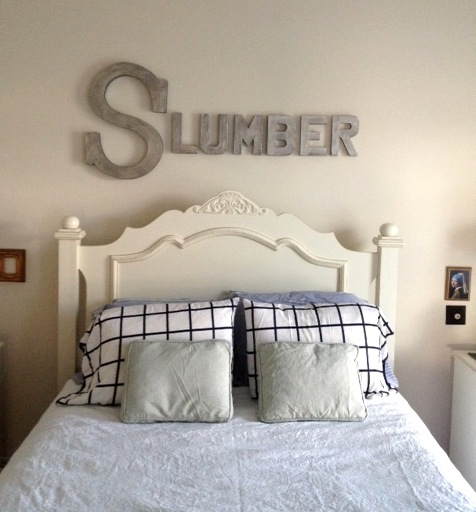
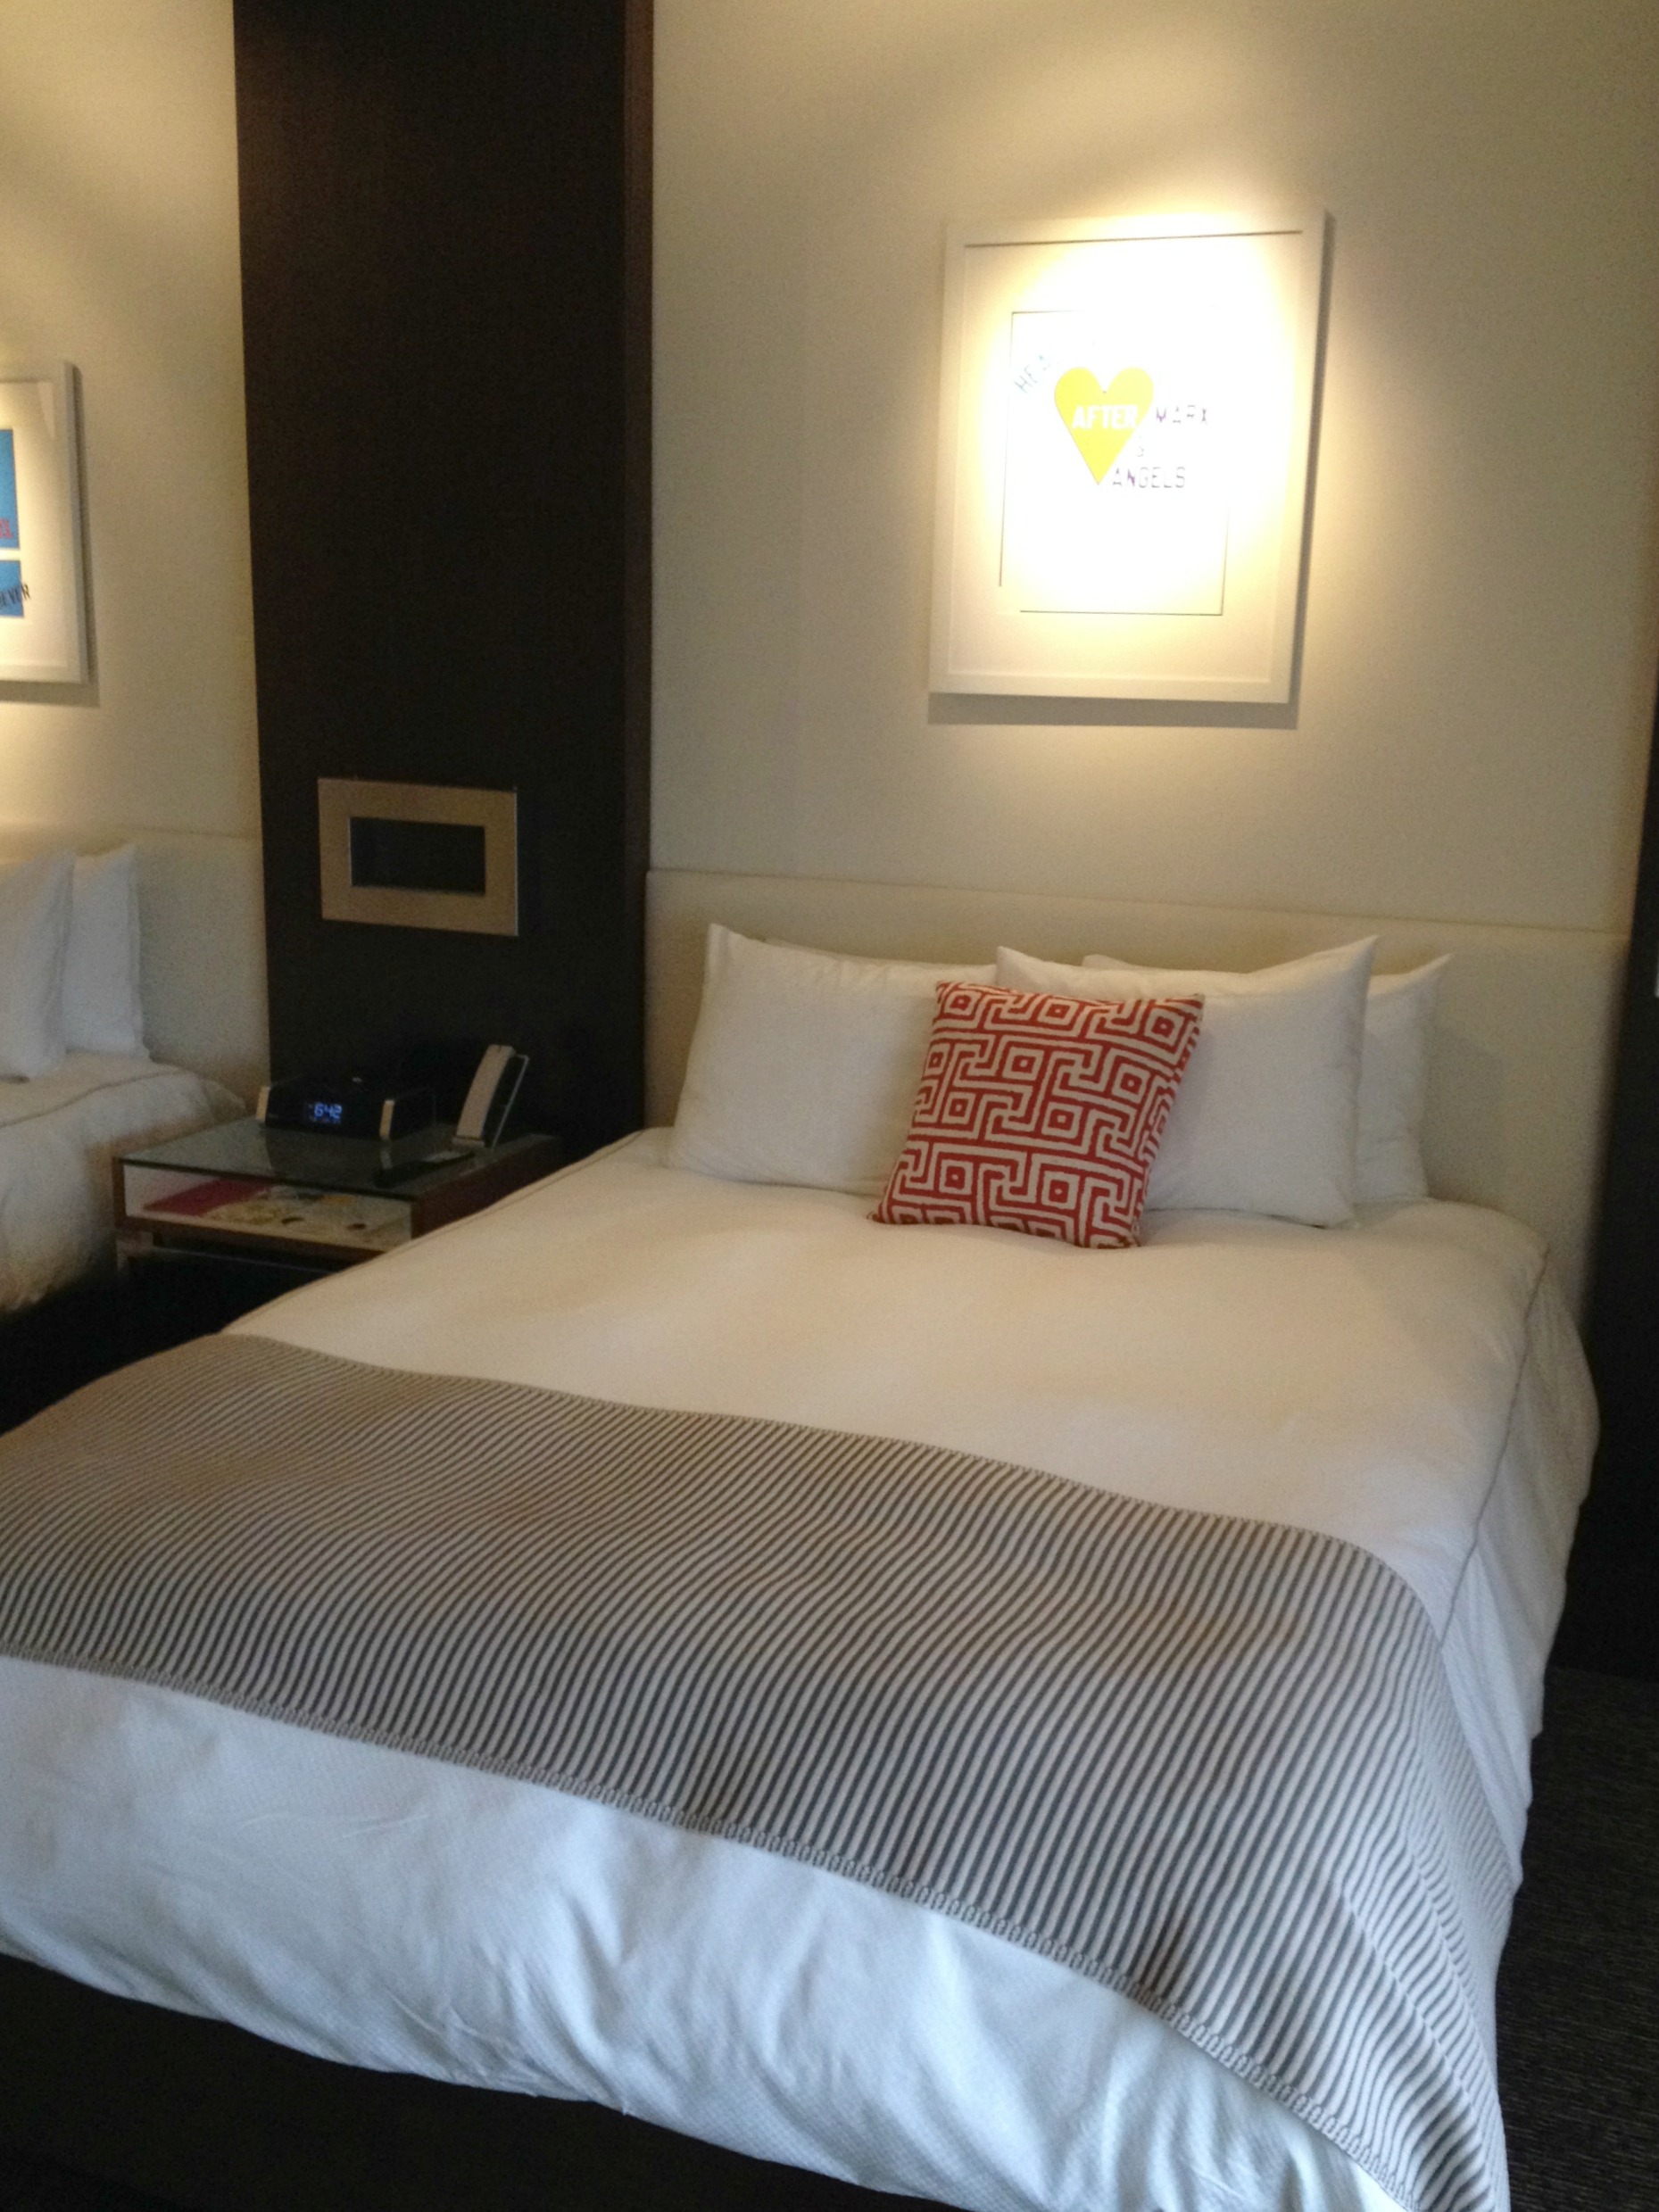
More fab art…
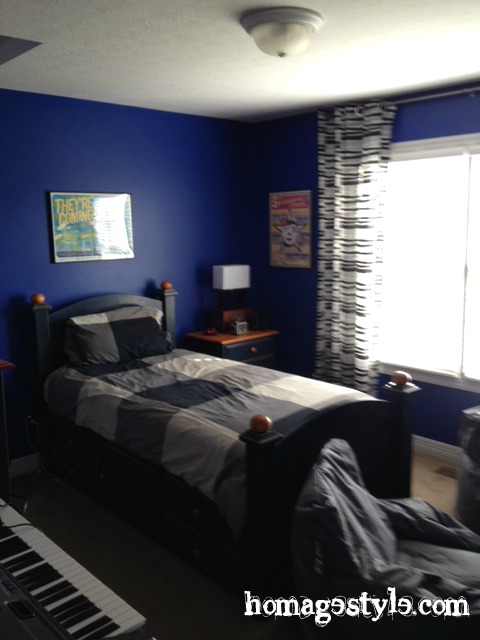
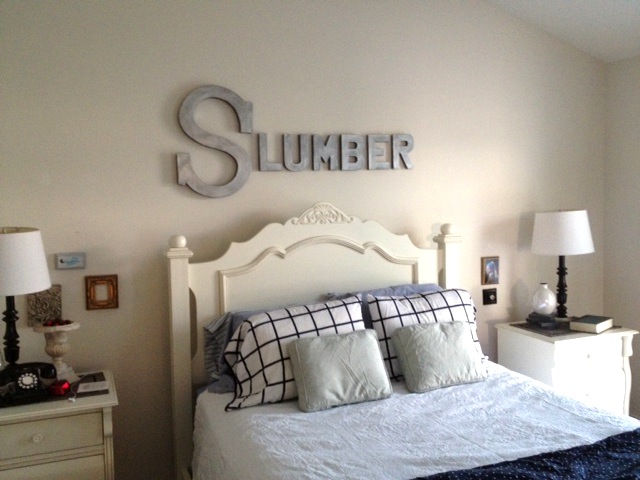
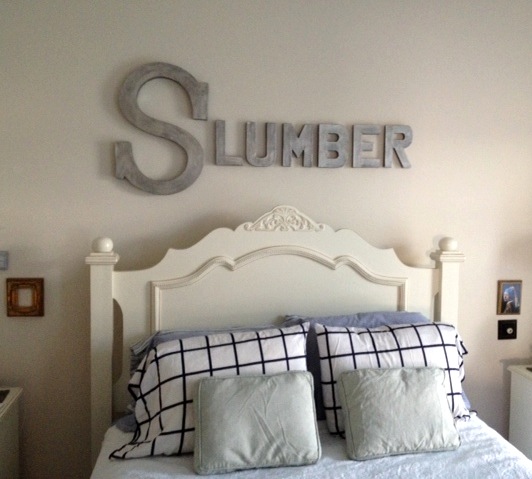
 A mod bed set-up…
 And a funky chair and lamp by the window…
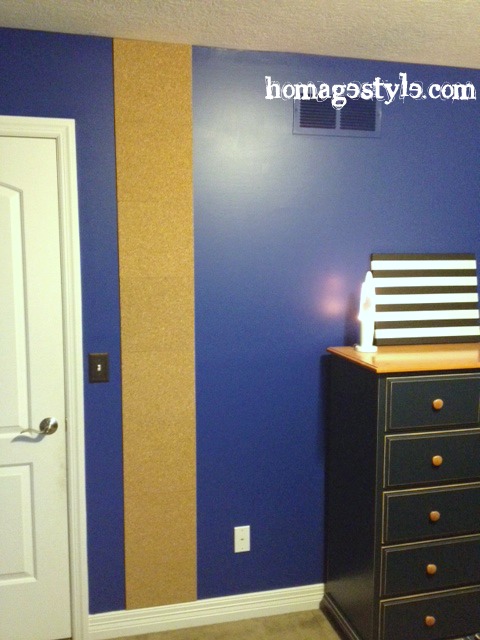
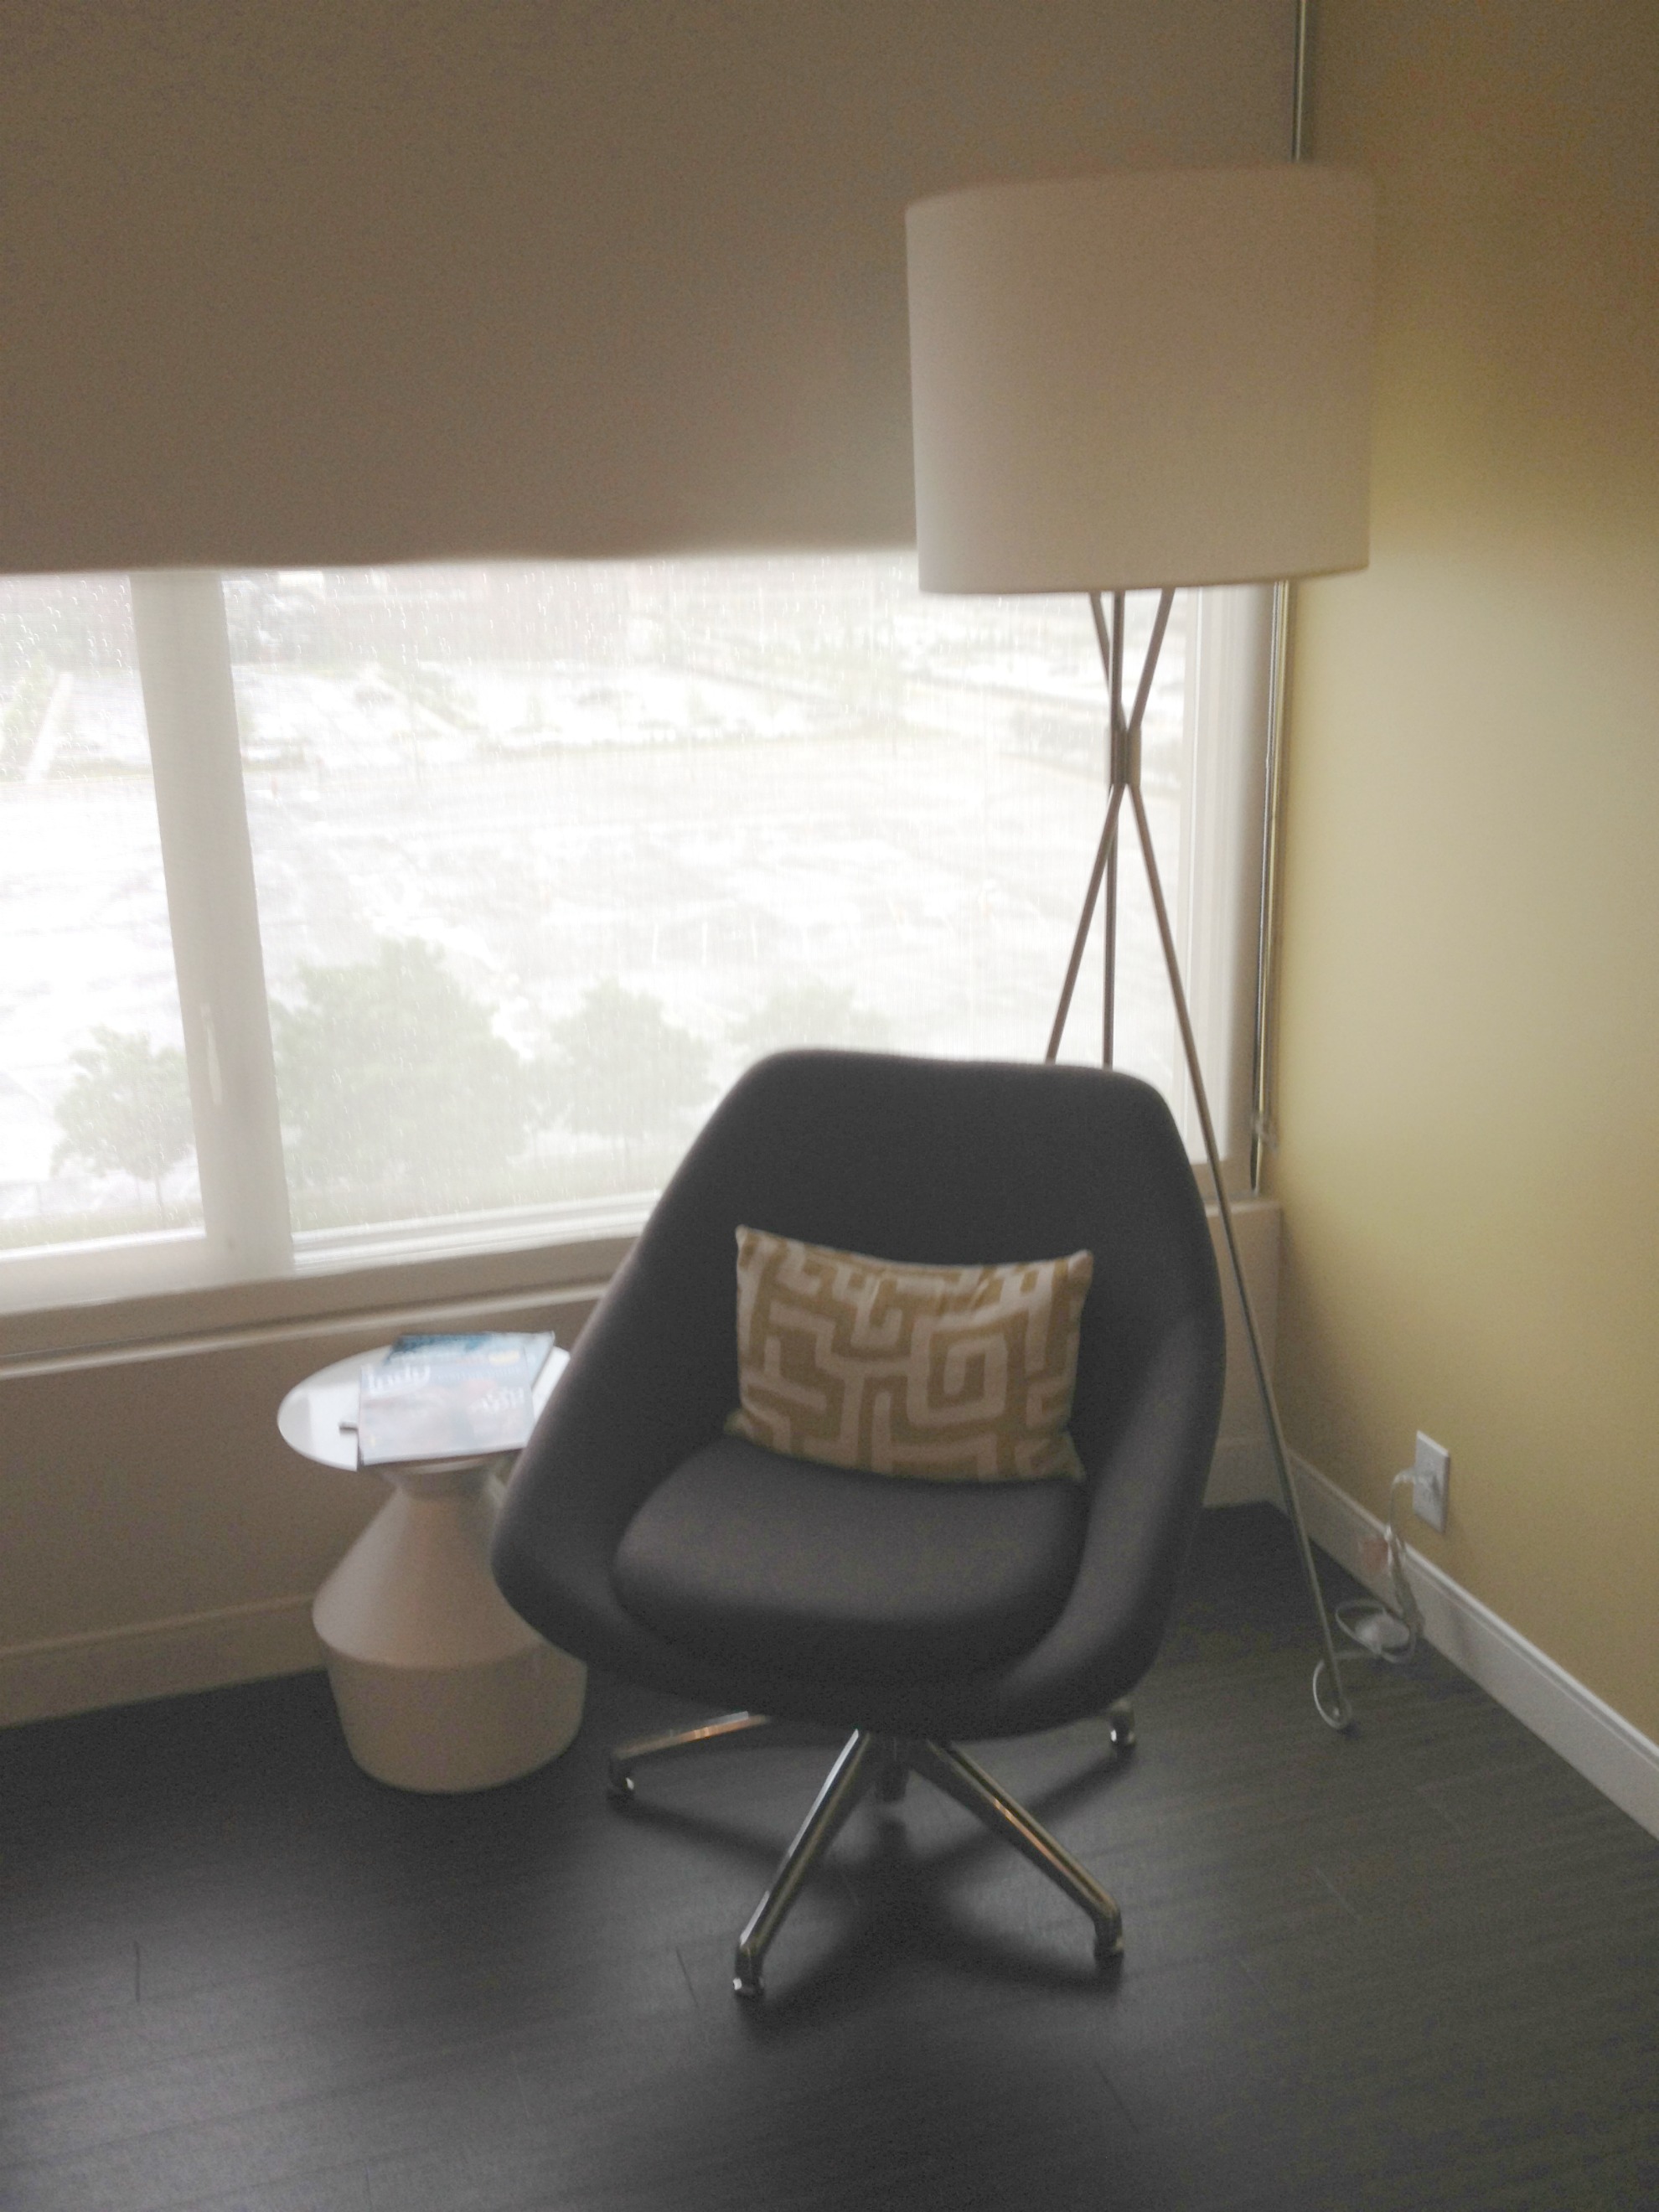 And you can see a bit of the flooring…woodgrain ceramic tiles. Love!
Even the note paper was artsy!
 And the naughty little doorhanger…front…
 And back…

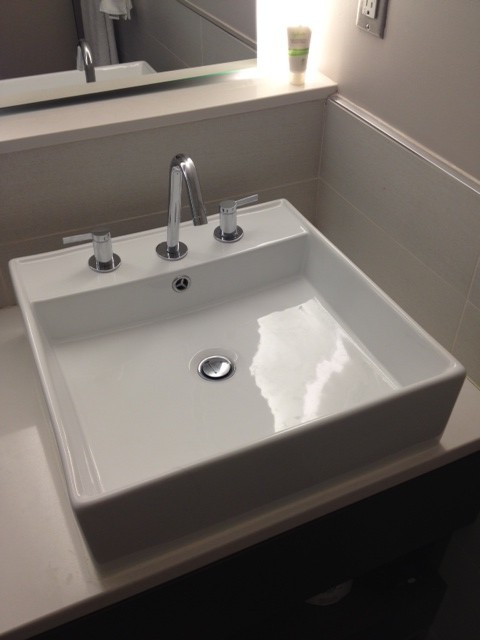
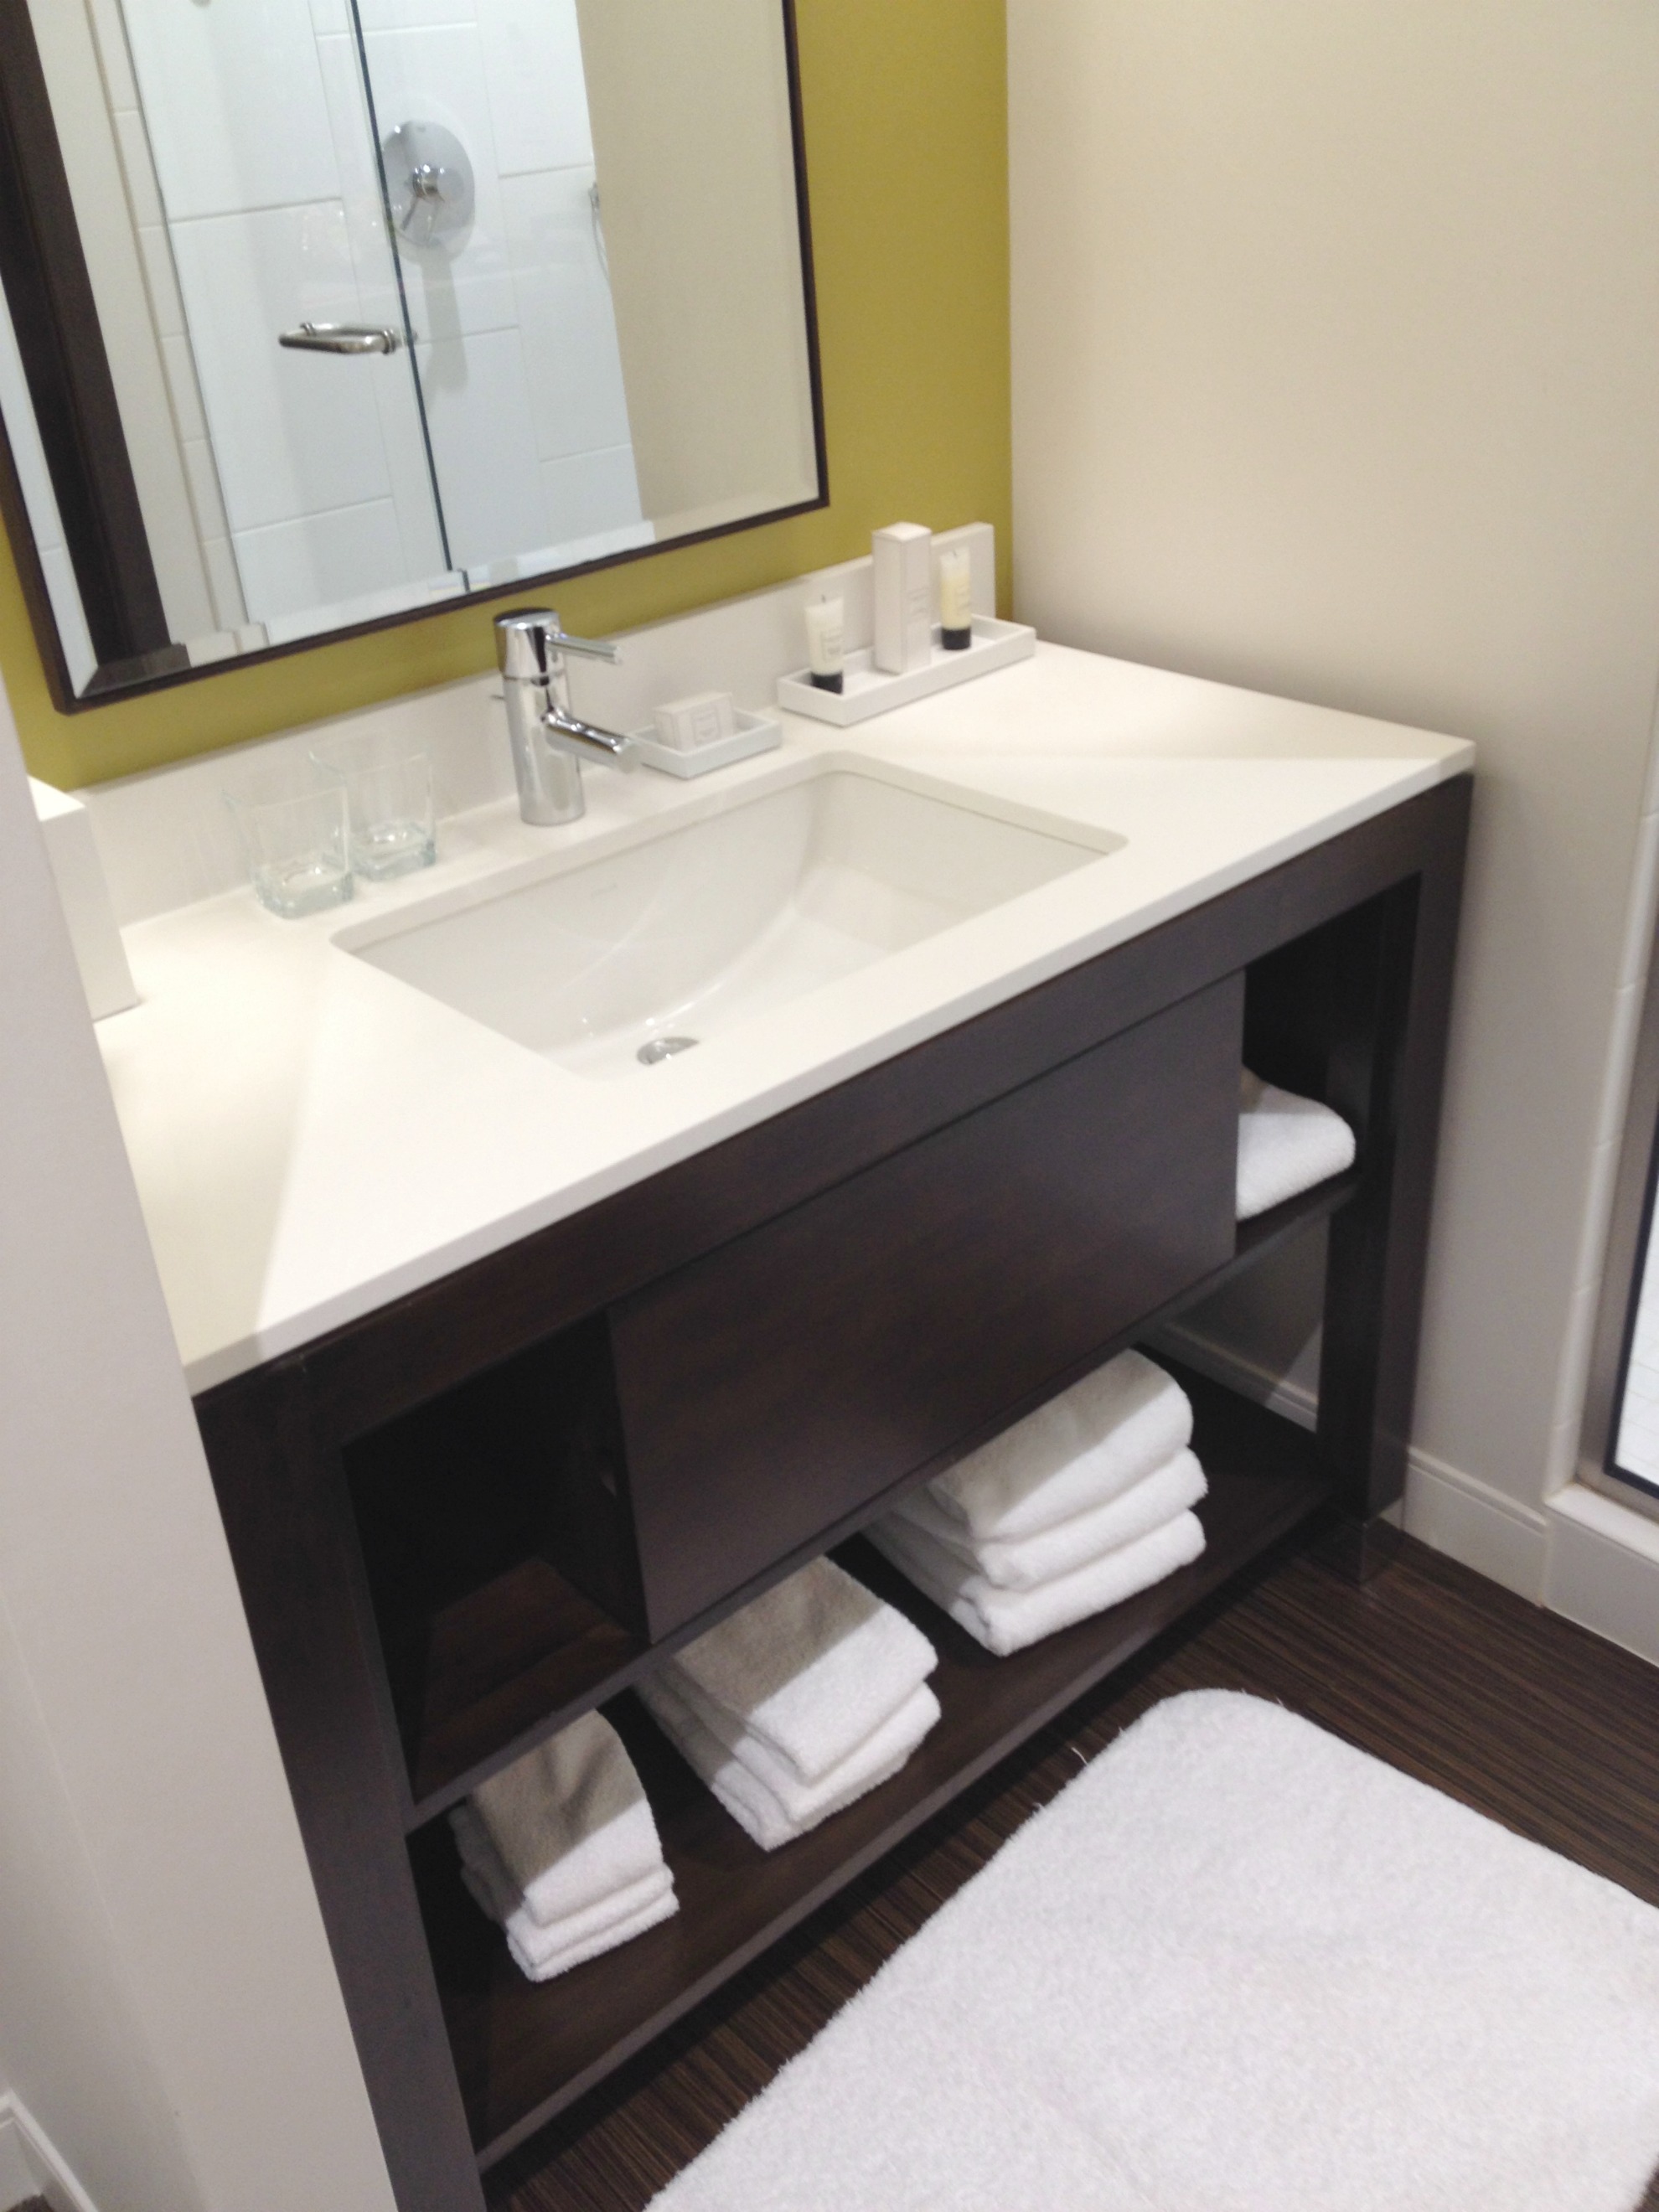
Then there was the dream house bathroom…
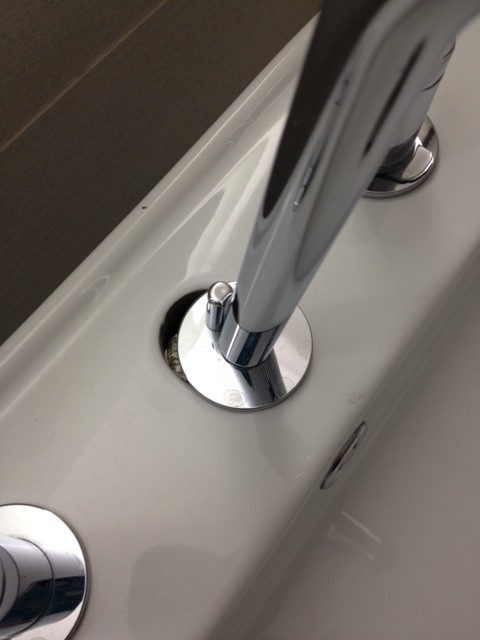
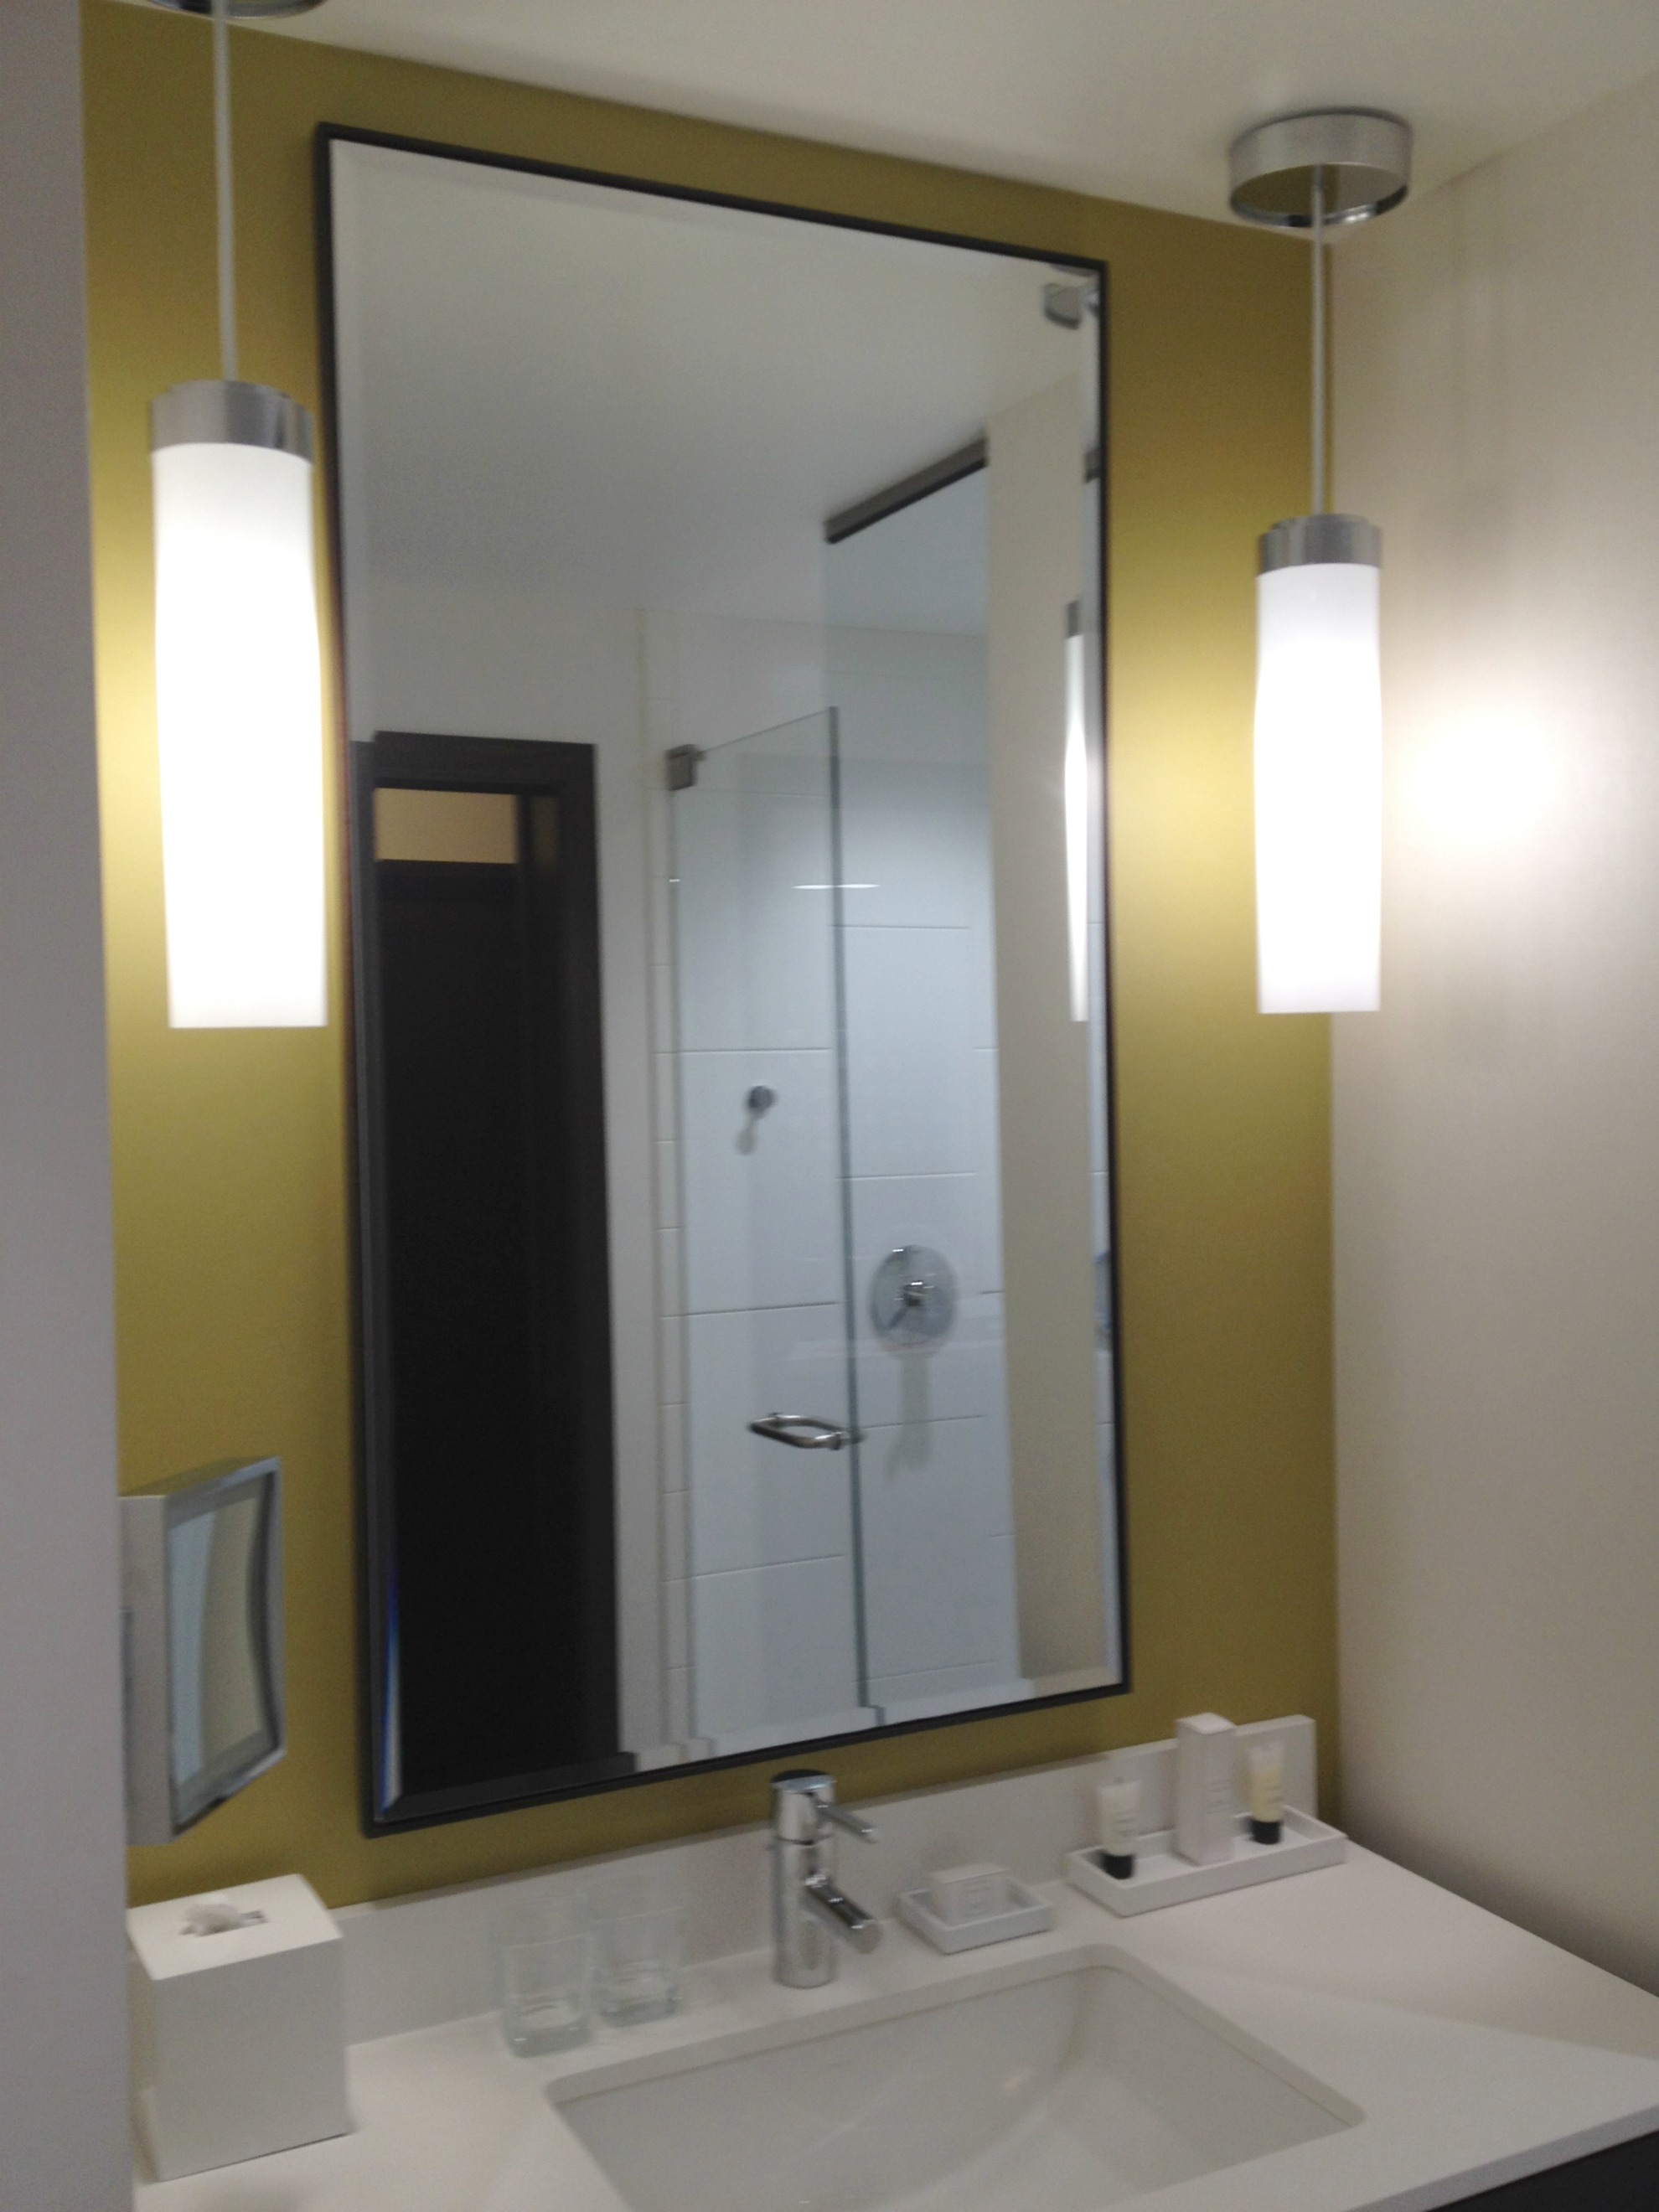 A perfectly gorgeous sink…
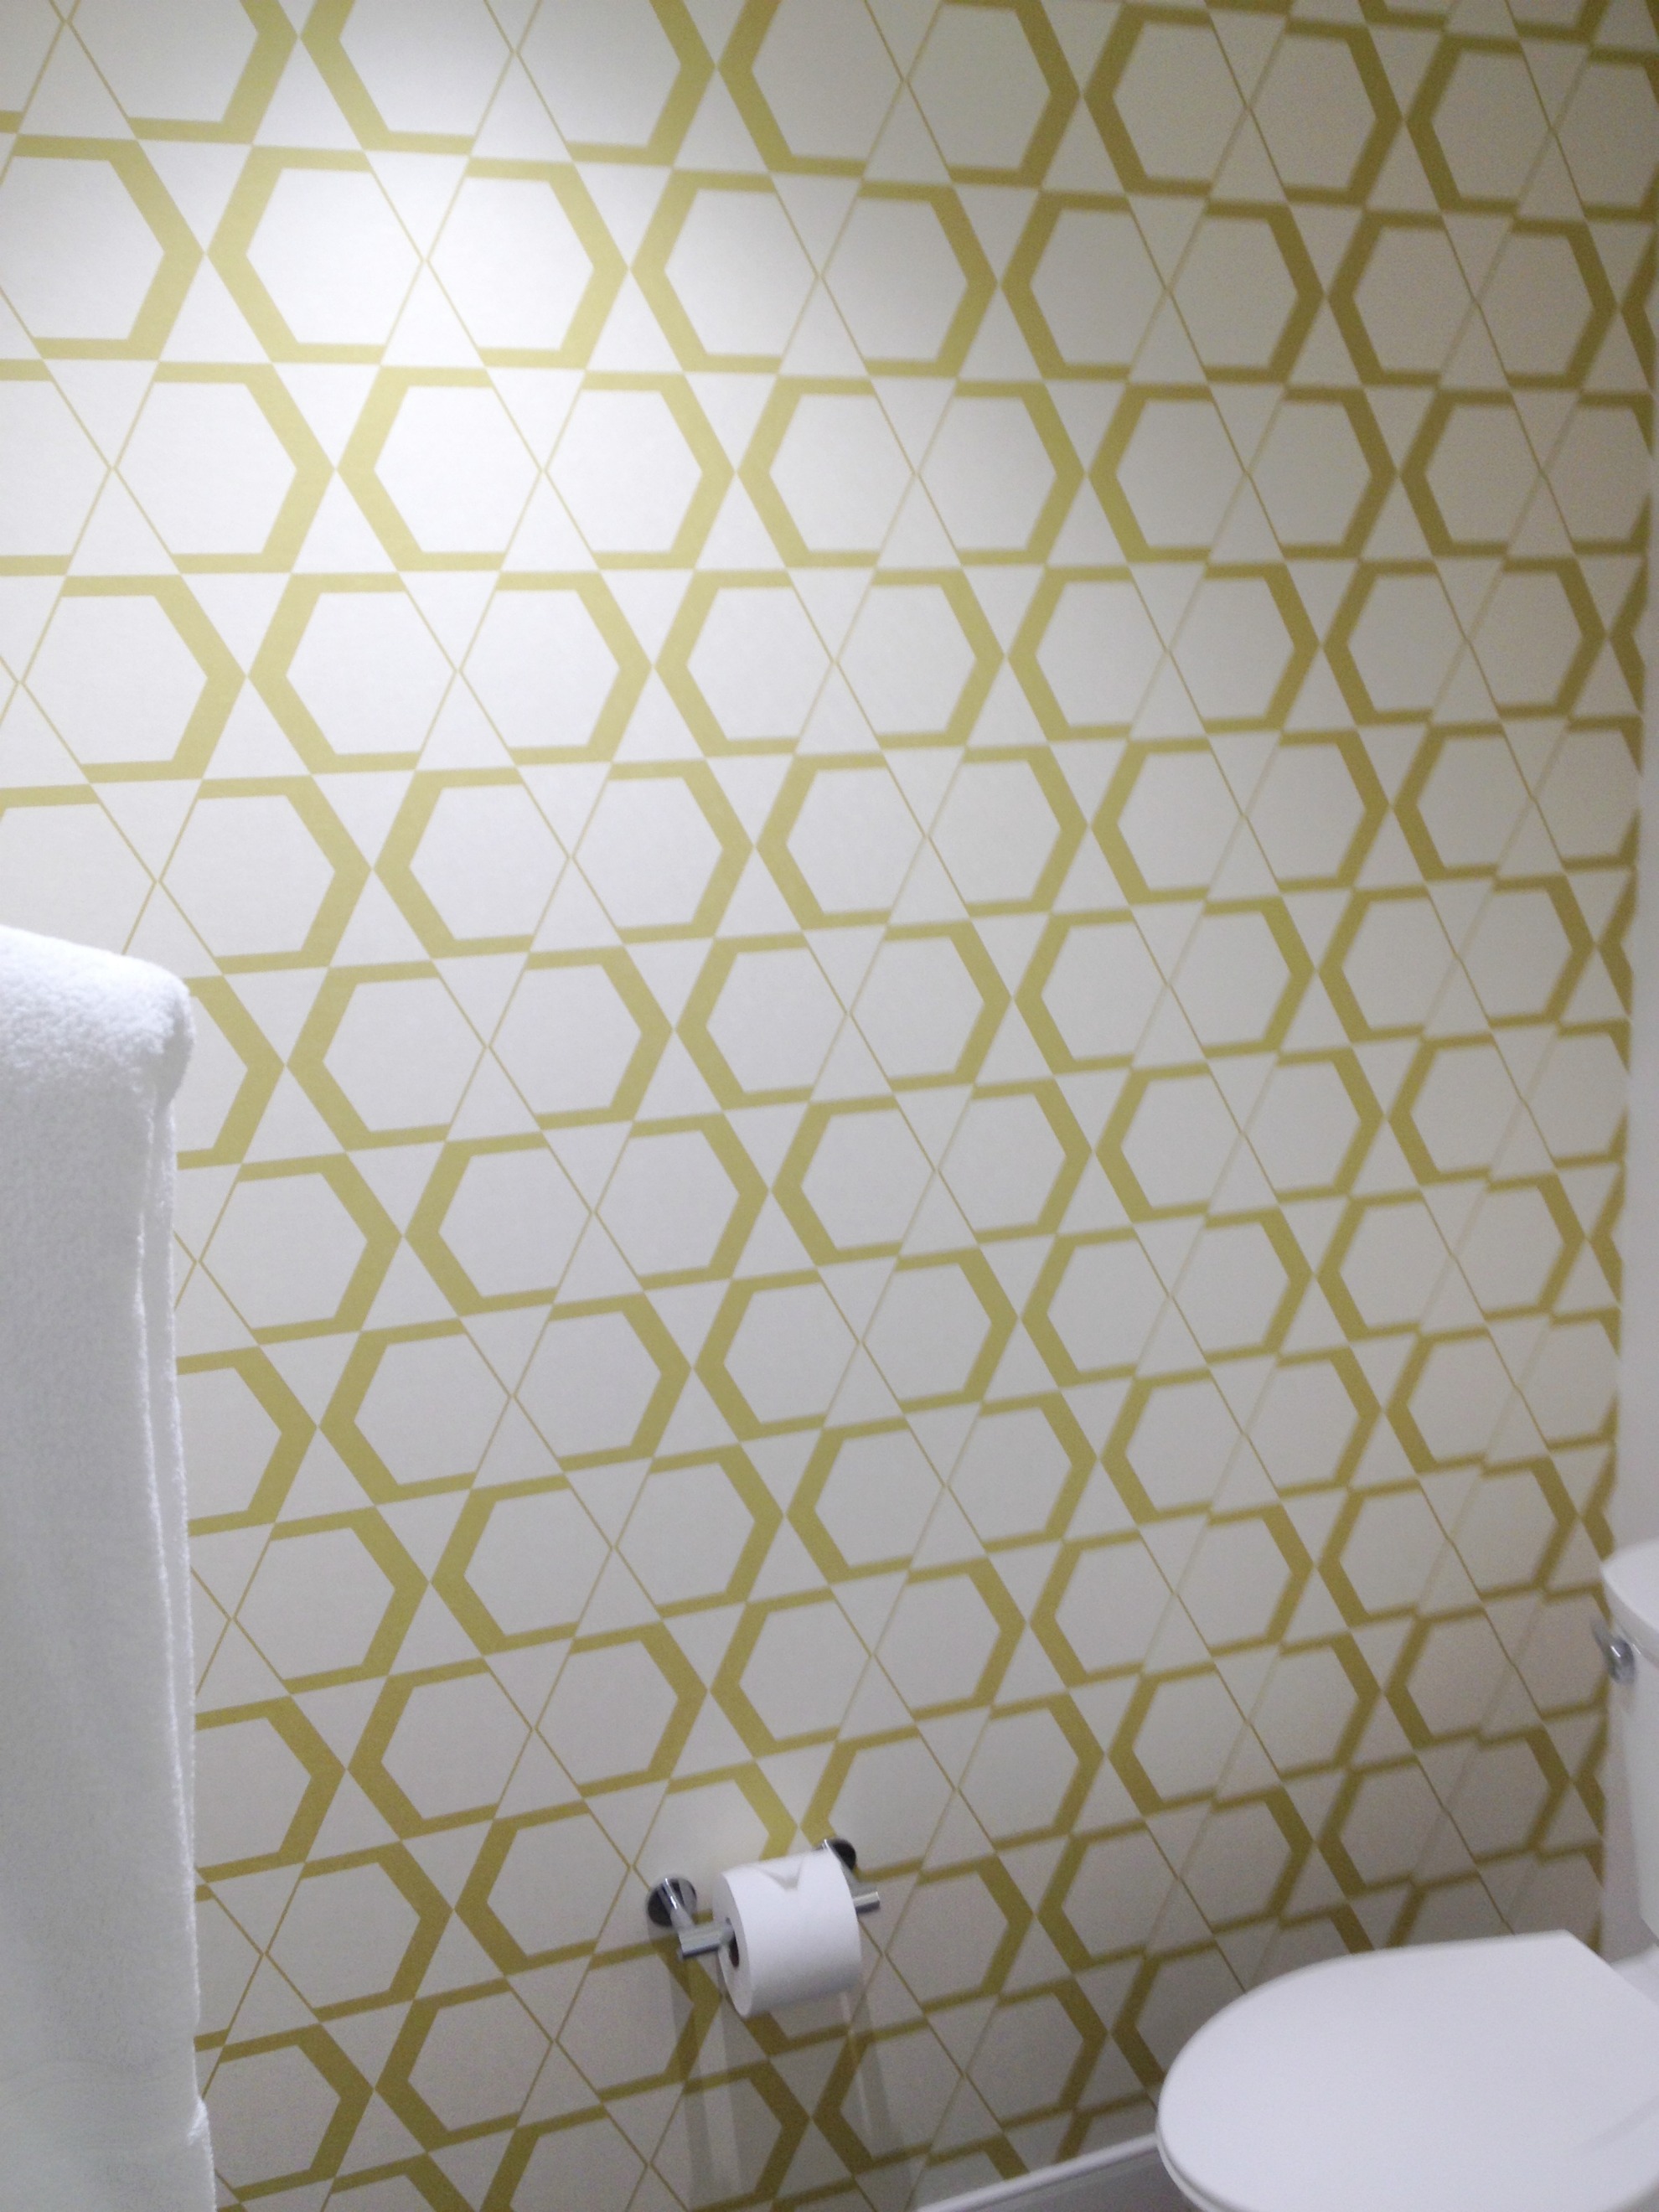
 Wonderful wallpaper, ever-so-slighty pearlescent…
 And then the shower. Ah yes, the perfect shower. Shower perfection. Dream house quality.
 So overall, a wonderfully designed hotel room. Mod perfection. My only complaint, if I had one, would be that the room was a little cold. Not temperature cold. The coziness factor. Not warm and fuzzy enough for me.
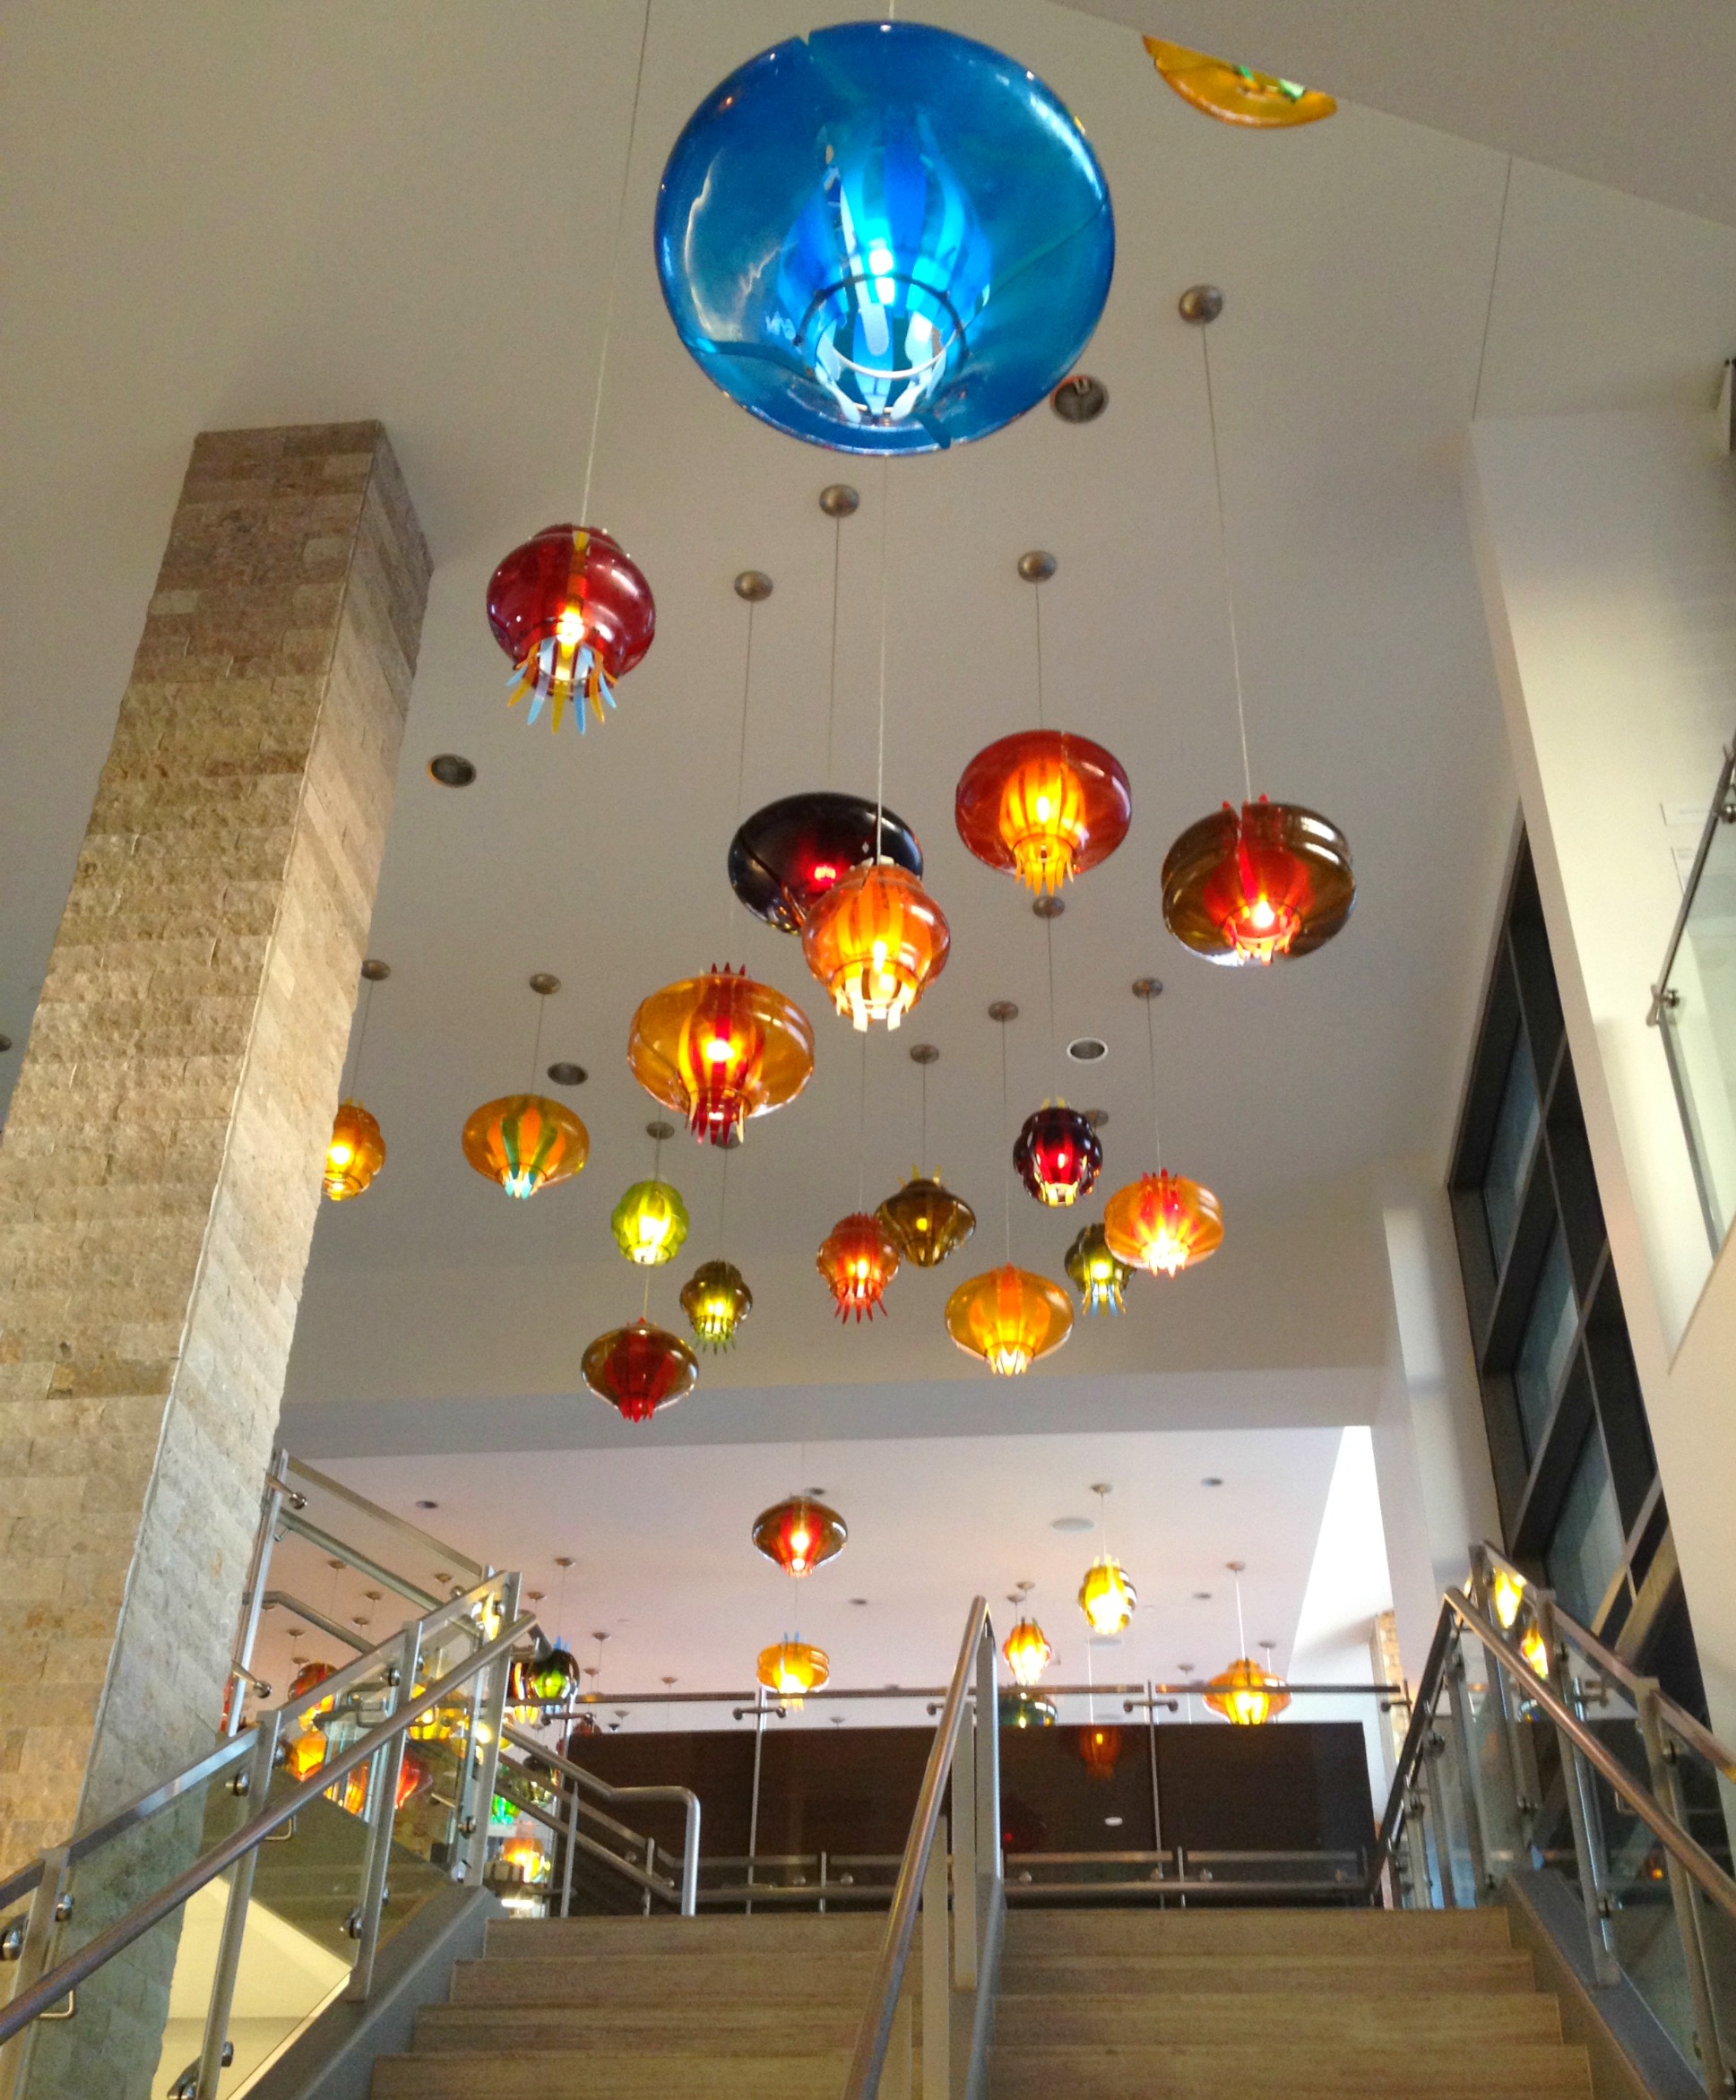
But it wasn’t only the room that was great. The whole joint was fun and funky.
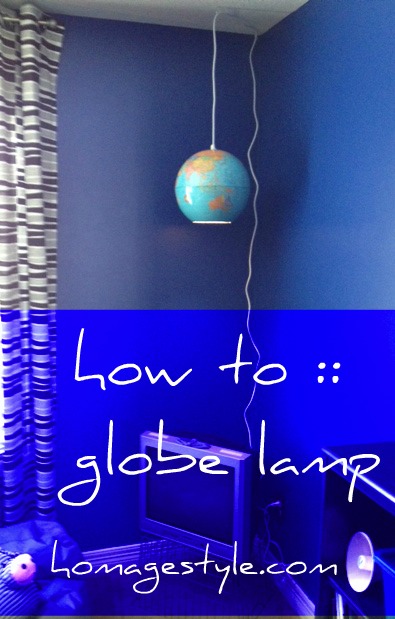
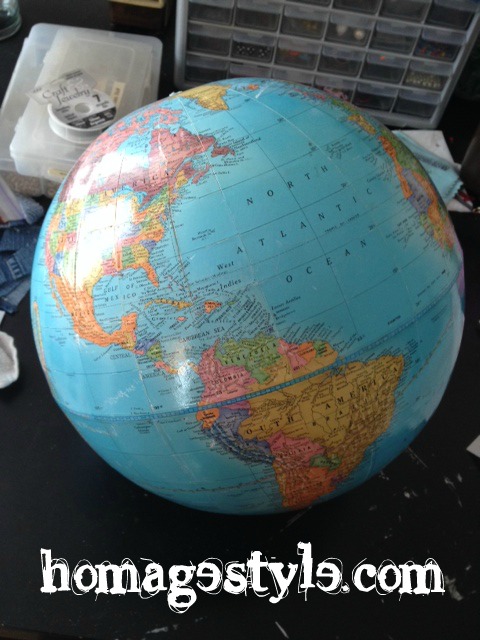
Upon walking in, these amazing glass globe lights were hanging in the lobby…
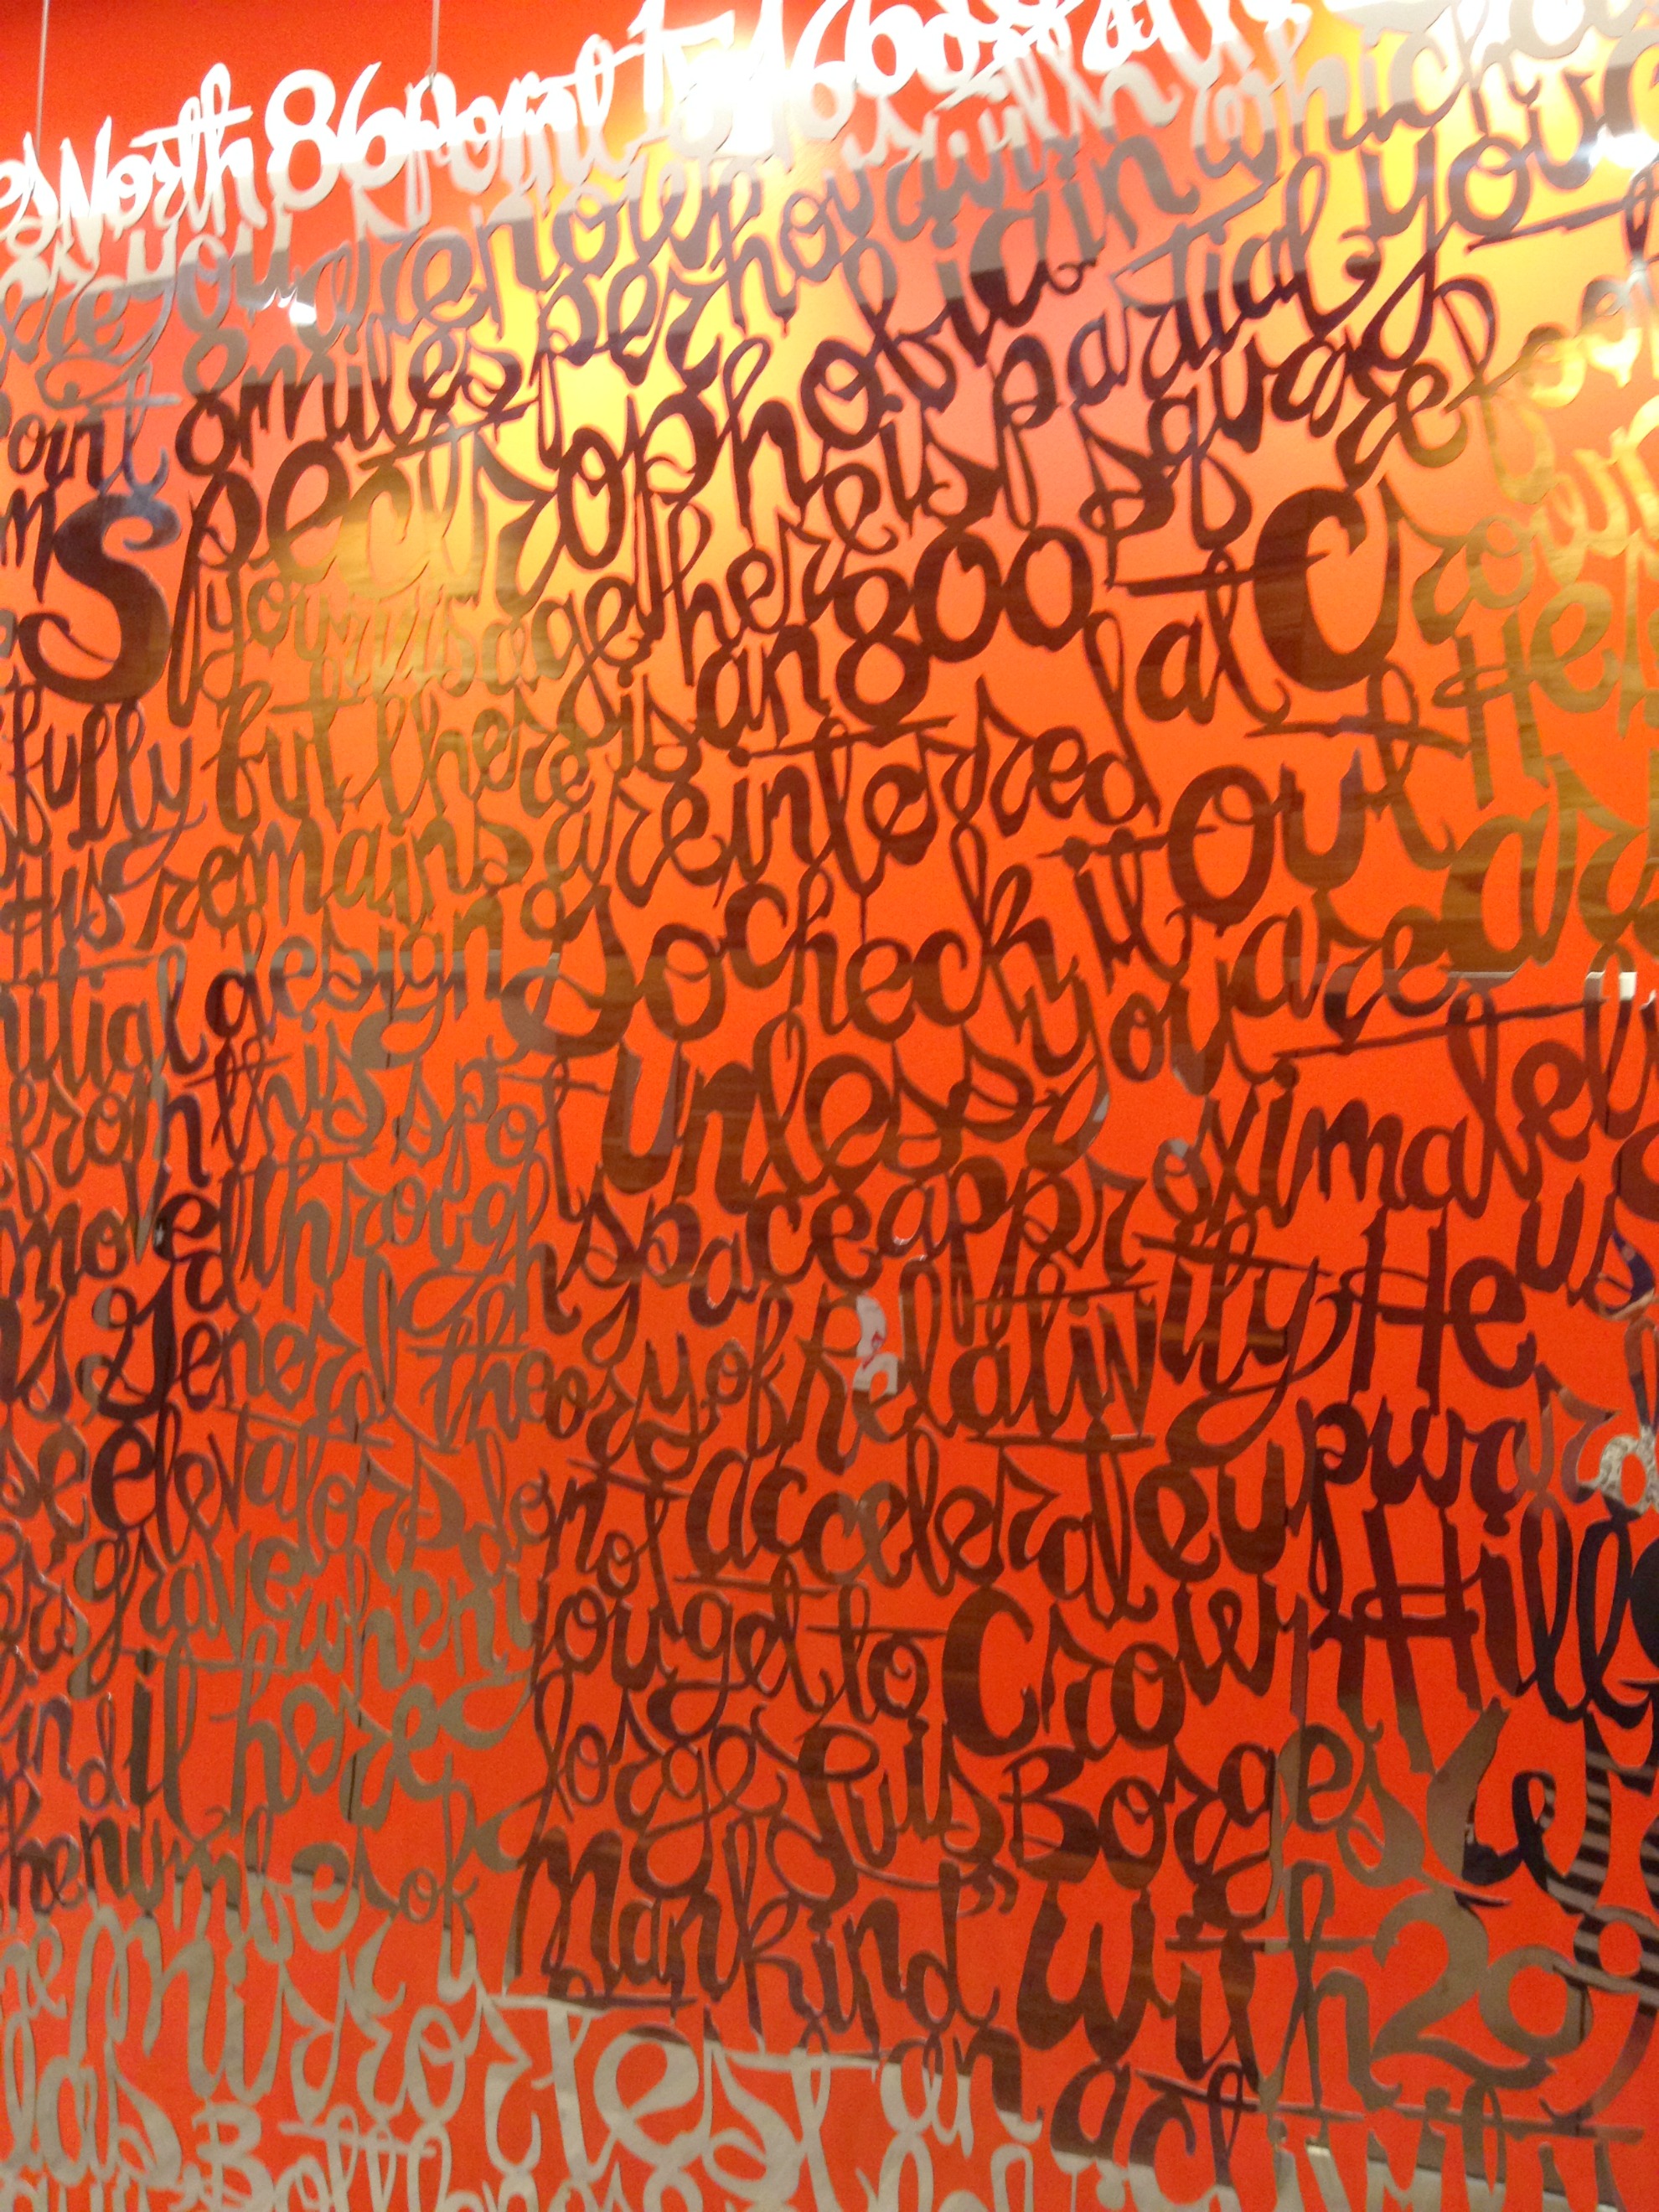
 This was a giant hanging piece of metal art by the elevator. Silver script writing. Shocking orange wall behind it.
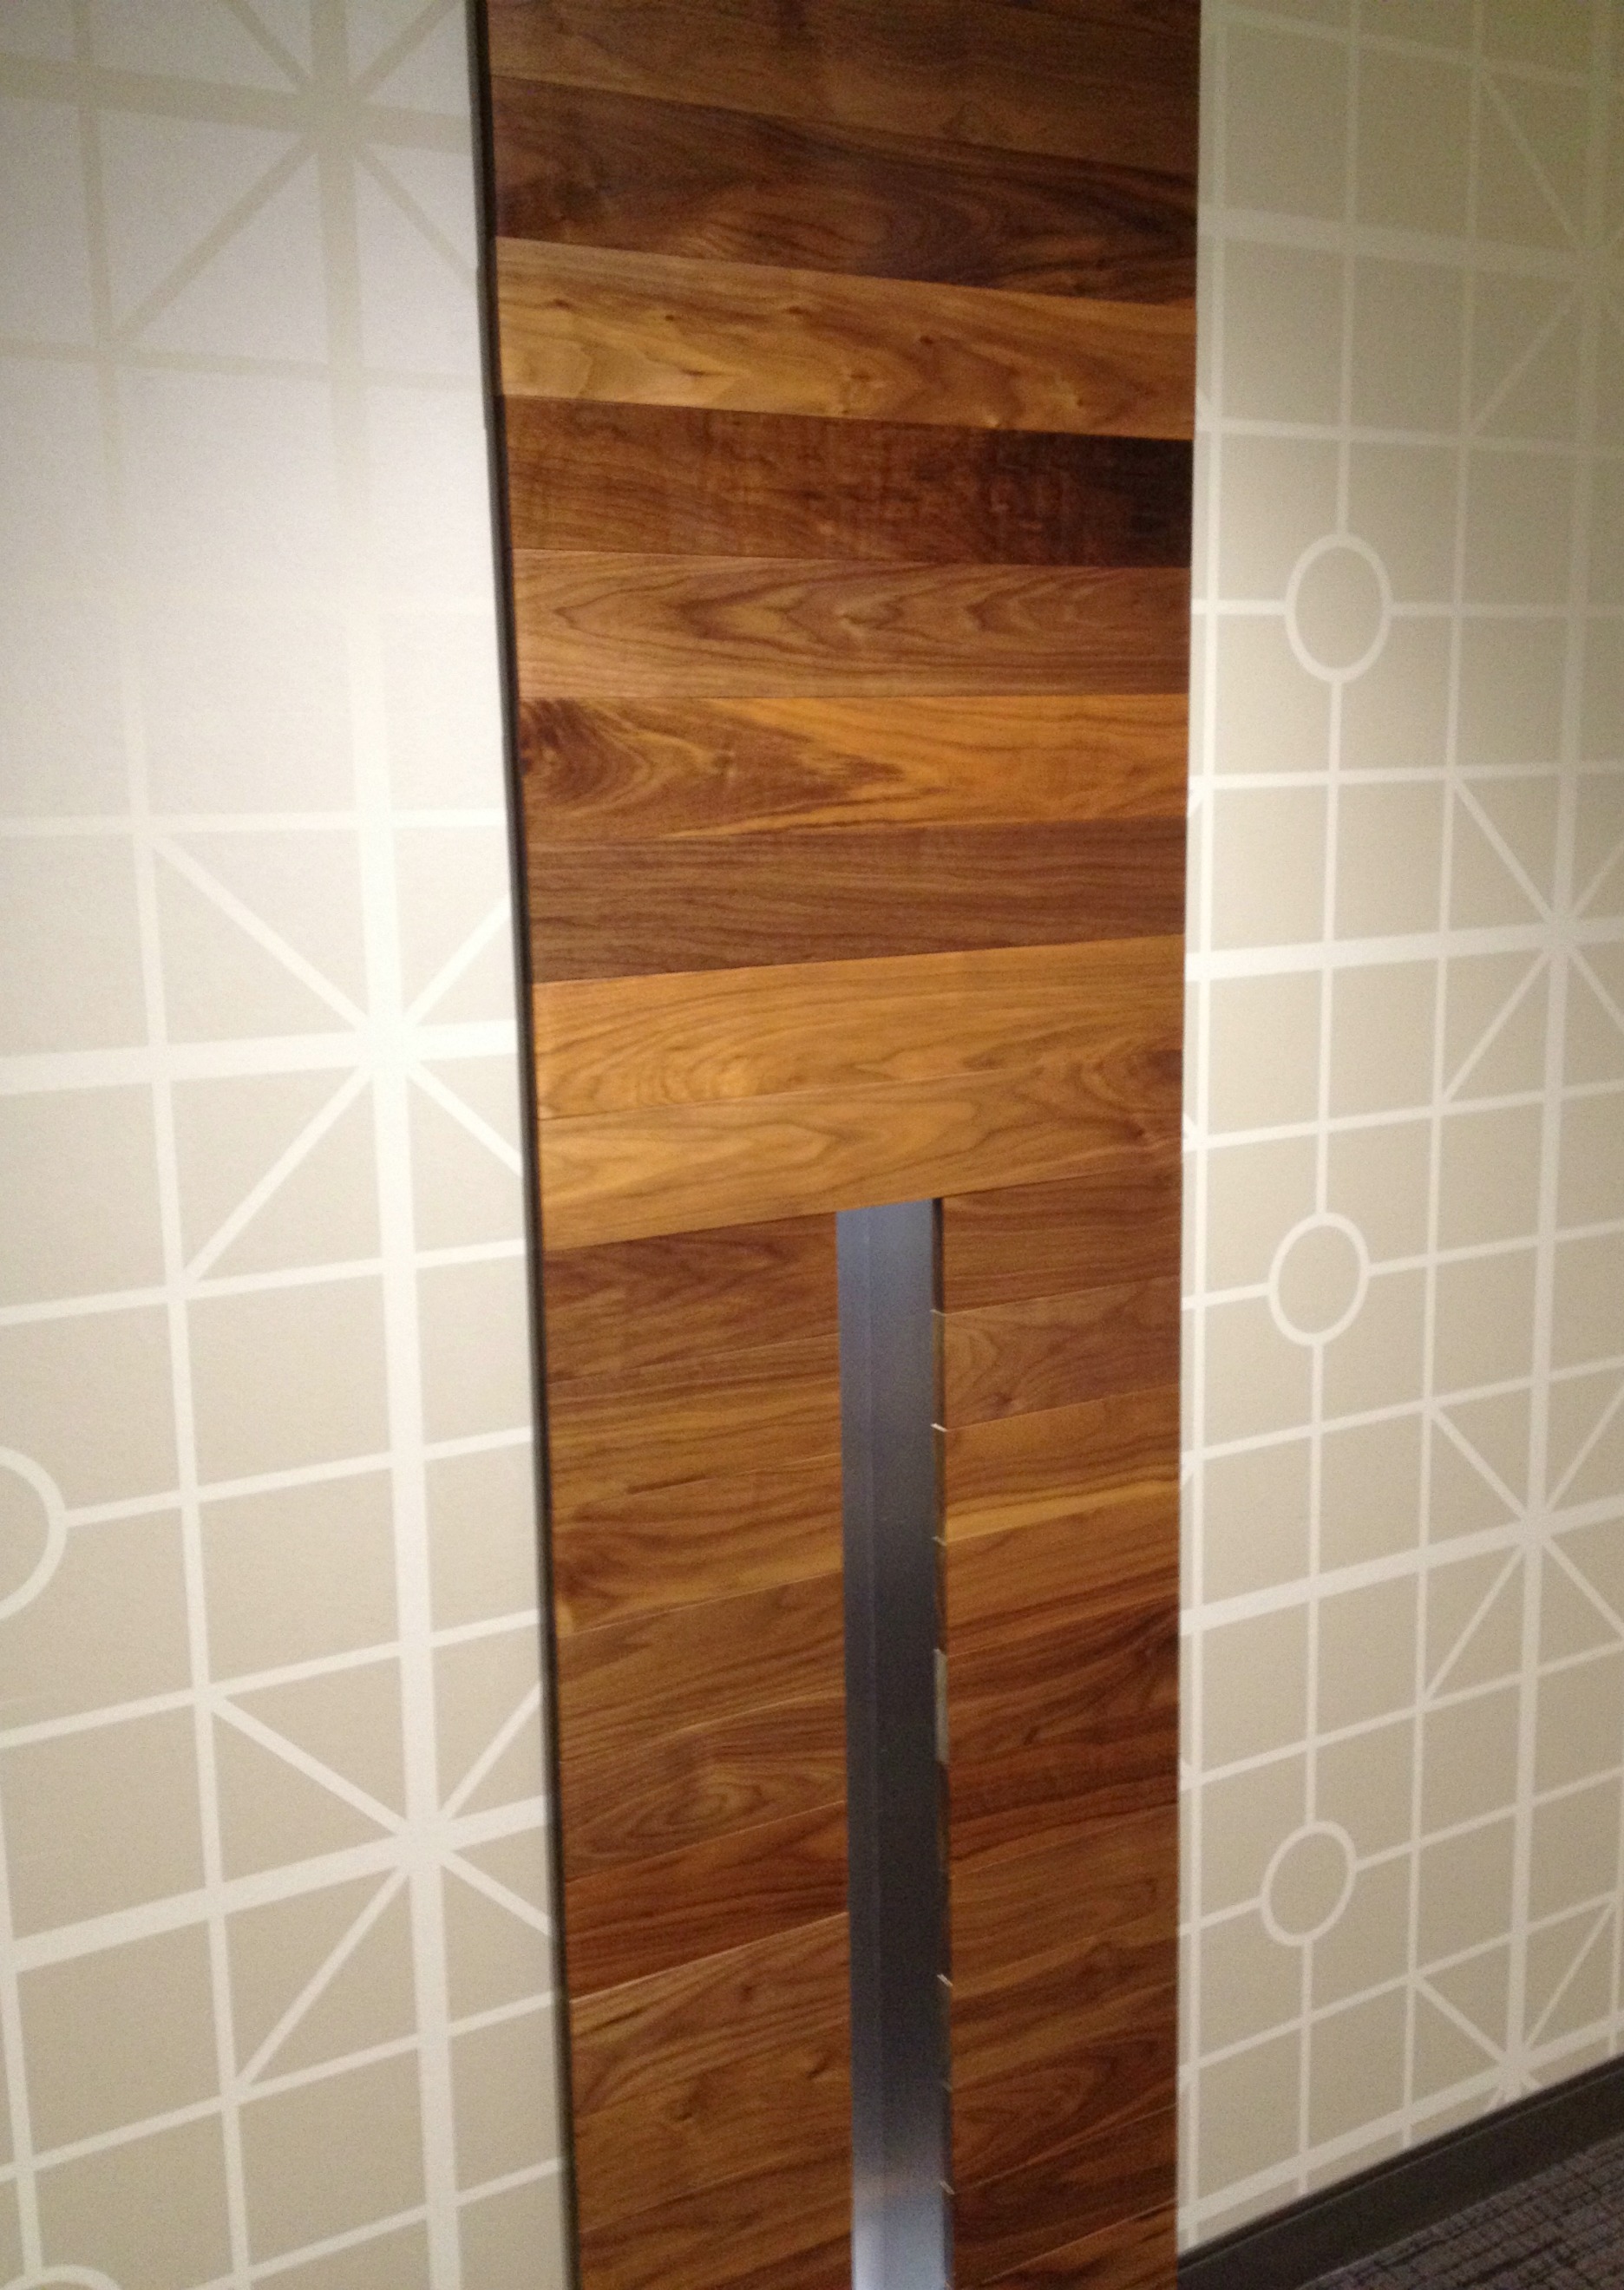
 Check out this cool panel and geometric wallpaper in the hallway…
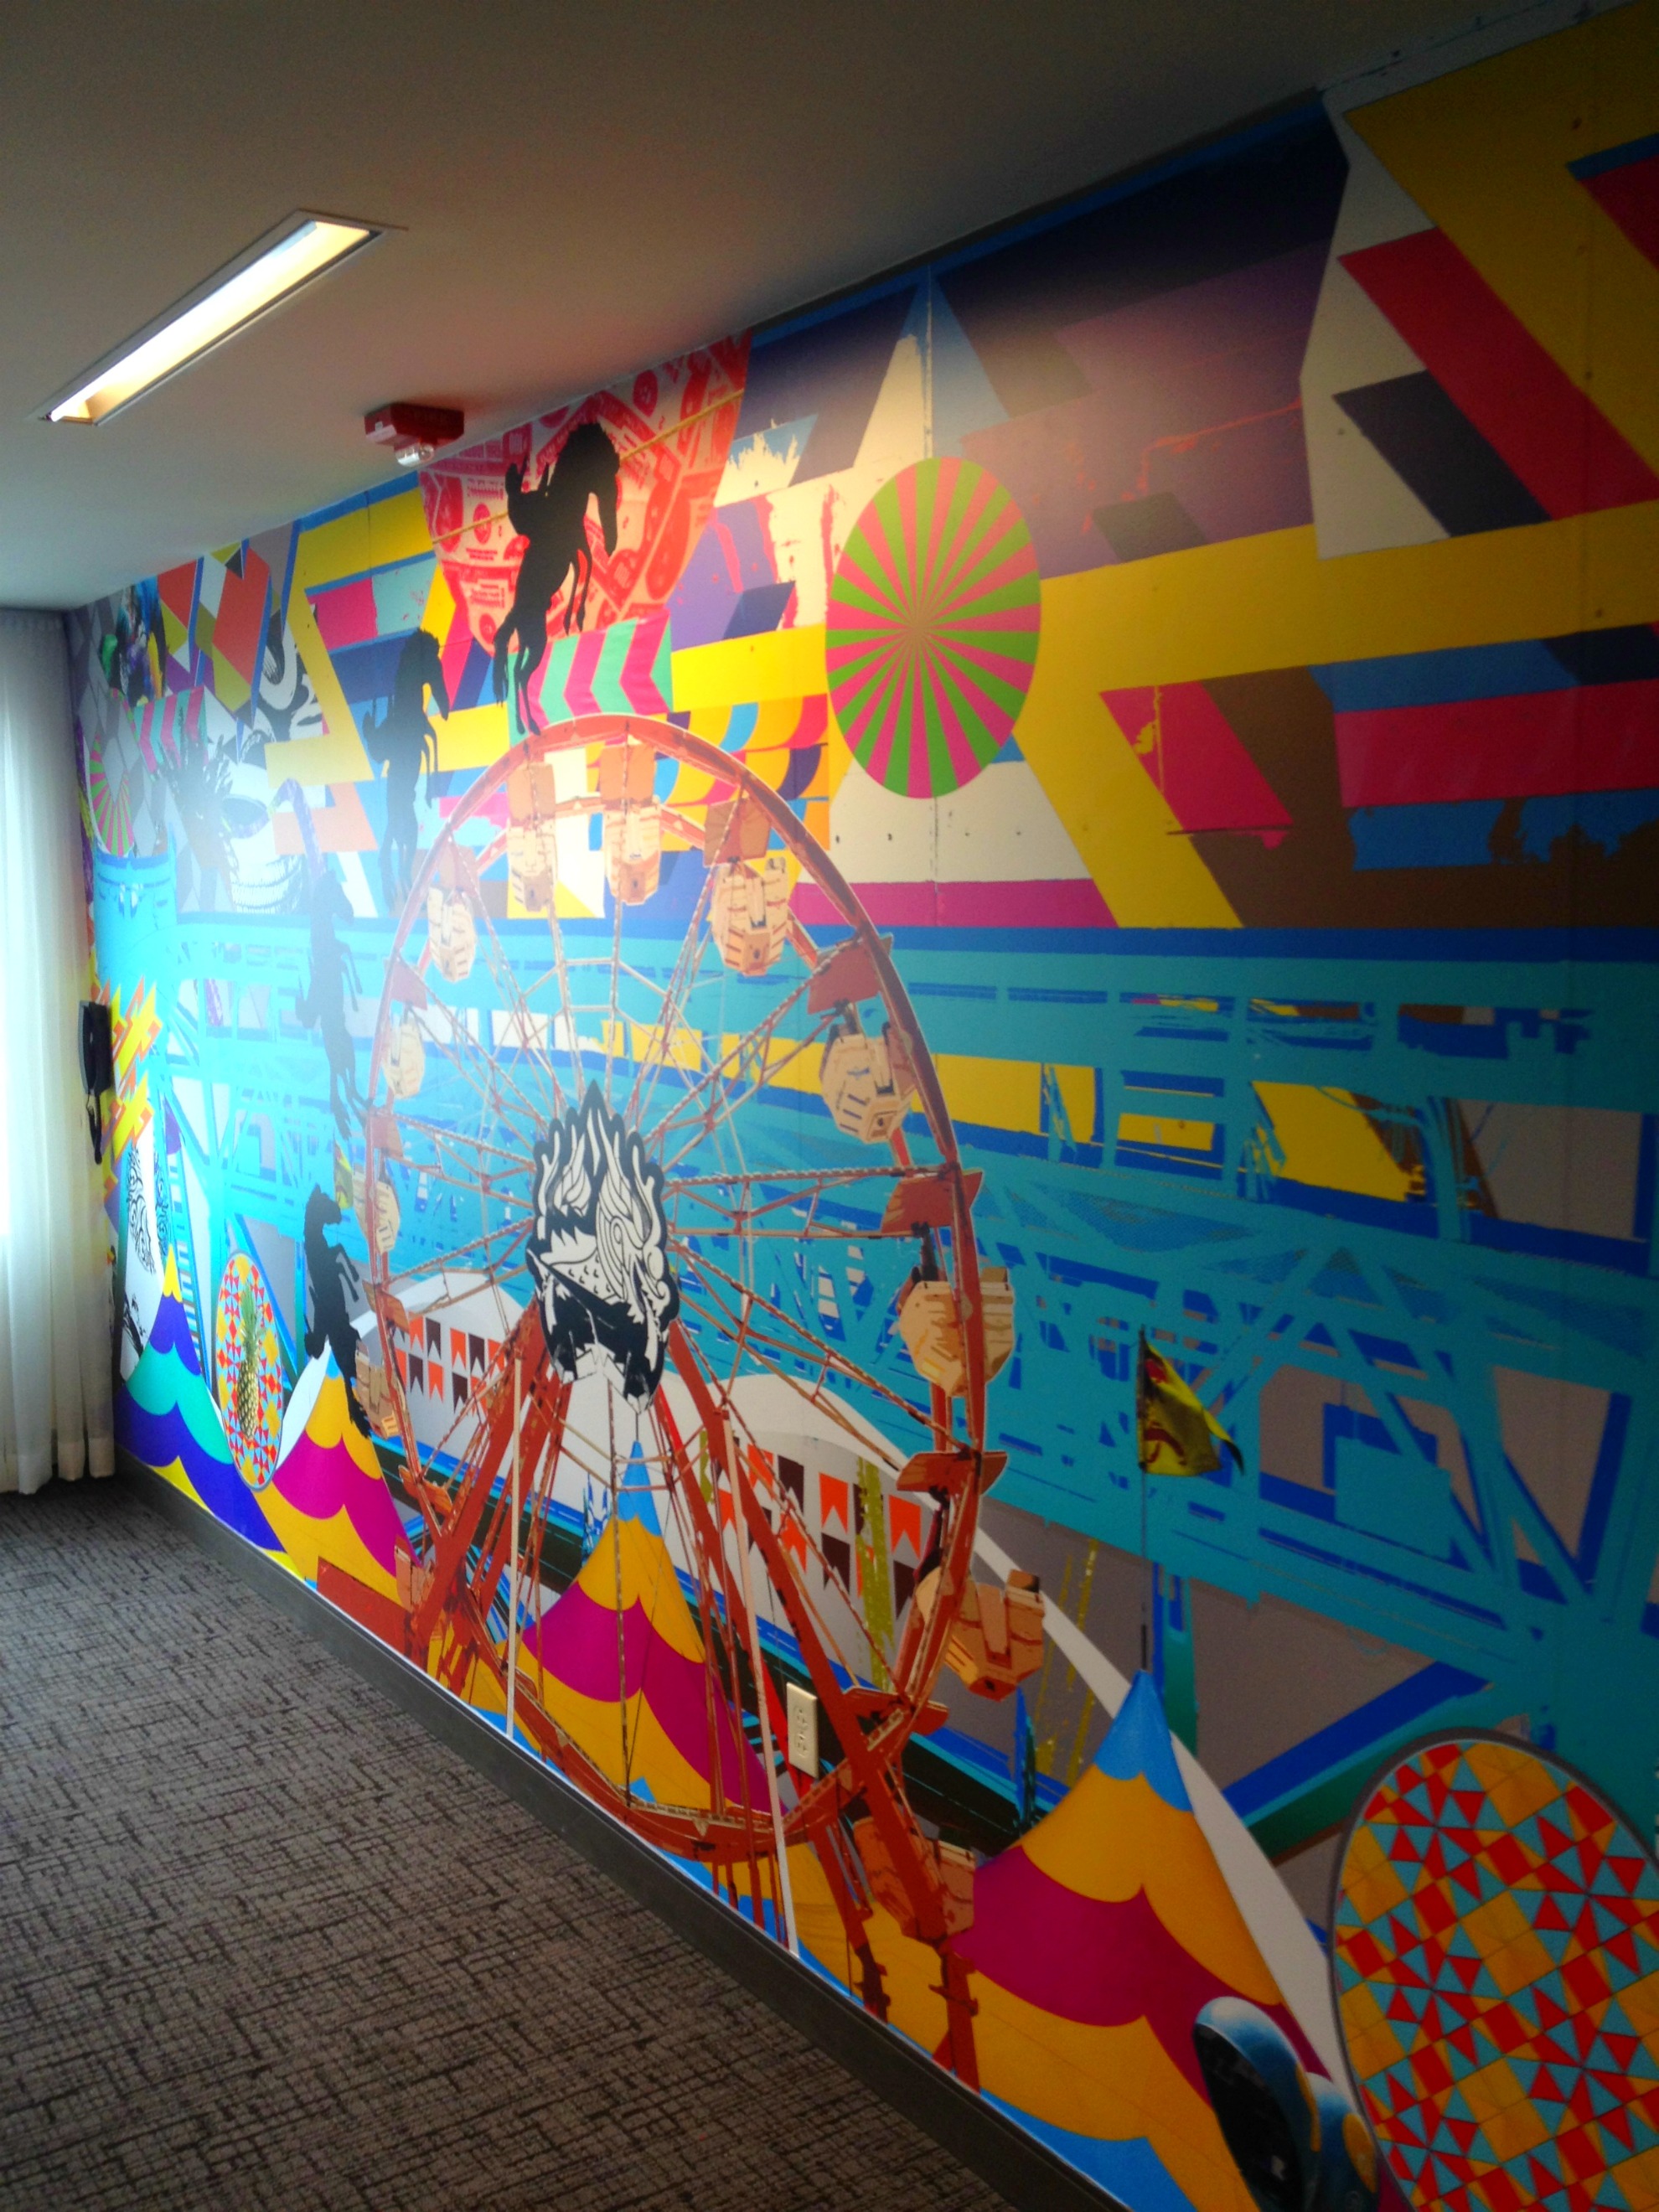
 And if that wasn’t enough, how about this awesome wall decal?
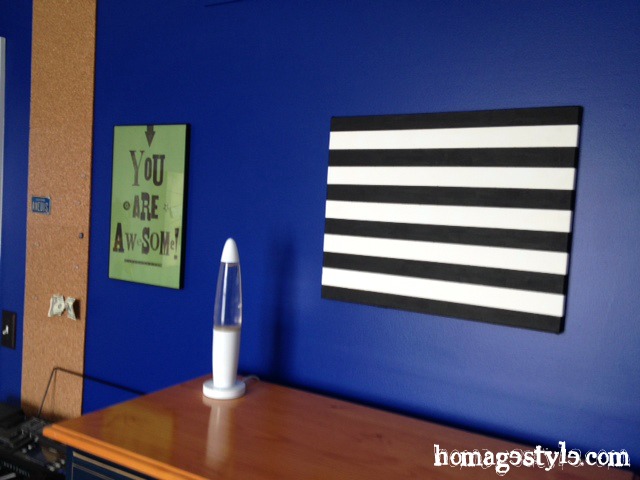
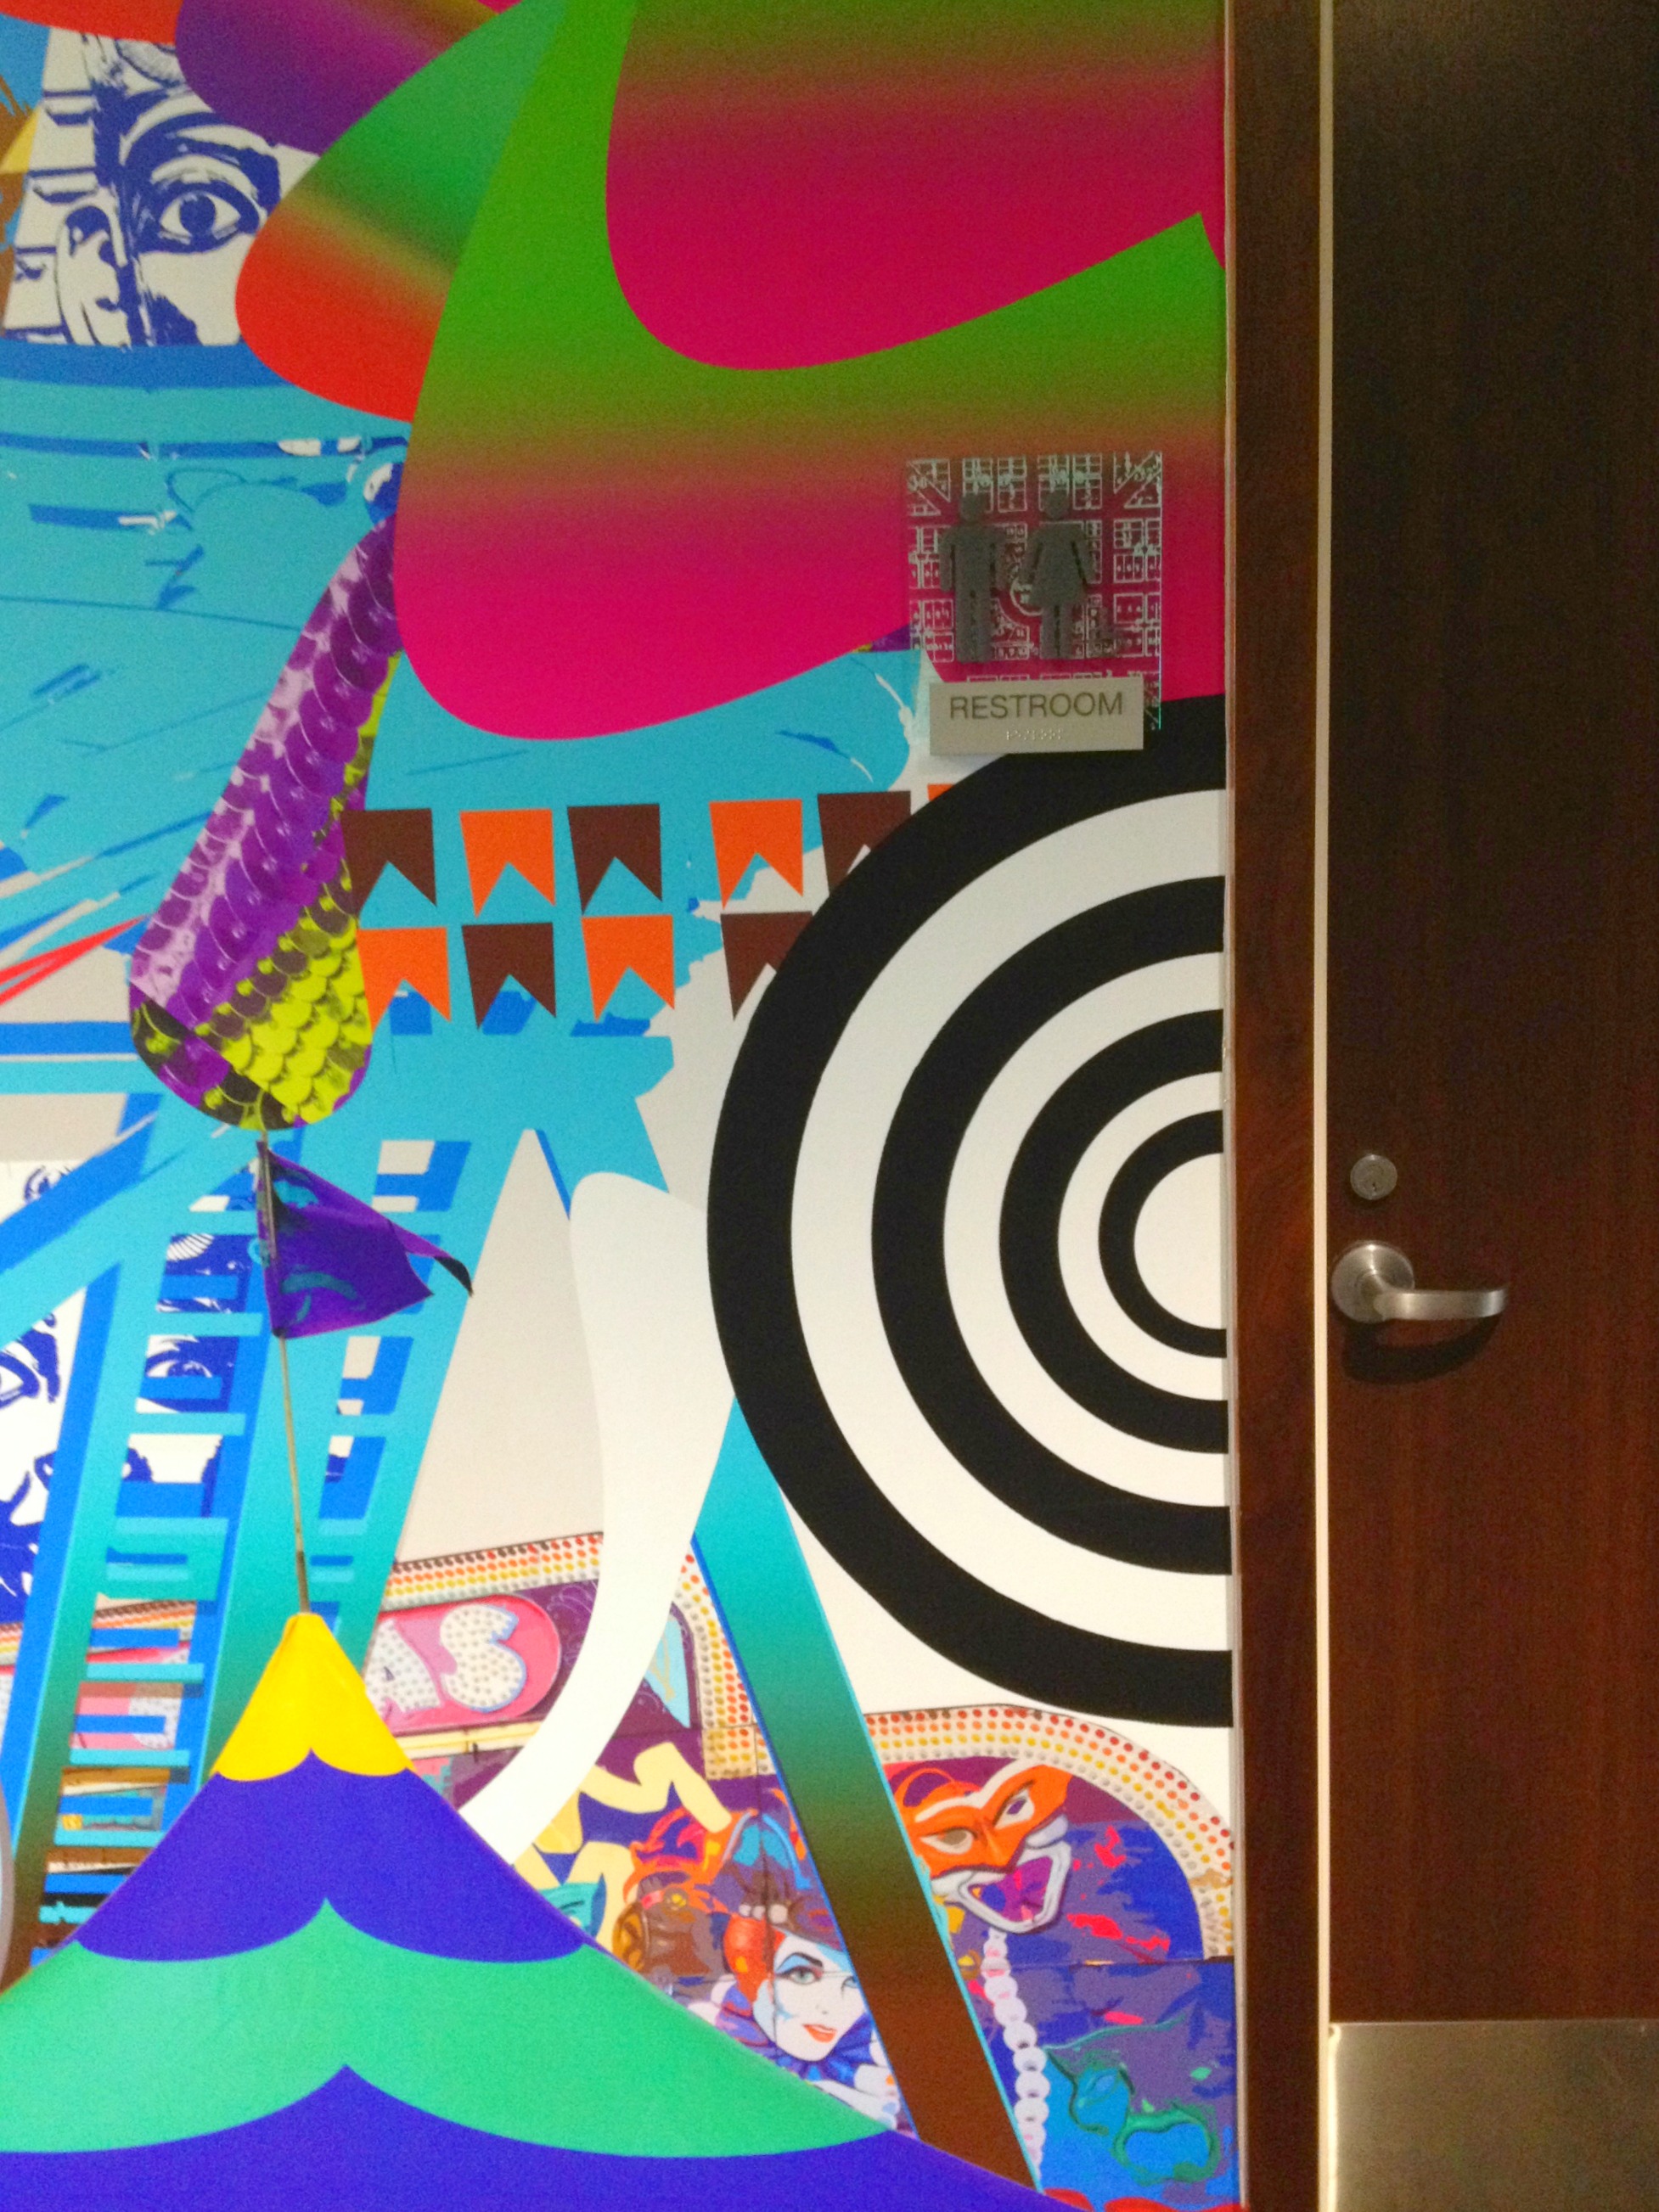
 Another angle with my favorite colors – black and white!
 Well, that concludes today’s road trip. Believe it or not, I wasn’t even paid for this. Probably should have been!