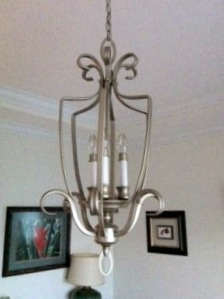
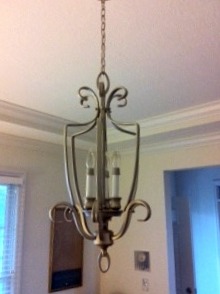
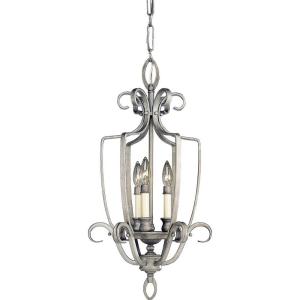
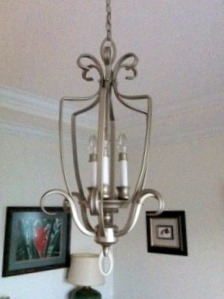
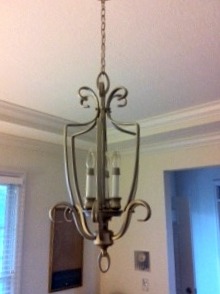
Let me tell you how I got to this wonderful chandelier transformation…
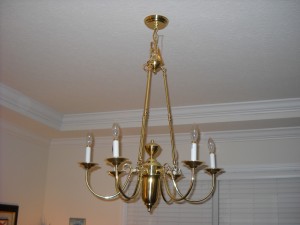
It started out like this…
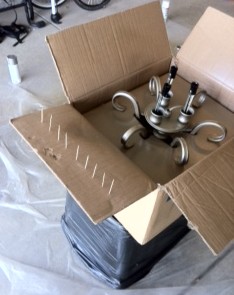
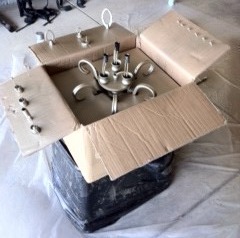
I bought 2 cans of Rustoleum’s Universal Metallic Paint & Primer in One in Champagne Mist from Home Depot and took to the garage and used the box the the chandelier came in as my painting stand. Additionally, I covered a plastic bin in a lawn bag and placed the chandelier box on that, so I wouldn’t have to be bending over and straining my back. Since there were a lot of little parts and pieces that needed to be painted too, I poked a bunch of toothpicks into the flaps of the box and placed the pieces and parts on them.
Feeling a bit like Vlad the Impaler with all of the toothpicks
So I just kept the chandelier in the box and started spraying it. I decided that since this really needed to look terrific, I should probably be a little more patient than usual, so I sprayed in thin, even coats, and actually waited until the coats dried before applying the next coat. I was definitely impressed with my own ability to delay gratification. I’m not usually too good at that.
Once the this part was sprayed well and dry, I turn the chandelier upside down in the box and sprayed the other side. Lather, rinse, repeat.
In the meantime, I was also spraying the other parts, since the chandelier arrived unassembled.
Midway through this project, one of the cans of spray paint stopped working, even though it was only half empty. I took it back to Home Depot and they exchanged it with no questions asked. Now that’s customer service!
Ultimately the hardest part of this project was hanging the chandelier. What I didn’t know is that it’s a two-person job. Or at least it was for me. Fortunately, my sister had planned to come over and I drafted her into service. And, as always, it took a lot longer than I thought it would. Most of my projects work this way. From start to finish, which included turning off the power (NEVER skip this step) and taking down the old chandelier, plus assembling the new chandelier, it took 3 hours.
What was difficult was holding the very heavy chandelier up while connecting the wires and screwing it into the electrical box. My sister and I combined have the arm strength of a gerbil, so both of us holding our arms over our heads was bad enough…lifting a heavy chandelier with me balancing on a 6-foot ladder and my sister standing on a folding chair was damn near impossible. We’re just not that athletically inclined. (I don’t recommend using a folding chair, and encouraged my sister not to use it as well, but apparently she likes to live on the edge.) And who knew that standing on a ladder would induce leg cramps. What a mess!
But finally, we finished the task, turned the power back on, and voila! It worked!
One important thing I learned from this whole debacle is that I will probably need to hire someone to hang the chandelier that I have for my bedroom, which has a vaulted ceiling, and the light fixture I have planned for the two-story ceiling in my family room!
So what about the cost? I bought the chandelier for $35.96, and the spray paint was $7.98 each. So including tax, the total cost of the chandelier was $55.43. Not too bad if you ask me for all of this chandliering goodness!

